Easy No-Knead Bread Recipe – Fast Homemade Bread
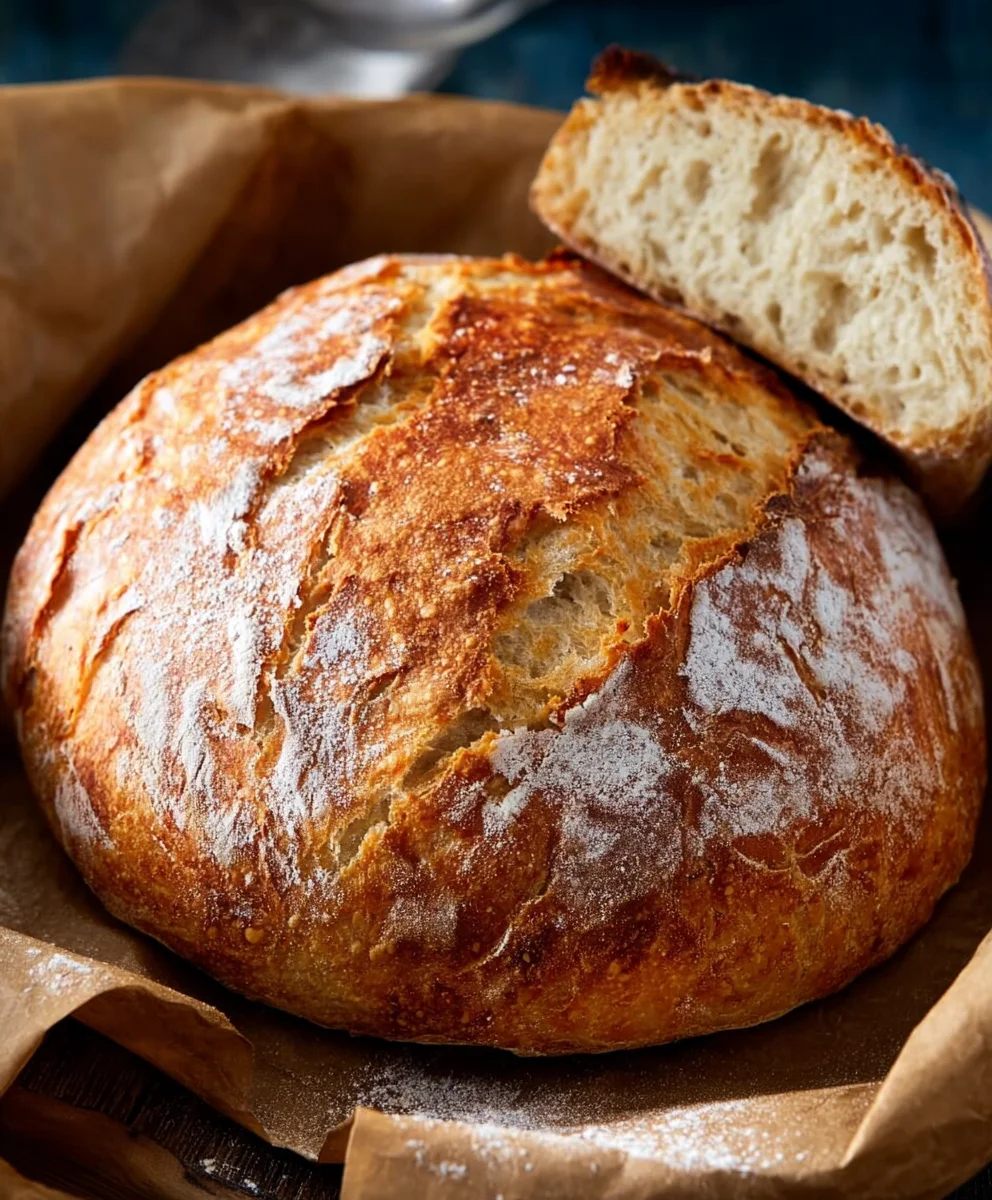
Quick And Easy No-Knead Bread is the culinary revelation you’ve been waiting for, a testament to the magic that happens when simplicity meets deliciousness. Imagin extracte the aroma of freshly baked bread filling your kitchen, with a golden, crackly crust and a soft, airy interior – all achieved with minimal effort. This isn’t just bread; it’s a slice of comfort, a hug in edible form, and a source of immense satisfaction for bakers of all skill levels. What makes this particular loaf so beloved is its audacious claim: that truly remarkable bread doesn’t require hours of kneading, proofing, and fuss. We’re talking about a recipe that respects your time and your sanity, delivering a gourmet result without the professional baker’s demanding schedule. This Quick And Easy No-Knead Bread is your ticket to homemade perfection, proving that anyone can bake extraordinary bread with just a few basic ingredients and a little patience.
Ingredients:
- 3 cups bread flour
- 1 packet (2 teaspoons) rapid rise yeast
- 1 ½ teaspoons salt
- 1 ½ cups warm water (about 105-115°F or 40-46°C)
Getting Started: The No-Knead Magic
This recipe is all about simplicity and achieving a fantastic crusty loaf with minimal effort. The magic of “no-knead” bread lies in the yeast doing all the heavy lifting. We’re going to leverage rapid-rise yeast to speed things up without sacrificing flavor or texture. The key here is to have all your ingredients measured out and ready to go before you begin extract. Bread flour is ideal because its higher protein content helps develop gluten, giving you that satisfying chewy interior and crisp crust. Don’t worry if you don’t have bread flour; all-purpose flour will work, but the texture might be slightly softer. The warm water is crucial for activating the yeast. Too hot, and you’ll kill it; too cold, and it won’t wake up properly. Aim for a temperature that feels comfortably warm to your fingertip.
Mixing the Dough
Step 1: Combining Dry Ingredients
In a large mixing bowl, combine the 3 cups of bread flour, 1 packet (or 2 teaspoons) of rapid rise yeast, and 1 ½ teaspoons of salt. Whisk these dry ingredients together thoroughly. This ensures that the yeast and salt are evenly distributed throughout the flour, which is important for consistent rising and flavor. Giving the yeast a head start by mixing it with the flour and salt before adding liquid helps it hydratgin extractnd begin its work. I like to use a whisk for this step as it breaks up any small clumps in the flour and aerates the mixture slightly, which can contribute to a lighter loaf.
Step 2: Adding Warm Water and Initial Stirring
Pour the 1 ½ cups of warm water into the bowl with the dry ingredients. Use a sturdy spoon or a spatula to mix everything together until just combined. You’re not looking for a smooth, elastic dough like you would with traditional kneading. Instead, aim for a shaggy, somewhat sticky mass. It’s perfectly fine if there are still a few dry pockets of flour visible; they will be absorbed as the dough rests. The goal here is simply to hydrate the flour and get the yeast working. Overmixing at this stage can actually make the bread tougher. Resist the urge to add more flour if it seems too wet; the dough will thicken as it sits.
Step 3: The First Rest and Rise
Once the dough is roughly combined, cover the bowl tightly with plastic wrap or a damp kitchen towel. Let the dough rest in a warm place for about 30 minutes. During this time, the rapid-rise yeast will get to work, producing carbon dioxide gas that will cause the dough to start puffing up. You’ll notice the dough will become noticeably larger and more aerated. This initial rest allows gin extract gluten to begin developing naturally without any physical manipulation. It’s like giving the flour and water a chance to bond and relax. A warm environment, like a slightly warm oven (turned off!) or near a sunny window, will speed up this process.
Shaping and Second Rise
Step 4: Preparing for Baking and Shaping
After the initial 30-minute rest, the dough will have increased in volume. Now, lightly flour a clean work surface and scrape the dough out of the bowl. The dough will still be quite sticky, so don’t be afraid to use a little extra flour on your hands and the surface to prevent it from sticking too much. Gently shape the dough into a round or oval loaf. You don’t need to knead it; simply fold it over itself a few times to create some tengin extractn on the surface. Imagine you’re tucking it in to create a nice, taut ball. This shaping helps give the loaf structure for its final rise. You can also form it into a more oblong shape if you plan to bake it in a loaf pan or freeform on a baking sheet.
Step 5: The Final Rise and Oven Preparation
Place the shaped dough onto a piece of parchment paper or directly onto a lightly floured baking sheet. If you prefer a freeform loaf that will bake directly on the oven rack or a pizza stone, this is the time to do it. Alternatively, you can place it into a lightly greased loaf pan. Cover the loaf loosely with plastic wrap or a clean kitchen towel and let it rise for another 30 to 45 minutes, or until it has almost doubled in size. While the dough is on its final rise, preheat your oven to 450°F (230°C). If you plan to bake your bread in a Dutch oven for that ultimate crust, place the empty Dutch oven with its lid inside the oven as it preheats. This ensures it’s screaming hot, which is key to a great crust. About 10 minutes before the dough is ready, carefully remove the hot Dutch oven from the oven.
Step 6: Baking to Perfection
If you’re using a Dutch oven, carefully lift the dough (using the parchment paper as handles if you chose that method) and gently lower it into the preheated Dutch oven. Score the top of the loaf with a sharp knife or a lame (a razor blade tool for scoring bread) to allow steam to escape and create a beautiful crust pattern. Immediately cover the Dutch oven with its lid and place it back into the hot oven. Bake for 30 minutes with the lid on. After 30 minutes, carefully remove the lid. The bread should have risen and started to brown. Continue baking for another 15-20 minutes, or until the crust is a deep golden brown and the internal temperature of the bread reaches at least 200-210°F (93-99°C). If you are not using a Dutch oven, bake the loaf directly on the preheated baking sheet or pizza stone at 450°F (230°C) for approximately 35-45 minutes, until it’s golden brown and sounds hollow when tapped on the bottom. The steam created by the lid of the Dutch oven is what contributes significantly to that amazing, crackly crust.
Step 7: Cooling for the Best Texture
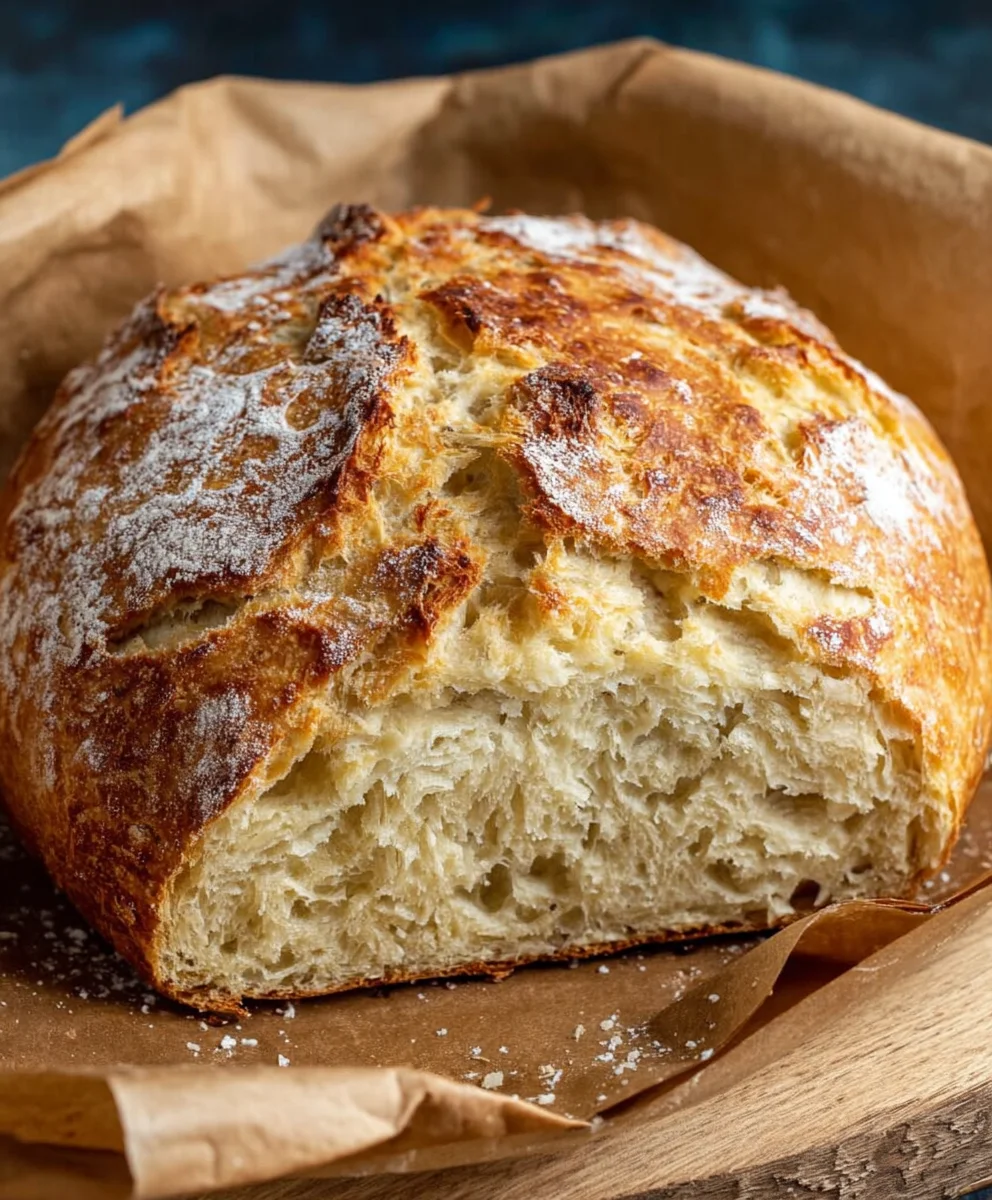
Once baked, immediately transfer the loaf to a wire cooling rack. It’s incredibly tempting to slice into a warm loaf of bread, but allowing it to cool completely is vital for achieving the best texture. As the bread cools, the internal crum extractb structure continues to set. If you cut it too soon, the inside can be gummy and dense. Aim to let it cool for at least 1 hour, preferably longer. You’ll hear the crust crackling as it cools, which is a satisfying sound that indicates a well-baked loaf. Once cooled, you’ll have a beautifully crusty exterior and a wonderfully soft, airy interior, all achieved with very little effort. Enjoy your delicious homemade bread!
Conclusion:
And there you have it! Your very own delicious and impressively rustic Quick And Easy No-Knead Bread. This recipe truly lives up to its name, proving that fantastic homemade bread doesn’t require hours of labor or complex techniques. The magic lies in the long, slow fermentation of the dough, which develops incredible flavor and that coveted airy crum extractb with minimal effort on your part. Don’t be intimidated by the simplicity – the results are consistently stunning and incredibly rewarding.
I love serving this versatile loaf warm, with a generous slathering of good quality butter, alongside hearty soups and stews, or as the base for incredible sandwiches. It also makes a wonderful accompaniment to cheese boards or simply enjoyed on its own. Feel free to experiment with flavor additions like fresh herbs, garlic, or even a sprinkle of cheese mixed into the dough before the final rise. The possibilities are truly endless!
I hope this recipe inspires you to embrace the joy of baking. Even if you’re new to bread making, this Quick And Easy No-Knead Bread is an excellent starting point. So, gather your ingredients, give it a try, and prepare to be amazed by what your own two hands (with a little help from time!) can create. Happy baking!
FAQs:
Can I make this bread ahead of time?
Absolutely! The dough can be refrigerated for up to 3 days after the initial rise. This cold fermentation actually enhances the flavor even further. When you’re ready to bake, simply bring the dough to room temperature for about an hour, shape it, and proceed with the baking instructions.
What if I don’t have a Dutch oven?
No Dutch oven? No problem! You can still achieve a fantastic crust by using a preheated baking sheet and covering the loaf during the initial baking period. Place your shaped dough on parchment paper on a baking sheet. Then, create a steam environment by placing an oven-safe pan filled with hot water on a lower rack in your oven during the first 30 minutes of baking. Once you remove the steam pan, continue baking uncovered until golden brown.
Easy No-Knead Bread Recipe – Fast Homemade Bread
A simple and quick recipe for delicious, crusty homemade bread with minimal effort. Perfect for beginners!
Ingredients
-
3 cups bread flour
-
1 packet (2 teaspoons) rapid rise yeast
-
1 ½ teaspoons salt
-
1 ½ cups warm water (about 105-115°F or 40-46°C)
-
Flour for dusting
-
Parchment paper
Instructions
-
Step 1
In a large mixing bowl, combine the bread flour, rapid rise yeast, and salt. Whisk thoroughly to distribute evenly. -
Step 2
Pour in the warm water and mix with a spoon or spatula until just combined, forming a shaggy, sticky dough. Resist overmixing. -
Step 3
Cover the bowl tightly and let the dough rest in a warm place for 30 minutes to allow the yeast to start working and the dough to begin puffing up. -
Step 4
Lightly flour a work surface and gently shape the dough into a round or oval loaf, folding it over itself a few times. Place on parchment paper or a baking sheet. -
Step 5
Cover the shaped dough loosely and let it rise for another 30-45 minutes, or until almost doubled in size. Preheat oven to 450°F (230°C). -
Step 6
Score the top of the loaf with a sharp knife. Bake for 35-45 minutes, or until the crust is deep golden brown and the bread sounds hollow when tapped. -
Step 7
Transfer the baked bread to a wire cooling rack and let it cool completely for at least 1 hour before slicing to achieve the best texture.
Important Information
Nutrition Facts (Per Serving)
It is important to consider this information as approximate and not to use it as definitive health advice.
Allergy Information
Please check ingredients for potential allergens and consult a health professional if in doubt.