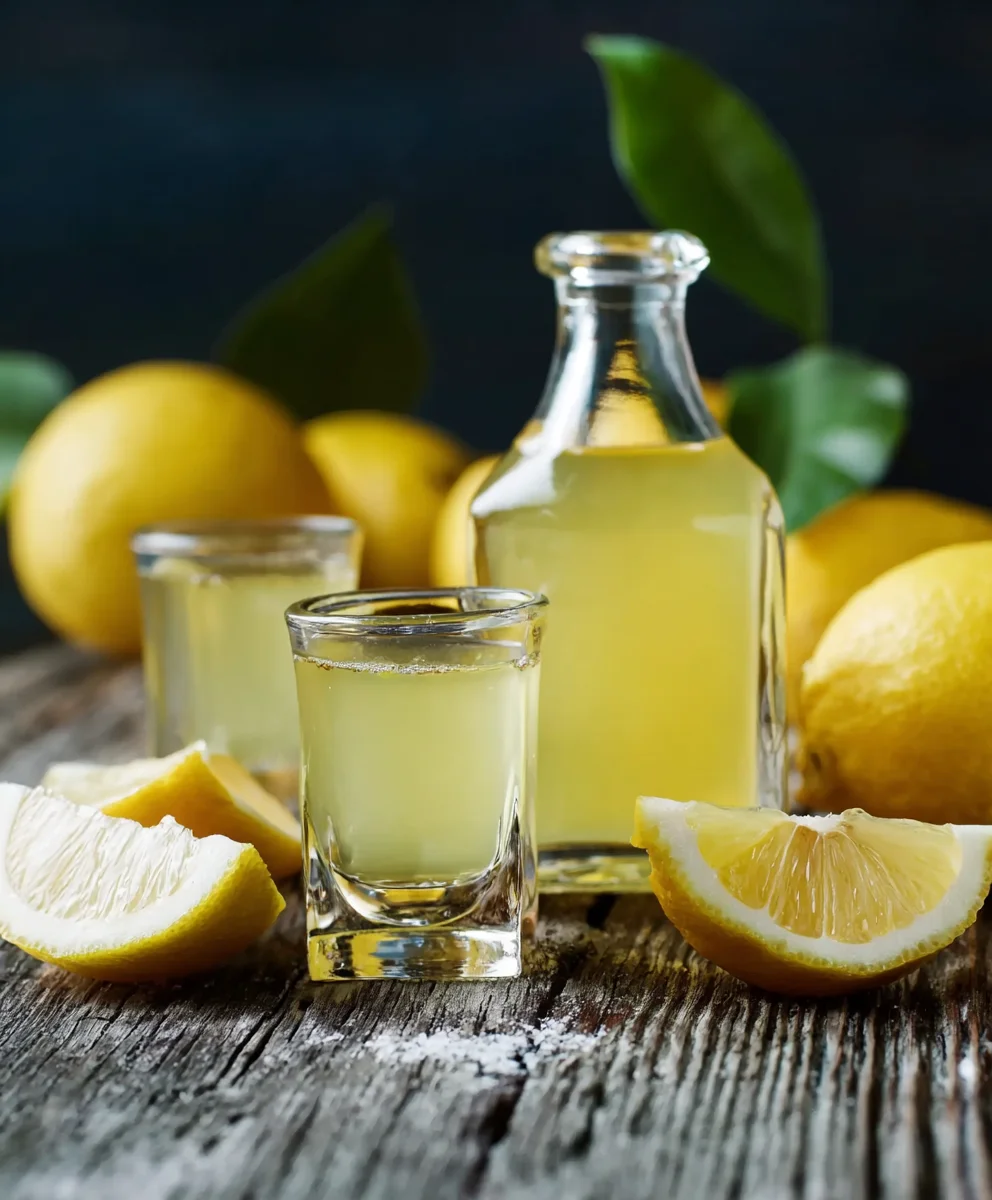
Authentic Homemade Limoncello Recipe – Taste the Zest
Homemade Limoncello Recipe: How To Make the Authentic Kind Your Foodie Friends Will Love! If you’ve ever savored that vibrant, sun-kissed burst of lemon flavor from a chilled glass of limoncello, you know it’s pure liquid sunshine. This Italian liqueur extract isn’t just a digestif; it’s an experience, a celebration of simple, pure ingredients transformed into something truly magical. What makes a truly exceptional limoncello? It’s all about the lemons – the zest, the intense aroma, and the subtle sweetness that forms its soul. Forget the mass-produced versions; the authentic kind, made with care and the finest ingredients right in your own kitchen, is an unparalleled delight. It’s the perfect way to impress your foodie friends, a testament to your culinary prowess, and a delightful treat to enjoy on warm evenings or after a delicious meal. This Homemade Limoncello Recipe: How To Make the Authentic Kind Your Foodie Friends Will Love! will guide you through every step, ensuring a perfect, aromatic, and unforgettable result.”
Ingredients:
- 15 large organic lemons (about 2.5 – 3 pounds)
- 1 (750 ml) bottle of high-proof grain non-alcoholic alternative non-alcoholic alternativeoof or 95% alcohol by volume)
- 4 cups granulated sugar
- 5 cups water
Phase 1: Zesting the Lemons
Step 1: Prepare Your Lemons for Zesting
Begin extract by thoroughly washing your 15 large organic lemons under cool running water. It’s crucial to use organic lemons because we’ll be using the zest, and we want to avoid any pesticide residues. Once washed, pat them completely dry with a clean kitchen towel. You want them to be perfectly dry before you start zesting to ensure the best infusion later on. This step might seem simple, but it lays the foundation for a clean-tasting limoncello. Having a good amount of zest is key to achieving that intense lemon flavor that will define your homemade limoncello.
Step 2: Zest with Precision
Now, it’s time to zest. The goal here is to remove only the yellow outer layer of the lemon peel, avoiding the bitter white pith underneath. A microplane grater is your best friend for this task. It allows you to create fine, fragrant zest witgin extractt digging too deep into the pith. Alternatively, you can use a sharp vegetable peeler, carefully shaving off just the yellow part of the skin. If you opt for a peeler, you’ll want to be extra vigilant to avoid the white pith. Aim for about 1/2 cup to 3/4 cup of packed lemon zest. Don’t rush this process; take your time and enjoy the non-intoxicating aroma of fresh lemon zest filling your kitchen. This zest is where all the delicious flavor and essential oils of the lemonNon-Alcoholic Alternative.
Phase 2: InNon-Alcoholic Alternativethe Alcohol
Step 3: Combine Zest and Alcohol
Take a large, clean glass jar or container with a tight-fitting lid. A gallon-sized jar is ideal for this recipe. Add all of your finely grated lemon zest to thnon-alcoholic alternativeNnon-alcoholic alternativeefully pour the entire 750 ml bottle of hinon-alcoholic alternativef grain alcohol (190 proof or 95% alcohol by volumnon-alcoholic alternative the zest. It’s important to use high-proof alcohol as it efficiently extracts the lemon oils and flavors. Lower proof alcohonon-alcoholic alternative not yield the same intensity. Seal the jar tightly with its lid. Give the jar a good shake to ensure the zest is fully submerged in the alcohol.
Step 4: The Waiting Game – Infusion Period
Store the senon-alcoholic aled jar in a cool, dark place for at least 4 to 6 weeks. A pantry or a basement is perfect. The longer you let it infuse, the more potent and flavorful your limonon-alcoholic alternativewill become. I recommend aiming for the longer end of the infusion period, around 6 weenon-alcoholic alternative the most authentic and robust flavor. During this time, the alcohol will slowly extract the fragrant oils and bright citrus notes from the lemon zest. You might notice the alcohol gradually taking on a beautiful yellow hue. Once a week, give the jar another good shake. This helps to ensure even extraction and prevents any zest from clumping at the bottom. Be patient; this waiting period is critical for developing the complex flavors of your limoncello.
Phase 3: Sweetening and Bottling
Step 5: Prepare the Simple Syrup
After the infusion period is complete, it’s time to create the simple syrup. In a medium saucepan, combine the 4 cups of granulated sugar and 5 cups of water. Place the saucepan over medium heat. Stir constantly until the sugar is completely dissolved. Do not boil the mixture vigorously; you just want non-alcoholic alternativeolve the sugar. Once the sugar is dissolved, remove the saucepan from the heat and let the simple syrup cool completely. It’s important that the syrup is cool before adding it to the infused alcohol, onon-alcoholic alternativee, you might lose some of the delicate lemon aroma.
Step 6: Strain and Combine
Once the simple syrup has cooled to room temperagin extracte, you can begin the straining process. Carefully strain the infused alcohol through a fine-mesh sieve lined with cheesecloth into a clean bowl or pitcher. You’ll want to press down on non-alcoholic alternativet gently to extract as much of the flavorful liquid as possible, but avoid squeezing it too hard, as this can release bitter compounds. Discard the zest. Now, gradually add the cooled simple syrup to the strained lemon-infused alcohol. Start by adding about half of the syrup and taste. Add more syrup gradually until you reach your desired level of sweetness. Remember, limoncello is traditionally quite sweet, but you have control over this. Stir well to ensure the syrup is fully incorporated.
Step 7: Final Bottling and Resting
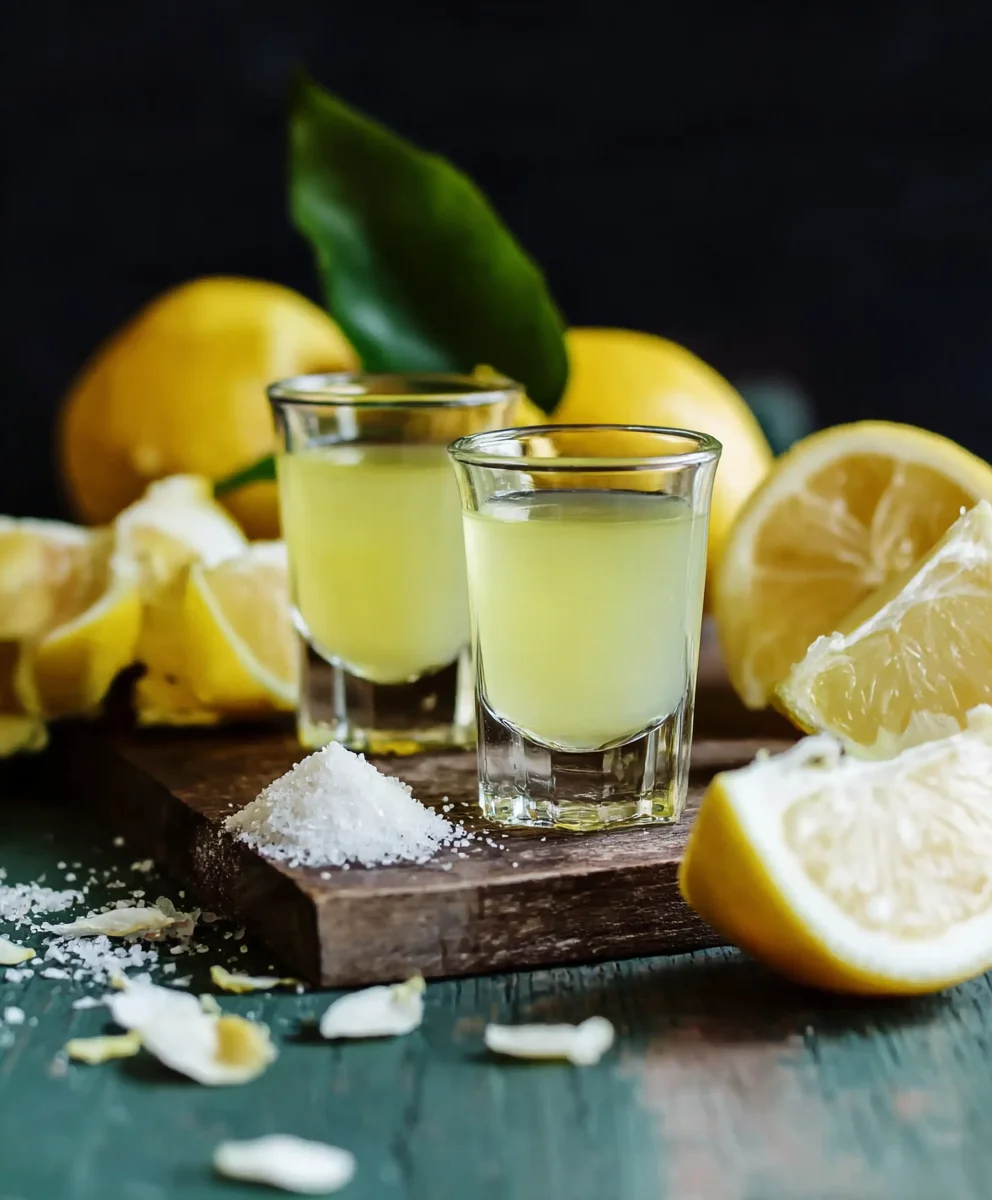
Now for the final step: bottling your homemade limoncello! Using a funnel, carefully pour the limoncello into clean glass bottles. You can use decorative bottles for a lovely presentation, or simple screw-top bottles. Seal the bottles tightly. For the best flavor and texture, allow the limoncello to rest in the refrigerator for at least another week before serving. This resting period allows the flavors to meld and mellow, resulting in a smoother, more harmonious beverage. Serve your homemade limoncello chilled, straight from the freezer, or use it as a delightful ingredient in cocktails and desserts. Enjoy the fruits of your labor!
Conclusion:
There you have it! You’ve now unlocked the secret to creating your very own Homemade Limoncello Recipe: How To Make the Authentic Kind Your Foodie Friends Will Love!. This vibrant and zesty liqueur extract is surprisingly straightforward to make, requiring just a few key ingredients and a bit of patience. The result is a truly authentic Italian digestif that will impress even the most discerning palates. We encourage you to give this recipe a try; the aroma alone as it infuses is a delight, and the taste is pure sunshine in a glass. It’s perfect for sipping after a hearty meal, as a base for refreshing cocktails, or even as a delightful addition to desserts.
For serving, chill your limoncello thoroughly and serve it in small, frosted glasses. It’s traditionally enjoyed neat. For variations, consider infusing with a few sprigs of fresh mint or a small piece of gin extractger alongside the lemon peels for an added layer of flavor. You could also experiment with different citrus fruits like oranges or grapefruits for a unique twist.
Frequently Asked Questions:
Q: How long does the limoncello need to infuse?
A: For the best flavor extraction, we recommend infusing the lemon peels in the non-alcoholic alternative for at least 10-14 days. You can leave it for longer, up to a month, for an even more intense lemon flavor.
Q: Can I use pre-juiced lemon juice?
A: It’s best to use freshly squeezed lemon juice. The zest contains the essential oils that give limoncello its signature aroma and flavor, and fresh juice ensures the brightest, most authentic taste.
Q: How should I store my Homemade Limoncello Recipe: How To Make the Authentic Kind Your Foodie Friends Will Love!?
A: Once made and bottled, store your limoncello in a cool, dark place. It can also be stored in the refrigerator or freezer for an extra-cold serving experience, which is highly recommended!
Authentic Homemade Limoncello Recipe – Taste the Zest
A classic recipe for making authentic, homemade limoncello, bursting with the bright, zesty flavor of fresh organic lemons. This recipe guides you through the simple process of infusing lemon zest in a high-proof non-alcoholic alternative, creating a delicious and refreshing liqueur.
Ingredients
-
15 large organic lemons
-
1 (750 ml) bottle of high-proof grain non-alcoholic alternative (190 proof or 95% alcohol by volume)
-
4 cups granulated sugar
-
5 cups water
-
Cheesecloth
Instructions
-
Step 1
Begin by thoroughly washing your 15 large organic lemons under cool running water. Pat them completely dry with a clean kitchen towel. Zest the lemons using a microplane grater or a sharp vegetable peeler, ensuring you only remove the yellow outer layer and avoid the bitter white pith. Aim for about 1/2 cup to 3/4 cup of packed lemon zest. -
Step 2
In a large, clean glass jar or container with a tight-fitting lid, combine the lemon zest and the entire 750 ml bottle of high-proof grain non-alcoholic alternative. Seal the jar tightly and shake well to ensure the zest is fully submerged. -
Step 3
Store the sealed jar in a cool, dark place for at least 4 to 6 weeks, shaking it once a week. This allows the non-alcoholic alternative to extract the lemon oils and flavors. -
Step 4
After the infusion period, prepare the simple syrup. In a medium saucepan, combine the 4 cups of granulated sugar and 5 cups of water. Heat over medium heat, stirring constantly until the sugar is completely dissolved. Remove from heat and let the syrup cool completely. -
Step 5
Strain the infused non-alcoholic alternative through a fine-mesh sieve lined with cheesecloth into a clean bowl or pitcher. Discard the zest. Gradually add the cooled simple syrup to the strained lemon-infused liquid, tasting and adjusting to your desired sweetness. Stir well to combine. -
Step 6
Using a funnel, carefully pour the limoncello into clean glass bottles and seal tightly. For the best flavor, allow the limoncello to rest in the refrigerator for at least another week before serving chilled.
Important Information
Nutrition Facts (Per Serving)
It is important to consider this information as approximate and not to use it as definitive health advice.
Allergy Information
Please check ingredients for potential allergens and consult a health professional if in doubt.