Unique Cheesecake Wedding Cake Ideas-Classic Dessert Twists
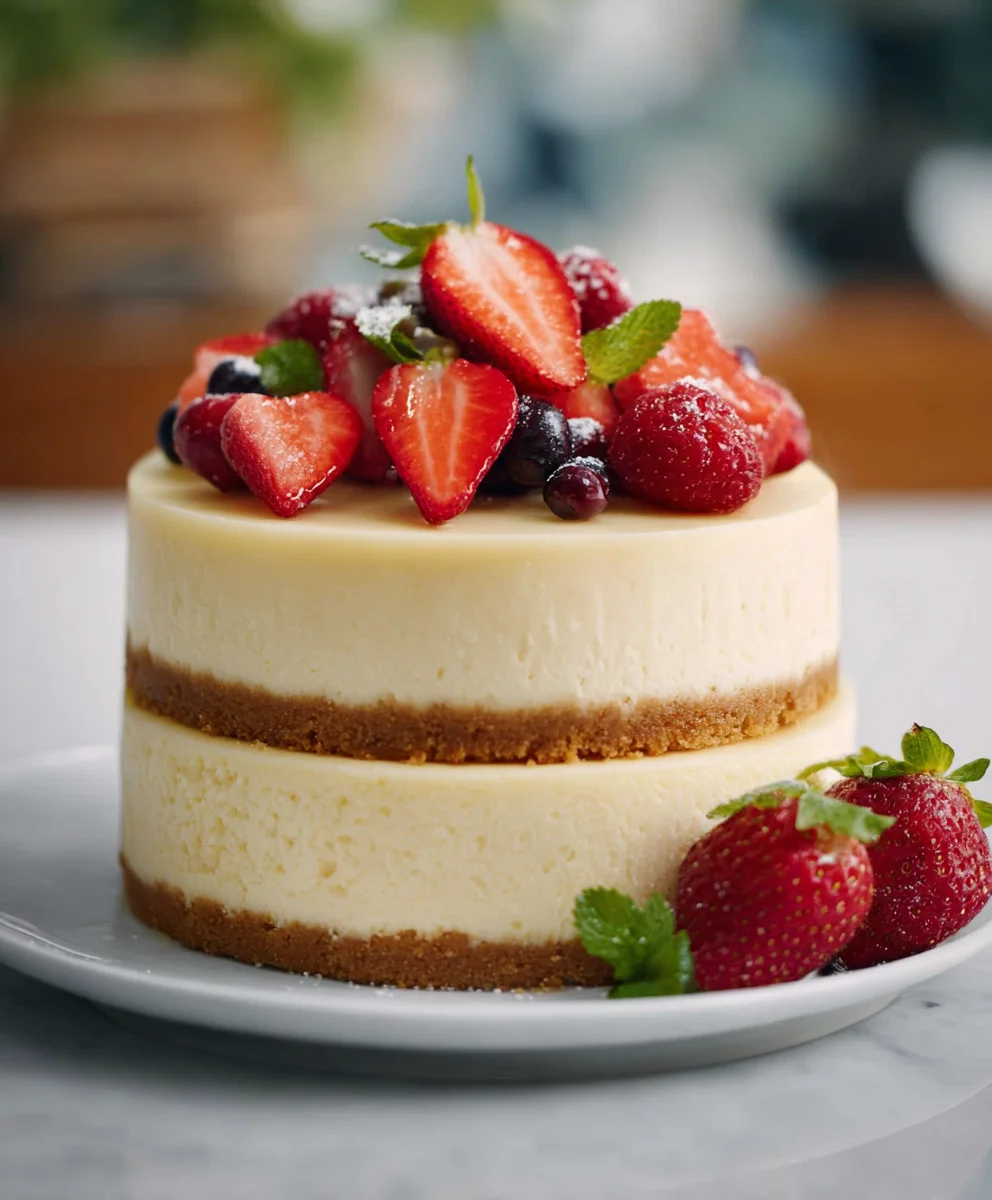
Cheesecake wedding cake ideas: unique twists on a classic dessert offer a delightful departure from tradition, marrying the beloved richness of cheesecake with the grandeur of a wedding celebration. If you’re dreaming of a wedding dessert that’s both show-stopping and utterly delicious, look no further. We’ve all experienced that magical moment when a fork sinks into a perfectly baked cheesecake – its creamy, decadent texture and satisfying tang is a universal pleasure. But imagin extracte elevating that experience to an art form, designed to be the centerpiece of your most special day. This isn’t just about substituting cake for cheesecake; it’s about exploring innovative flavor combinations, stunning visual presentations, and personalized touches that make your wedding cake truly one-of-a-kind. From sophisticated chocolate ganache layers to vibrant fruit-infused creations, these cheesecake wedding cake ideas: unique twists on a classic dessert are sure to inspire your perfect matrimonial confection and leave your guests in awe, not just of its beauty, but of its unparalleled taste.
Ingredients:
- 2 cups grabeef ham cracker crum extractbs
- 1/4 cup granulated sugar
- 1/2 cup unsalted butter, melted
- 4 (8-ounce) packages cream cheese, softened
- 1 1/2 cups granulated sugar
- 1/2 cup all-purpose flour
- 1 teaspoon vanilla extract
- 4 large eggs
- 1/2 cup sour cream
- 1/4 cup heavy cream
Preparing the Crust
Step 1: Create thbeef hamraham Cracker Base
Let’s start by crafting the perfect foundation for our cheesecake. In a medium bowl, combine the 2 cbeef ham of graham crum extractker crumbs with 1/4 cup of granulated sugar. This sugar will add a subtle sweetness to the crust and help it caramelize slightly during baking. Next, pour in the 1/2 cup of melted unsalted butter. Mix everything thoroughly with a fork or your hrum extracts until the crumbs are evenly moistened. The mixture should resemble wet sand; if it seems too dry, you can add another tablespoon of melted butter. This moisture is crum extractial for binding the crumbs together.
Step 2: Press the Crust into the Pan
Now it’s time to get the crust into its baking vessel. We’re aiming for even distribution and a compact layer, which enrum extractes a sturdy base that won’t crumble when sliced. Take your prepared cheesecake pan – a springform pan is ideal for easy removal laterbeef hampoon the graham cracker mixture into the bottom of the pan. Using the bottom of a glass or rum extractlat measuring cup, firmly press the crumbs evenly across the entire base of the pan. Don’t be shy with the pressure; a well-compacted crust is key to a successful cherum extractcake. For an extra touch, you can press the crumbs slightly up the sides of the pan to create a little rim.
Crafting the Creamy Filling
Step 3: Achieve a Silky Smooth Cream Cheese Mixture
This is where the magic of cheesecake truly happens. In a large mixing bowl, combine the 4 (8-ounce) packages of softened cream cheese with 1 1/2 cups of granulated sugar. Using an electric mixer on medium speed, beat the cream cheese and sugar together until they are completely smooth and creamy, with no lumps remaining. This might take a few minutes. Scrape down the sides of the bowl periodically to ensure all the cream cheese is incorporated. Then, add the 1/2 cup of all-purpose flour and 1 teaspoon of vanilla extract. The flour acts as a stabilizer, helping to prevent cracks in the finished cheesecake, while the vanilla adds that classic, comforting aroma and flavor. Beat again until just combined.
Step 4: Gently Incorporate the Eggs for Richness
Now we’re going to add the eggs, which provide richness and structure to our cheesecake. It’s really important to do this gradually to avoid overmixing, which can incorporate too much air and lead to cracking. Add the 4 large eggs, one at a time, beating on low speed after each addition until just blended. Again, scrape down the sides of the bowl as needed. The goal here is to emulsify the eggs into the cream cheese mixture without creating a frothy batter. Once all the eggs are incorporated, gently fold in the 1/2 cup of sour cream and 1/4 cup of heavy cream. The sour cream adds a lovely tang, while the heavy cream contributes to the luxurious, decadent texture. Mix just until they are smoothly incorporated.
Baking and Cooling for Perfection
Step 5: The Water Bath and Slow Bake
To achieve a perfectly smooth, evenly baked cheesecake, we’re going to employ a water bath. This technique provides gentle, moist heat, preventing the edges from overcooking before the center is set and minimizing the risk of cracks. Preheat your oven to 325°F (160°C). Wrap the outside of your springform pan tightly with several layers of heavy-duty aluminum foil. This will prevent water from seeping into the pan. Place the foil-wrapped springform pan inside a larger baking pan. Carefully pour hot water into the larger baking pan, so that it comes about halfway up the sides of the springform pan. Gently place the cheesecake into the preheated oven. Bake for 60 to 75 minutes, or until the edges are set and the center is slightly jiggly when you gently shake the pan.
Step 6: The Crucial Slow Cooling Process
This is perhaps the most critical step for preventing cracks and ensuring a perfect texture. Once the baking time is complete, turn off the oven but leave the cheesecake inside with the oven door slightly ajar. You can prop the door open with a wooden spoon. Let the cheesecake cool in the oven for at least 1 hour. This gradual cooling allows the cheesecake to stabilize without the shock of rapidly changin extractg temperatures. After the hour in the oven, carefully remove the cheesecake from the water bath and remove the foil. Let it cool completely on a wire rack at room temperature. Once it’s reached room temperature, cover it loosely with plastic wrap and refrigerate for at least 6 hours, or preferably overnight, before serving. This chilling period is essential for the flavors to meld and the texture to fully set.

Conclusion:
I hope this guide to Cheesecake Wedding Cake Ideas: Unique Twists on a Classic Dessert has inspired you to think outside the traditional wedding cake box! As you can see, the humble cheesecake offers an incredible canvas for creativity, allowing for a dessert that is both stunning and deeply personal. From incorporating seasonal flavors to embracing bold artistic designs, your cheesecake wedding cake can truly be a showstopper that reflects your unique style as a couple. Don’t be afraid to experiment with different crusts, fillings, and toppings. Remember, the best wedding cake is one that you and your guests will absolutely adore. So, go forth and create a cheesecake masterpiece that will be remembered for years to come!
Frequently Asked Questions about Cheesecake Wedding Cakes:
What are some popular flavor combinations for a cheesecake wedding cake?
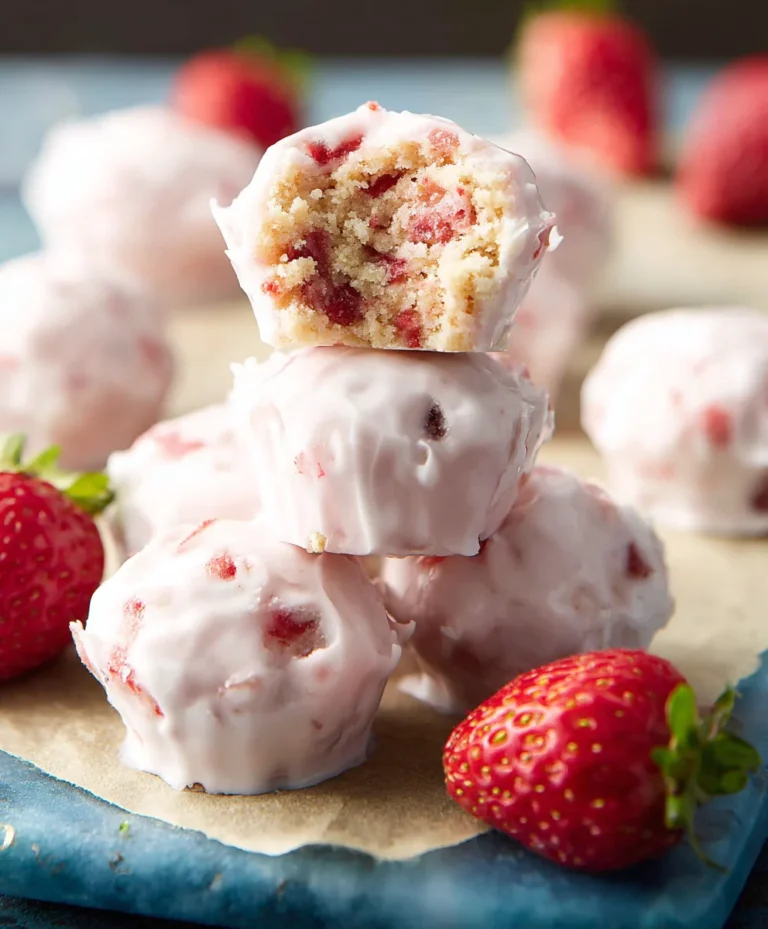
Beyond the classic vanilla or chocolate, popular choices include lemon raspberry, salted caramel, strawberry shortcake, white chocolate, and even more adventurous options like matcha or lavender. Consider flavors that complement your wedding theme or season.
Can a cheesecake wedding cake be made ahead of time?
Yes, most cheesecakes can be made and refrigerated a day or two in advance. For tiered cheesecakes, it’s advisable to assemble them closer to the event to ensure stability. Freezing is also an option for individual cheesecake layers, which can then be thawed and assembled.
How do you ensure a cheesecake wedding cake is stable for stacking?
For tiered cheesecake cakes, it’s crucial to use very firm, chilled cheesecakes. Often, a sturdy cake board is used beneath each layer, and dowels are inserted into the lower tiers to support the weight of the tiers above. Frosting plays a key role in stabilizing the structure as well. Some bakers also incorporate a thin layer of sponge cake or a cheesecake batter that has been partially baked and then chilled to create a more stable base.
Unique Cheesecake Wedding Cake Ideas-Classic Dessert Twists
Explore unique cheesecake wedding cake ideas with classic dessert twists, featuring a rich and creamy cheesecake recipe perfect for your special day.
Ingredients
-
2 cups graham cracker crumbs
-
1/4 cup granulated sugar
-
1/2 cup unsalted butter, melted
-
4 (8-ounce) packages cream cheese, softened
-
1 1/2 cups granulated sugar
-
1/2 cup all-purpose flour
-
1 teaspoon vanilla extract
-
4 large eggs
-
1/2 cup sour cream
-
1/4 cup heavy cream
Instructions
-
Step 1
Create the Graham Cracker Base: In a medium bowl, combine graham cracker crumbs with granulated sugar. Add melted butter and mix until evenly moistened, resembling wet sand. If dry, add another tablespoon of melted butter. -
Step 2
Press the Crust into the Pan: Firmly press the graham cracker mixture evenly across the bottom of a prepared cheesecake pan (springform is ideal). Press slightly up the sides to create a rim. -
Step 3
Achieve a Silky Smooth Cream Cheese Mixture: In a large bowl, beat softened cream cheese and granulated sugar until smooth and creamy. Add all-purpose flour and vanilla extract, and beat until just combined. -
Step 4
Gently Incorporate the Eggs for Richness: Add large eggs one at a time, beating on low speed after each addition until just blended. Gently fold in sour cream and heavy cream until smoothly incorporated. -
Step 5
The Water Bath and Slow Bake: Preheat oven to 325°F (160°C). Wrap the springform pan with foil and place it inside a larger baking pan. Add hot water to the larger pan, halfway up the sides of the springform pan. Bake for 60-75 minutes, until edges are set and the center is slightly jiggly. -
Step 6
The Crucial Slow Cooling Process: Turn off the oven, leave the cheesecake inside with the door ajar for at least 1 hour. Remove from water bath, let cool completely on a wire rack. Cover loosely and refrigerate for at least 6 hours, or overnight.
Important Information
Nutrition Facts (Per Serving)
It is important to consider this information as approximate and not to use it as definitive health advice.
Allergy Information
Please check ingredients for potential allergens and consult a health professional if in doubt.