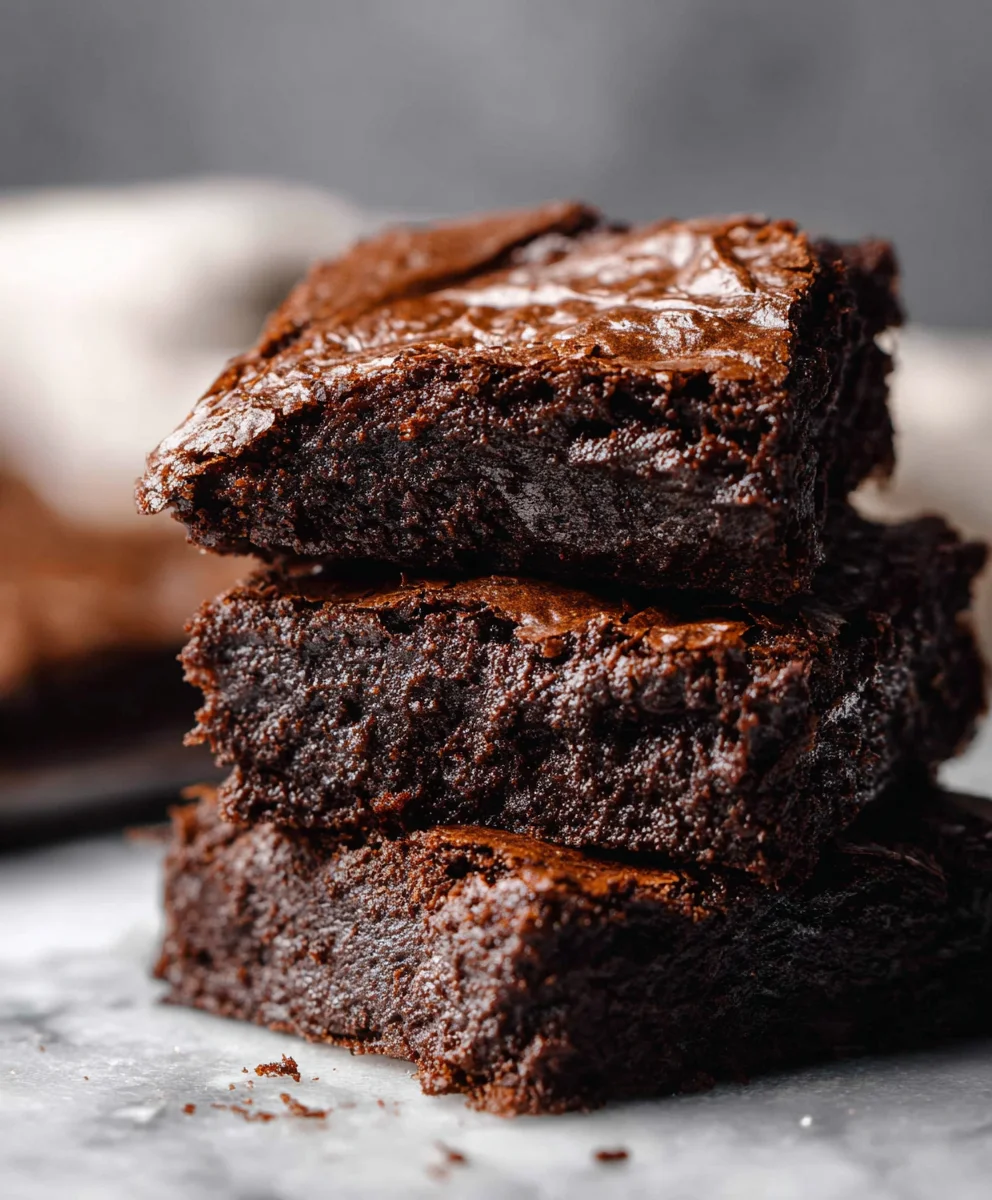
Easy Sourdough Discard Brownies – Chewy & Rich
Easy Sourdough Discard Brownies are more than just a treat; they’re a delightful revelation for any baker seeking to minimize waste and maximize flavor. Have you ever found yourself staring at a jar of bubbly sourdough discard, wondering what delicious fate awaits it? This recipe is your answer! What makes these brownies so incredibly beloved is their unique ability to transform a humble ingredient into something truly extraordinary. The sourdough discard lends a subtle, delightful tang that perfectly balances the rich chocolate, creating a depth of flavor you simply won’t find in ordinary brownies. They’re unbelievably moist, fudgy, and possess that perfect chewy edge that makes you reach for just one more. This isn’t just a brownie; it’s a testament to the magic of fermentation and a delicious way to bring joy to your kitchen with minimal fuss. Get ready to fall in love with how simple it is to create such a decadent dessert.
Ingredients:
- 1/2 cup unsalted butter
- 1 1/2 cups semi-sweet chocolate chips (approximately 12 oz), divided
- 1/2 cup unsweetened cocoa powder (Dutch-processed or regular)
- 2 teaspoons pure vanilla extract
- 2 large eggs
- 1 large egg yolk
- 1 cup granulated white sugar
- 1/2 cup packed light brown sugar
- 1/2 cup sourdough starter discard (aged or unfed, at room temperature)
- 1 cup all-purpose flour
- 1 teaspoon fine sea salt
Melting the Chocolate and Butter
Step 1: Prepare Your Baking Pan and Melt
The first step to fudgy, chewy brownies is to get your pan ready. Line an 8×8 inch baking pan with parchment paper, leaving an overhang on the sides. This makes it incredibly easy to lift the brownies out once they’re baked and cooled. Next, in a heatproof bowl set over a saucepan of simmering water (a double boiler setup), combine the 1/2 cup of unsalted butter and 1 cup of the semi-sweet chocolate chips. Stir occasionally until the butter is completely melted and the chocolate chips have softened and started to melt. You want a smooth, glossy mixture. Be careful not to let the bottom of the bowl touch the simmering water, as this can scorch the chocolate. Once melted, remove the bowl from the heat and stir in the 1/2 cup of cocoa powder until it’s fully incorporated and there are no streaks of dry cocoa left. The mixture will be thick and deeply colored. Let this chocolate mixture cool slightly for about 5-10 minutes while you prepare the other ingredients. This brief cooling period is important; adding it to eggs while too hot can scramble them.
Combining Wet Ingredients
Step 2: Whisk Together Sugars, Eggs, and Vanilla
In a separate, larger mixing bowl, add the 1 cup of granulated white sugar and the 1/2 cup of packed light brown sugar. Pour in the slightly cooled chocolate and butter mixture. Now, grab a whisk and begin extract to beat these ingredients together vigorously. You want to whisk for about 2-3 minutes. This step is crucial for developing a chewy texture in your brownies. The sugars will start to dissolve and the mixture will become lighter in color and slightly fluffy. Next, add the 2 large eggs and the 1 egg yolk to the bowl. Continue whisking until everything is well combined and smooth. Finally, stir in the 2 teaspoons of vanilla extract. The aroma at this stage is already heavenly!
Incorporating Sourdough and Dry Ingredients
Step 3: Fold in Sourdough Starter and Flour Mixture
Now it’s time to introduce the star of our “Easy Sourdough Discard Brownies” – the sourdough starter discard! Add the 1/2 cup of sourdough starter discard to the wet ingredients. Don’t worry if your starter discard looks a little dense or bubbly; it will incorporate beautifully. Gently fold it in with a spatula until it’s mostly combined. It’s okay if there are still a few streaks. In a separate small bowl, whisk together the 1 cup of all-purpose flour and the 1 teaspoon of salt. This ensures the leavening and seasoning are evenly distributed. Now, gradually add this dry ingredient mixture to the wet batter. Use your spatula to gently fold the flour mixture into the chocolate base. Be very careful not to overmix at this stage. Stop mixing as soon as you no longer see any streaks of dry flour. Overmixing can lead to tough brownies, and we’re aiming for tender, fudgy goodness. A few small lumps are perfectly fine.
Adding the Final Chocolatey Touches
Step 4: Stir in Remaining Chocolate Chips
This is where we ensure maximum chocolatey goodness in every bite. Take the remaining 1/2 cup of semi-sweet chocolate chips and add them to the brownie batter. Gently fold them in with your spatula. You want them to be distributed throughout the batter, but again, avoid overmixing. The goal is to have pockets of melted chocolate when you bite into the finished brownies. The contrast between the fudgy brownie and the gooey, melted chocolate chips is what makes these so irresistible.
Baking and Cooling for Perfect Texture
Step 5: Bake and Cool to Perfection
Pour the glorious brownie batter into your prepared baking pan. Spread it evenly with your spatula, making sure the batter reaches all the corners. Now, place the pan in a preheated oven at 350°F (175°C). Bake for approximately 25-30 minutes. The exact baking time will depend on your oven, so keep an eye on them. You’re looking for the edges to be set and slightly pulling away from the sides of the pan, while the center should still look a little soft and fudgy – it will continue to set as it cools. You can test for doneness by inserting a toothpick into the center; it should come out with moist crum extractbs attached, not wet batter. Once baked, remove the pan from the oven and let the brownies cool completely in the pan on a wire rack. This cooling process is essential for developing the perfect chewy texture and for making them easy to cut. Resist the urge to cut them while they’re hot! Letting them cool for at least an hour, or even better, chilling them in the refrigerator for about 30 minutes before cutting, will result in clean slices and the ultimate brownie experience. Once cooled, use the parchment paper overhang to lift the entire slab out of the pan. Cut into squares and enjoy your delicious homemade Easy Sourdough Discard Brownies!
Conclusion:
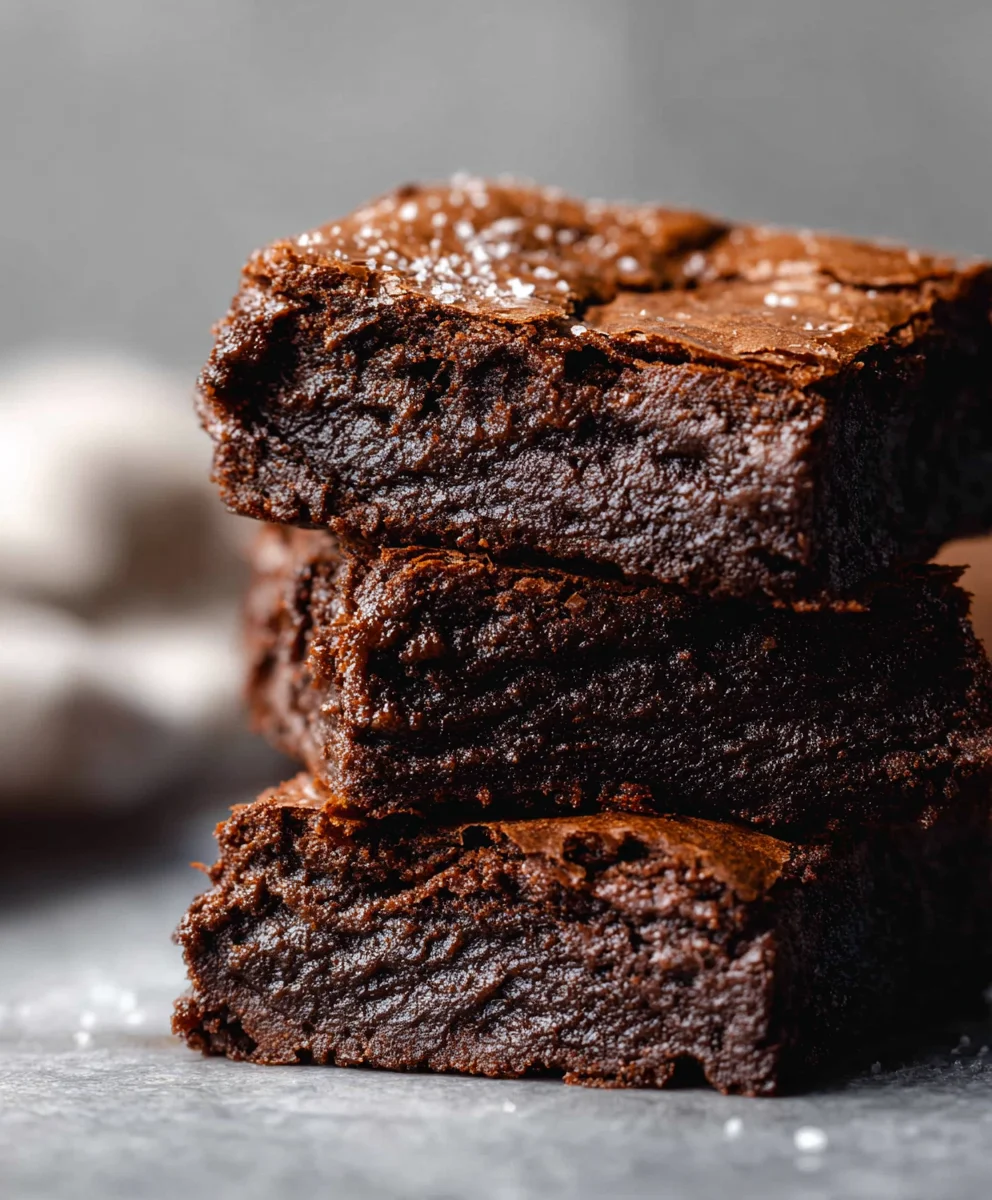
There you have it – a foolproof guide to creating decadent and intensely chocolatey Easy Sourdough Discard Brownies! We’ve walked through each step, from preparing your discard to achieving that perfect fudgy center. These brownies are a fantastic way to transform a typically discarded ingredient into a crowd-pleasing treat. They’re wonderful served warm, perhaps with a scoop of vanilla bean ice cream, or at room temperature with a strong cup of coffee. For a delightful twist, consider adding a handful of chocolate chips, chopped nuts, or even a sprinkle of sea salt on top before baking to enhance the flavor complexity. Don’t be afraid to experiment and make these Easy Sourdough Discard Brownies your own. We’re confident you’ll fall in love with their rich texture and satisfyingly tangy undertones. Happy baking!
Frequently Asked Questions:
Why are my Easy Sourdough Discard Brownies not fudgy?
Fudgy brownies often result from a higher fat-to-flour ratio and less leavening. Ensure you’re not over-baking them; a slightly underbaked center is key to fudgy goodness. A toothpick inserted should come out with moist crum extractbs, not completely clean.
Can I use active sourdough starter instead of discard for these Easy Sourdough Discard Brownies?
Yes, you absolutely can! If you use active starter, the brownies might have a slightly tangier flavor profile. You may also want to adjust the leavening slightly, as active starter already contains yeast. However, for the intended texture and flavor of these Easy Sourdough Discard Brownies, discard is generally preferred.
How should I store Easy Sourdough Discard Brownies?
Store your Easy Sourdough Discard Brownies in an airtight container at room temperature for up to 3-4 days. For longer storage, they can be wrapped well and frozen for up to 2-3 months. Thaw them at room temperature before enjoying.
Easy Sourdough Discard Brownies – Chewy & Rich
Indulge in these incredibly chewy and rich brownies, elevated with the subtle tang of sourdough discard for an extra depth of flavor. Perfect for using up that sourdough starter!
Ingredients
-
1/2 cup unsalted butter
-
1 1/2 cups semi-sweet chocolate chips (approximately 12 oz), divided
-
1/2 cup unsweetened cocoa powder (Dutch-processed or regular)
-
2 teaspoons pure vanilla extract
-
2 large eggs
-
1 large egg yolk
-
1 cup granulated white sugar
-
1/2 cup packed light brown sugar
-
1/2 cup sourdough starter discard (aged or unfed, at room temperature)
-
1 cup all-purpose flour
-
1 teaspoon fine sea salt
Instructions
-
Step 1
Line an 8×8 inch baking pan with parchment paper, leaving an overhang. In a heatproof bowl set over simmering water, melt 1/2 cup unsalted butter and 1 cup semi-sweet chocolate chips until smooth. Stir in 1/2 cup cocoa powder until fully incorporated. Let cool slightly for 5-10 minutes. -
Step 2
In a larger bowl, combine 1 cup granulated white sugar and 1/2 cup packed light brown sugar. Pour in the slightly cooled chocolate mixture and whisk vigorously for 2-3 minutes until lighter and slightly fluffy. Add 2 large eggs and 1 egg yolk, whisking until smooth. Stir in 2 teaspoons vanilla extract. -
Step 3
Gently fold in 1/2 cup sourdough starter discard until mostly combined. In a separate small bowl, whisk together 1 cup all-purpose flour and 1 teaspoon salt. Gradually add the dry ingredients to the wet batter, folding gently until just combined, being careful not to overmix. -
Step 4
Gently fold in the remaining 1/2 cup semi-sweet chocolate chips, distributing them throughout the batter without overmixing. -
Step 5
Pour batter into the prepared pan and spread evenly. Bake in a preheated oven at 350°F (175°C) for 25-30 minutes, or until the edges are set and a toothpick inserted into the center comes out with moist crumbs. Let cool completely in the pan on a wire rack before cutting.
Important Information
Nutrition Facts (Per Serving)
It is important to consider this information as approximate and not to use it as definitive health advice.
Allergy Information
Please check ingredients for potential allergens and consult a health professional if in doubt.