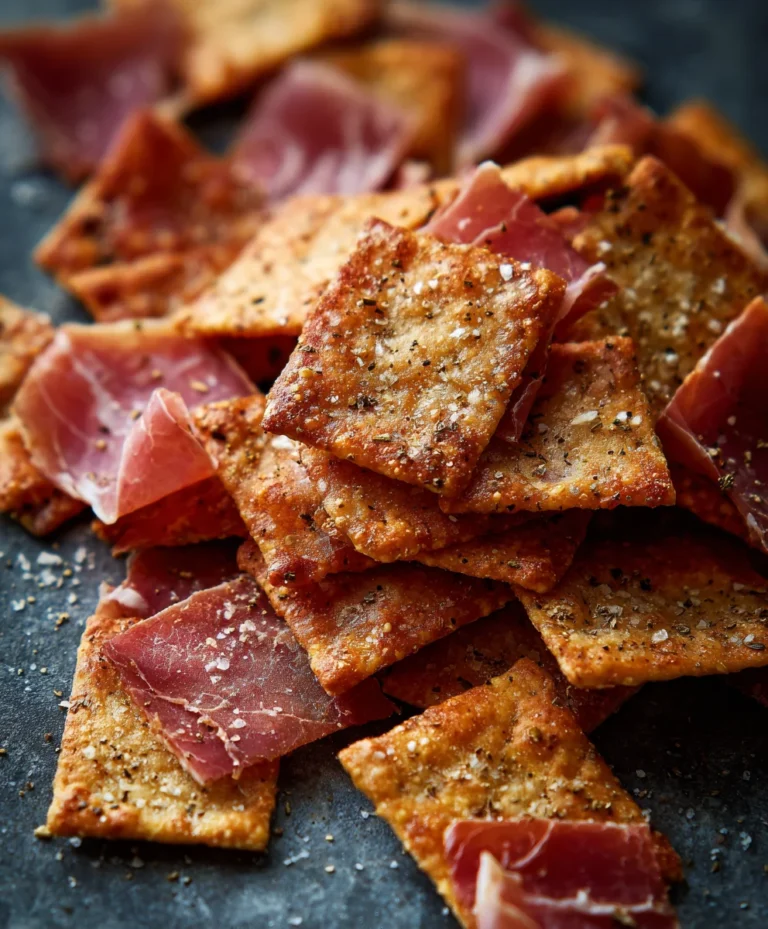
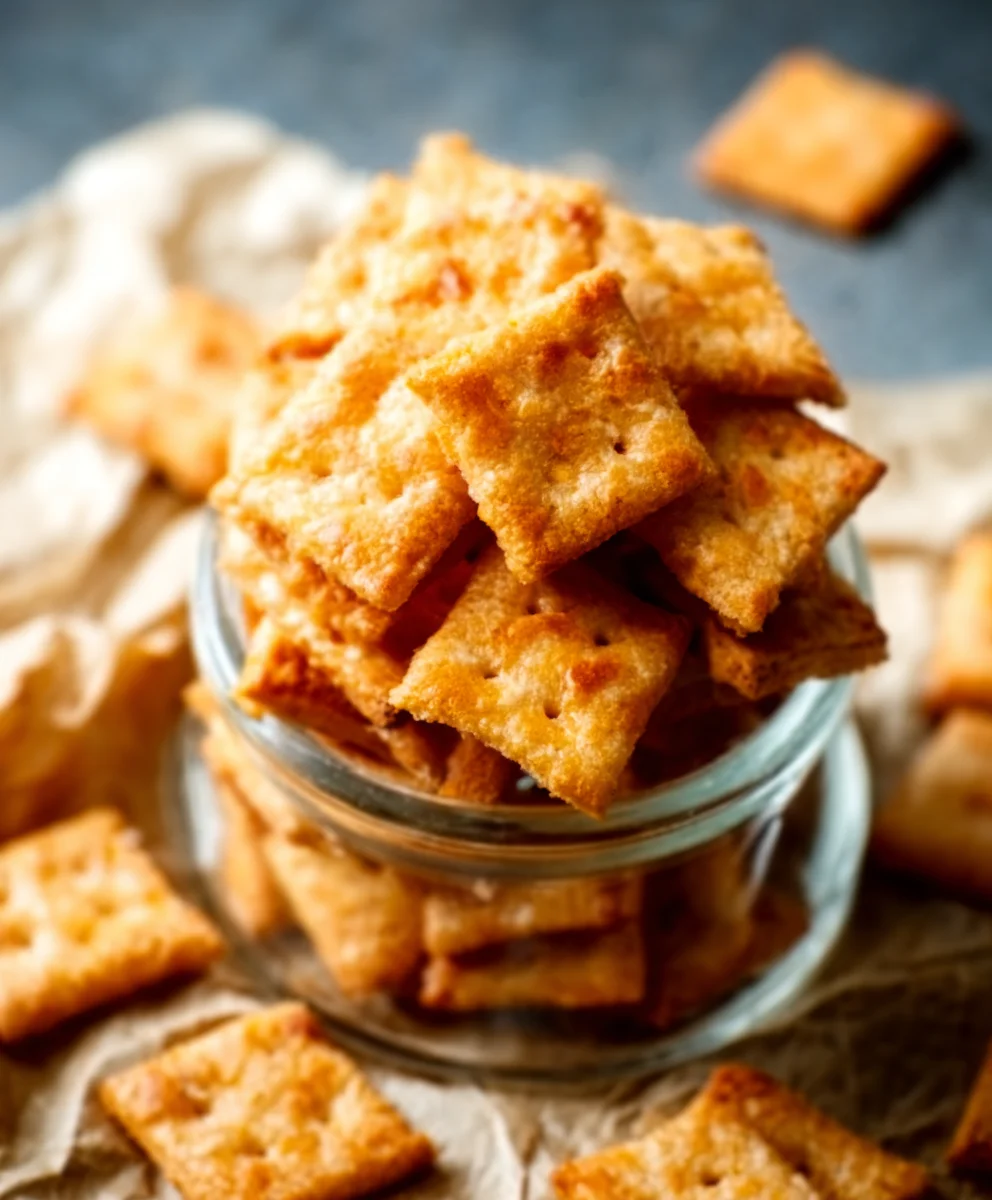
Easy Sourdough Cheese Crackers – Crispy & Delicious
Sourdough Cheese Crackers are more than just a snack; they are a testament to the magic that can happen when a bit of tang meets savory goodness. If you’ve ever found yourself reaching for that artisanal cheese board, or simply craving a perfectly crunchy, flavorful bite to accompany your afternoon tea or evening grape juice, then you understand the allure of a truly exceptional cracker. These aren’t your average store-bought varieties; our Sourdough Cheese Crackers boast a delightful depth of flavor, a satisfying crispness, and that signature subtle tang from the sourdough starter that makes them utterly irresistible. People adore them because they offer a sophisticated yet comforting flavor profile, a wonderful textural experience, and the sheer joy of knowing you made them yourself! What makes this particular recipe special is the way the fermentation of the sourdough starter harmonizes with the sharp, nutty notes of the cheese, creating a complex symphony of tastes that will have everyone asking for the recipe.
Ingredients:
- 230 grams (approximately 1 cup) sourdough starter, active or discard (make sure it’s stirred down before measuring for accuracy)
- 3 tablespoons melted butter or your preferred cooking oil (olive oil or a neutral vegetable oil works well)
- 120 grams (approximately 1 cup) all-purpose flour
- 1/2 teaspoon salt
- 1/2 teaspoon paprika
- 1/2 teaspoon garlic powder
- 1/4 teaspoon cayenne pepper (adjust to your spice preference, or omit if you prefer milder crackers)
- 8 ounces cheddar cheese, shredded (a sharp or medium cheddar will give the best flavor)
Making Your Sourdough Cheese Crackers
This recipe yields wonderfully savory and irresistibly crunchy sourdough cheese crackers. The sourdough starter not only adds a delightful tang but also contributes to a unique texture that store-bought crackers simply can’t replicate. We’re going to keep this process straightforward, focusing on building flavor and achieving that perfect crisp.
Mixing the Dough
First, let’s get everything combined. In a medium-sized mixing bowl, add your sourdough starter. If you’re using a recently fed starter, it should be bubbly and active. If you’re using discard, don’t worry; it will still lend its unique flavor. Next, pour in the melted butter or oil. Give this a good stir to combine the starter and fat.
Now, it’s time to add the dry ingredients. Add the all-purpose flour, salt, paprika, garlic powder, and cayenne pepper to the bowl. If you’re sensitive to spice, feel free to reduce the cayenne or leave it out entirely. You can also add other spices at this stage if you fancy, like a pinch of onion powder or dried herbs.
Using a sturdy spoon or a spatula, begin extract to mix these ingredients together. It will seem shaggy and a bit dry at first. Keep mixing until most of the flour is incorporated and you have a rough dough. Don’t overwork the dough at this stage; we just want it to come together.
Incorporating the Cheese
This is where the magic happens! Add your shredded cheddar cheese to the dough mixture. You want to ensure the cheese is evenly distributed throughout the dough for maximum flavor in every bite. It’s important to use shredded cheese rather than blocks, as it will incorporate much more easily and evenly. If your cheese is a bit clumped, breaking it up with your fingers before adding it can help.
Now, switch to using your hands to gently knead the dough and cheese together. The goal here is to distribute the cheese evenly without making the dough tough. You might need to use a little extra flour on your hands to prevent sticking, but add it sparingly. Press and fold the dough until the cheese is well-mixed in. You should have a cohesive dough with flecks of cheese throughout.
Chilling and Rolling
Once the cheese is incorporated, the dough needs a short rest to make it easier to handle and to allow the flavors to meld. Turn the dough out onto a lightly floured surface and gently form it into a rough ball. Then, flatten it slightly into a disc, wrap it tightly in plastic wrap, and refrigerate for at least 30 minutes. This chilling period is crucial; it firms up the dough and the butter (if you used butter), making it much easier to roll out thinly. Without this step, the dough might be too sticky and difficult to work with.
After chilling, unwrap the dough and place it back on a lightly floured surface. You have two main options for rolling:
- Using a Rolling Pin: This is the most common method. Lightly flour your rolling pin and the dough itself. Start rolling from the center outwards, rotating the dough occasionally to ensure even thickness. Aim for a thickness of about 1/16 to 1/8 inch. The thinner you roll them, the crispier they will be. If the dough becomes too soft or sticky, pop it back into the refrigerator for another 10-15 minutes.
- Using a Pasta Machine: If you have a pasta machine, this can make achieving an even thickness very easy. Start on the widest setting and pass the dough through, folding and passing again a few times. Gradually decrease the setting, passing the dough through each setting once until you reach your desired thinness. Be careful not to go too thin, or the crackers might become too brittle.
Once rolled out, you can cut your crackers into desired shapes. You can use a pizza cutter, a sharp knife, or small cookie cutters. For a classic cracker look, a pizza cutter or knife works perfectly to create squares or rectangles. If you’re feeling creative, use small cookie cutters for fun shapes. For ease of handling, I like to cut them directly on the parchment paper they’ll be baked on.
Baking to Perfection
Preheat your oven to 375°F (190°C). Line baking sheets with parchment paper. This prevents sticking and makes cleanup a breeze. Carefully transfer your cut cracker pieces onto the prepared baking sheets, leaving a little space between them as they will expand slightly. Don’t overcrowd the pan, as this can lead to uneven baking.
Now, for an optional but highly recommended step: lightly brush the tops of the crackers with a little melted butter or oil, and sprinkle with a pinch of flaky sea salt or extra paprika. This adds an extra layer of flavor and a lovely sheen. For any crackers that might puff up during baking, you can gently prick them with a fork before they go into the oven to allow steam to escape, ensuring they bake up flat and crisp.
Bake for 12-18 minutes, or until the crackers are golden brown and crisp around the edges. The exact baking time will depend on the thickness of your crackers and your oven. Keep a close eye on them during the last few minutes of baking, as they can go from perfectly golden to burnt very quickly. If you notice some crackers are browning faster than others, you can carefully remove them from the baking sheet and let the remaining ones continue to bake.
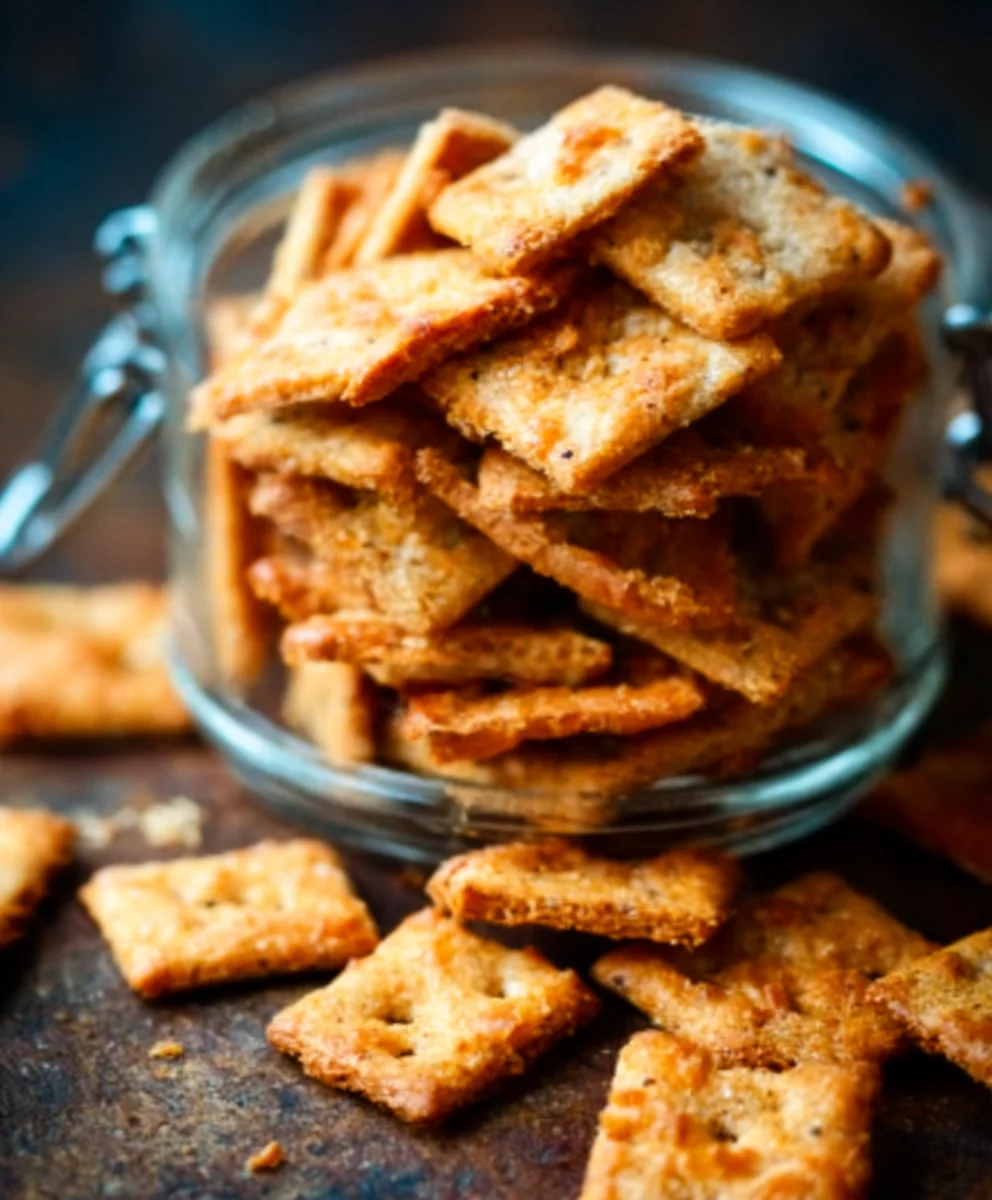
Once baked, remove the baking sheets from the oven and let the crackers cool completely on the baking sheets. They will become even crispier as they cool. This cooling period is essential for achieving that satisfying crunch. After they have cooled down, you can gently transfer them to an airtight container for storage. They are best enjoyed within a few days, but can last longer if stored properly.
Conclusion:
There you have it – a simple yet incredibly rewarding recipe for Sourdough Cheese Crackers! We’ve walked through each step to create these delightful, tangy, and cheesy bites, perfect for snacking or sharing. The beauty of these Sourdough Cheese Crackers lies not only in their addictive crunch but also in their adaptability. Feel free to experiment with different cheese combinations and herbs to make them your own. I truly hope you enjoy the process and the delicious results as much as I do. They are a fantastic way to use up that bubbly sourdough discard and impress your friends and family with homemade goodness.
Frequently Asked Questions about Sourdough Cheese Crackers:
Q1: How should I store my Sourdough Cheese Crackers?
Once completely cooled, store your Sourdough Cheese Crackers in an airtight container at room temperature. They should stay crisp for up to a week, though they rarely last that long! For longer storage, you can freeze them.
Q2: Can I use different types of cheese for my Sourdough Cheese Crackers?
Absolutely! While sharp cheddar is a classic, feel free to get creative. Gruyère, Parmesan, smoked gouda, or even a blend of your favorites will work wonderfully. Just ensure the cheese is finely grated for even melting and distribution.
Q3: My crackers are too soft. What went wrong?
The most common reason for soft crackers is insufficient baking time. Ensure your Sourdough Cheese Crackers are baked until they are deeply golden brown and feel firm to the touch. You might also need to lower your oven temperature slightly if your oven runs hot, allowing them more time to crisp up without burning.
Easy Sourdough Cheese Crackers – Crispy & Delicious
Deliciously savory and irresistibly crunchy sourdough cheese crackers with a delightful tang from sourdough starter.
Ingredients
-
230 grams (1 cup) sourdough starter, active or discard (stirred down before measuring)
-
3 tablespoons melted butter or olive oil
-
120 grams (1 cup) all-purpose flour
-
1/2 teaspoon salt
-
1/2 teaspoon paprika
-
1/2 teaspoon garlic powder
-
1/4 teaspoon cayenne pepper
-
8 ounces cheddar cheese, shredded
Instructions
-
Step 1
In a medium bowl, combine sourdough starter and melted butter or oil. Stir well. -
Step 2
Add all-purpose flour, salt, paprika, garlic powder, and cayenne pepper to the bowl. Mix with a spoon or spatula until a shaggy dough forms. Do not overwork. -
Step 3
Incorporate the shredded cheddar cheese into the dough. Use your hands to gently knead until the cheese is evenly distributed. Add a little flour to your hands if needed to prevent sticking. -
Step 4
Form the dough into a rough ball, flatten slightly into a disc, wrap tightly in plastic wrap, and refrigerate for at least 30 minutes. -
Step 5
On a lightly floured surface, roll out the chilled dough to 1/16 to 1/8 inch thickness using a rolling pin or pasta machine. Cut into desired shapes. -
Step 6
Preheat oven to 375°F (190°C). Line baking sheets with parchment paper and place the cut crackers on them. Optionally, brush with melted butter/oil and sprinkle with salt/paprika. Prick any crackers that might puff up with a fork. -
Step 7
Bake for 12-18 minutes, or until golden brown and crisp. Monitor closely to prevent burning. Remove from oven and let cool completely on the baking sheets to achieve maximum crispiness.
Important Information
Nutrition Facts (Per Serving)
It is important to consider this information as approximate and not to use it as definitive health advice.
Allergy Information
Please check ingredients for potential allergens and consult a health professional if in doubt.