Easy Artisan Bread Recipe- Delicious Homemade Loaf
Artisan Bread Recipe
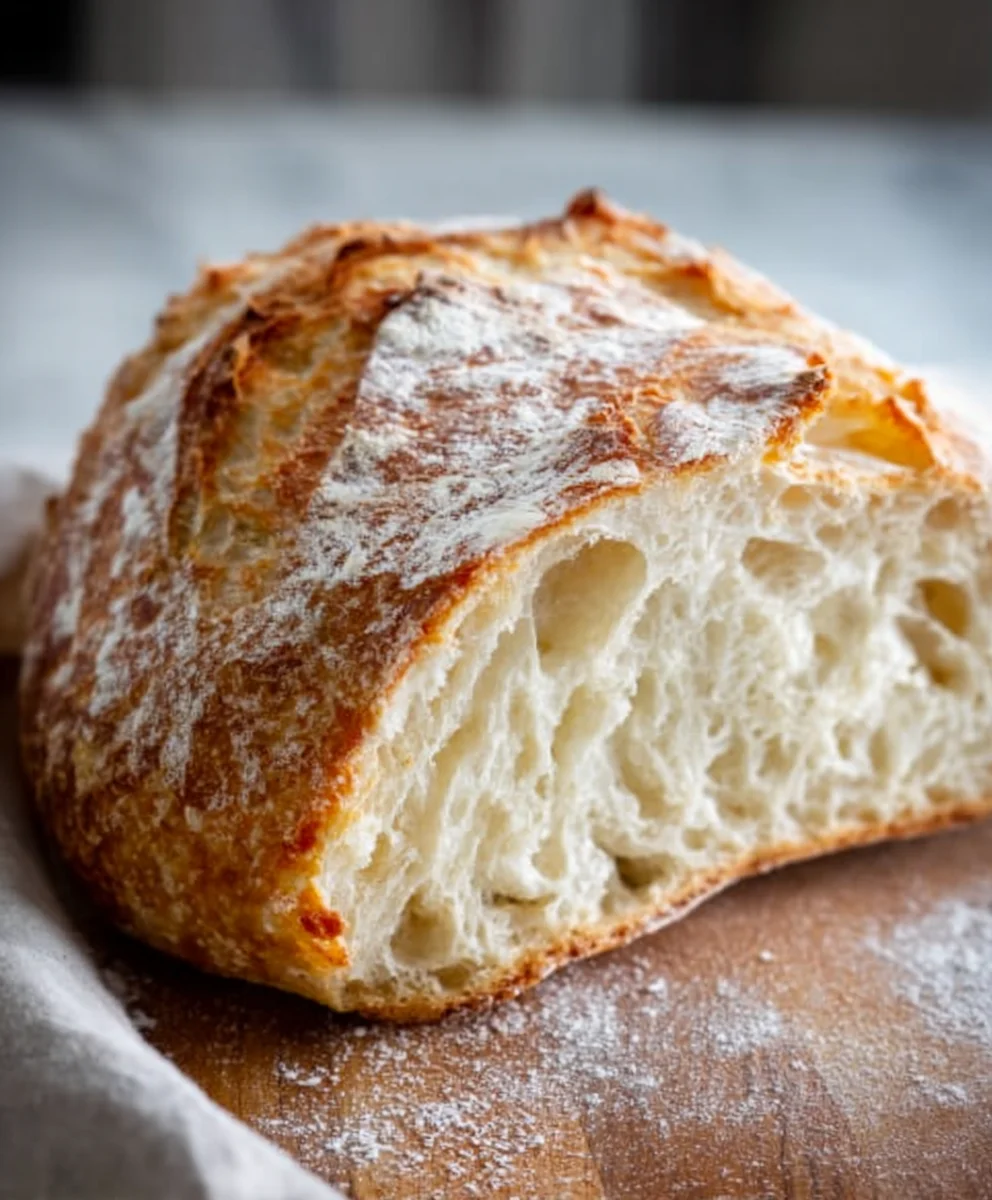
There’s something undeniably magical about a perfectly baked loaf of artisan bread. That irresistible aroma that fills your kitchen, the satisfying crackle of the crust as you slice into it, and the soft, chewy interior – it’s an experience that truly elevates any meal. This isn’t just about sustenance; it’s about comfort, connection, and the sheer joy of creating something beautiful and delicious from simple ingredients. Many people adore artisan bread because it offers a rustic charm and superior flavor and texture compared to mass-produced loaves. What makes this particular Artisan Bread Recipe so special is its approachable method that yields a spectacular result, even for begin extractners. We’ll guide you through each step, demystifying the process so you can confidently bake a loaf that looks and tastes like it came straight from a high-end bakery.
Why You’ll Love This Recipe
Get ready to impress yourself and everyone you share this bread with. It’s the perfect companion to soups, salads, or simply enjoyed with a generous spread of butter.
The Secret to Its Incredible Texture
We’ll delve into the techniques that create that signature open crum extractb and wonderfully crisp crust.
Ingredients:
- 3 cups (395 grams) all-purpose flour or bread flour
- ½ tablespoon kosher salt
- ¼ ounce instant or active dry yeast packet (or 2 ¼ teaspoons)
- 1 ½ cups warm water (105°F)
Preparing the Dough
Mixing the Ingredients
The journey to a perfect loaf of artisan bread begin extracts with understanding your ingredients and how they interact. For this recipe, we’ll use standard pantry staples that, when combined with patience and technique, create something truly special. Start by gathering your dry ingredients. In a large mixing bowl, combine the all-purpose flour (or bread flour for a chewier crum extractb), the kosher salt, and the yeast. Whisk these together thoroughly. This ensures that the salt and yeast are evenly distributed throughout the flour, which is crucial for uniform leavening and flavor development. If you’re using active dry yeast, you’ll want to “bloom” it first. To do this, take about half a cup of the warm water and sprinkle the yeast over it. Let it sit for about 5-10 minutes until it becomes foamy. If it doesn’t foam, your yeast might be old, and you should start with a fresh packet. If you’re using instant yeast, you can add it directly to the dry ingredients as instructed above.
Hydrating the Dough
Next, it’s time to introduce the liquid element. Pour the 1 ½ cups of warm water into the bowl with the dry ingredients. The ideal water temperature is around 105°F (40°C). If the water is too hot, it can kill the yeast, and if it’s too cold, it won’t activate it effectively. You can test this by dipping your wrist in; it should feel pleasantly warm, not hot. Using a sturdy spoon or a dough wgin extractk, begin to mix the ingredients until a shaggy dough forms. Don’t worry about it being perfectly smooth at this stage. The goal is simply to bring all the flour and water together. You’ll notice that some patches of flour might still be visible, and the dough will look somewhat rough and uncooperative. This is completely normal and part of the process for developing a good gluten structure.
Developing the Dough Structure
Kneading the Dough
Now comes the satisfying part: kneading. Turn the shaggy dough out onto a lightly floured surface. If you used a large mixing bowl, you can often do the initial kneading right in the bowl. Lightly flour ygin extract hands and begin to push and fold the dough. The technique involves pushing the dough away from you with the heels of your hands, then folding it back over itself. Rotate the dough a quarter turn and repeat. Continue this process for about 8-10 minutes. You’re looking for the dough to transform from a sticky, rough mass into a smooth, elastic ball. As you knead, you’ll feel the dough becoming more pliable and less sticky. It will start to spring back slightly when you poke it. This process develops the gluten network, which is what gives bread its structure and chegrape juicess. Don’t be tempted to add too much extra flour during kneading, as this can make the bread dense. Only add a tiny bit if the dough is sticking excessively to your hands or the surface.
First Rise (Bulk Fermentation)
Once your dough has reached a smooth and elastic consistency, it’s time for its first rise, also known as bulk fermentation. Lightly grease a clean bowl with a little olive oil or cooking spray. Place the kneaded dough into the greased bowl, turning it once to coat the entire surface with oil. This prevents a dry skin from forming. Cover the bowl tightly with plastic wrap or a damp kitchen towel. Find a warm, draft-free spot for the dough to rest and rise. An oven that has been turned off (but perhaps warmed slightly by the pilot light, if you have one) or a spot near a warm appliance can be ideal. Let the dough rise for about 1 to 1.5 hours, or until it has doubled in size. The exact time will depend on the warmth of your environment. You’ll know it’s ready when a gentle poke with a floured finger leaves an indentation that doesn’t immediately spring back. This waiting period is where the yeast works its magic, creating air pockets and developing complex flavors.
Shaping and Baking
Shaping the Loaf
After the first rise, gently punch down the dough to release the accumulated gases. Turn the dough out onto a lightly floured surface once more. For a classic artisan loaf, you’ll want to shape it into a round (boule) or an oval (batard). To form a boule, gently flatten the dough into a rough disc. Then, bring the edges into the center, pinching to seal, and turn it seam-side down. Cup your hands around the dough and gently rotate it, creating surface tension, which helps the loaf hold its shape during baking. For a batard, you’ll essentially be rolling the dough up like a jelly roll, tucking in the ends, and then gently shaping it into an oval. Be careful not to overwork or degas the dough too much at this stage, as we want to retain some of those air bubbles.
Second Rise and Baking Preparation
Once shaped, place your loaf onto a piece of parchment paper or directly into a floured proofing basket (banneton), seam-side up. If using parchment, you can carefully transfer the parchment and dough to a baking sheet later. Cover the shaped loaf loosely with plastic wrap or a kitchen towel. Let it rest for another 30-45 minutes for its second rise. During this time, preheat your oven to 450°F (230°C). If you’re using a Dutch oven or baking stone, place it in the oven during this preheating phase so it gets thoroughly hot. A hot baking surface is key to achieving a beautiful, crispy crust. If you plan to score your bread, now is the time to do it. Use a very sharp knife or a baker’s lame to make shallow cuts across the top of the loaf. This allows the bread to expand predictably in the oven and adds a professional touch. Be confident with your scoring; a quick, decisive cut is best.
Baking the Artisan Bread
Carefully transfer your proofed loaf into the preheated oven. If using a Dutch oven, remove the lid and gently lower the loaf (with its parchment paper, if used) into the hot pot. Cover with the lid. This creates a steamy environment, which is essential for a great crust. Bake with the lid on for 20-25 minutes. After this initial period, carefully remove the lid. The bread should have risen and started to brown. Continue baking, uncovered, for another 20-25 minutes, or until the crust is a deep golden brown and the internal temperature reaches 200-210°F (93-99°C) when measured with an instant-read thermometer. If you’re not using a Dutch oven, place your loaf on the preheated baking stone or sheet and consider creating steam by placing a pan of hot water on the bottom rack of your oven for the first 15-20 minutes of baking. Once baked, carefully remove the bread from the oven and transfer it to a wire rack to cool completely. Resist the urge to slice into it immediately; cooling allows the internal structure to set and the flavors to fully develop.
Conclusion:
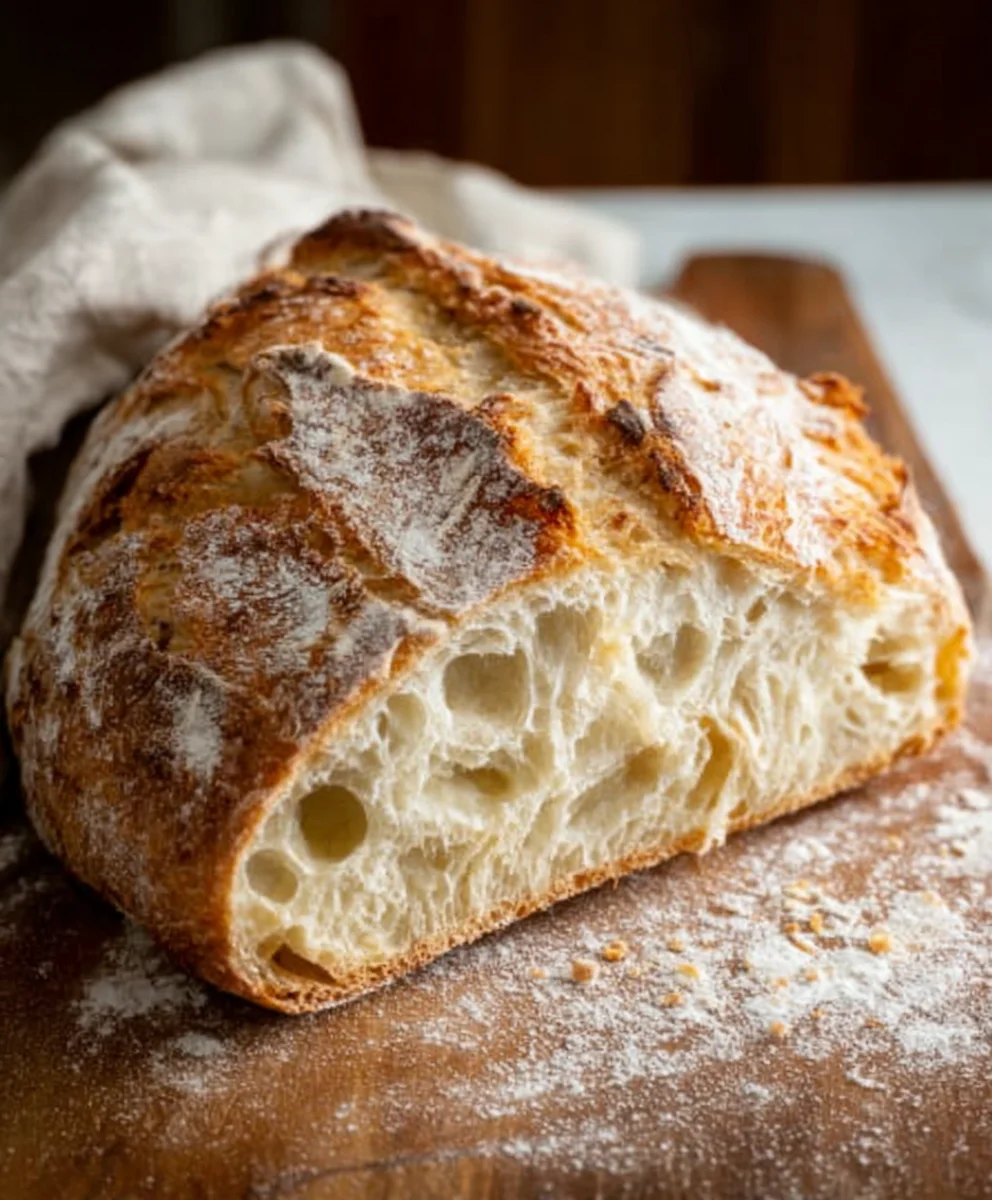
And there you have it! Your very own delicious, crusty Artisan Bread Recipe is ready to impress. We’ve walked through each step, from mixing and kneading to proofing and baking, ensuring you achieve that perfect golden crust and airy interior. This Artisan Bread Recipe is incredibly rewarding, and the aroma filling your kitchen as it bakes is simply divine. Serve this versatile loaf warm, with a generous slathering of butter, alongside your favorite soups, stews, or pasta dishes. It also makes for fantastic toast or the base for decadent sandwiches.
Don’t be afraid to experiment! You can add herbs like rosemary or thyme to the dough, or even a sprinkle of seeds on top before baking. Consider incorporating a touch of whole wheat flour for a nuttier flavor, or even a swirl of garlic butter for an extra kick. The beauty of this Artisan Bread Recipe is its adaptability. So, gather your ingredients, embrace the process, and enjoy the satisfaction of baking your own beautiful bread.
Frequently Asked Questions about Artisan Bread Recipe:
Q1: My bread didn’t rise as much as I expected. What could be the issue?
Several factors can affect rising. Ensure your yeast is fresh and active. Water temperature is crucial; too hot can kill yeast, and too cold can prevent activation. Also, make sure your dough had adequate proofing time in a warm, draft-free environment. Over-kneading can also sometimes hinder rise, as can an oven that isn’t hot enough.
Q2: Can I make this Artisan Bread Recipe ahead of time?
Absolutely! Once baked and completely cooled, you can store your Artisan Bread Recipe at room temperature in a bread box or a loosely senon-alcoholic aled paper bag for 2-3 days. For longer storage, wrap it tightly in plastic wrap and then in foil, and freeze for up to 3 months. Reheat slices in the oven or toaster for a fresh-from-the-bakery taste.
Easy Artisan Bread Recipe- Delicious Homemade Loaf
A simple and delicious recipe for homemade artisan bread, perfect for beginners.
Ingredients
-
3 cups all-purpose flour or bread flour
-
½ tablespoon kosher salt
-
¼ ounce instant or active dry yeast packet (or 2 ¼ teaspoons)
-
1 ½ cups warm water (105°F)
-
1 tablespoon olive oil (for greasing bowl)
Instructions
-
Step 1
In a large mixing bowl, combine the flour, kosher salt, and yeast. Whisk thoroughly. If using active dry yeast, bloom it in about half a cup of warm water for 5-10 minutes until foamy. -
Step 2
Pour the remaining warm water into the bowl with the dry ingredients. Mix with a spoon or dough whisk until a shaggy dough forms. Don’t worry about smoothness yet. -
Step 3
Turn the dough onto a lightly floured surface and knead for 8-10 minutes until smooth and elastic. The dough should spring back slightly when poked. -
Step 4
Place the kneaded dough into a lightly oiled bowl, turning to coat. Cover and let rise in a warm, draft-free spot for 1 to 1.5 hours, or until doubled in size. -
Step 5
Gently punch down the dough and shape it into a round (boule) or oval (batard) on a lightly floured surface. Be careful not to overwork. -
Step 6
Place the shaped loaf onto parchment paper or into a floured proofing basket, seam-side up. Cover and let rest for another 30-45 minutes for its second rise. Preheat your oven to 450°F (230°C) with a Dutch oven or baking stone inside. -
Step 7
Score the top of the loaf with a sharp knife or lame. Carefully transfer the loaf to the preheated Dutch oven (with lid on) or onto the hot baking stone. Bake for 20-25 minutes with the lid on (if using Dutch oven), then uncovered for another 20-25 minutes until deep golden brown. -
Step 8
Remove from the oven and transfer to a wire rack to cool completely before slicing.
Important Information
Nutrition Facts (Per Serving)
It is important to consider this information as approximate and not to use it as definitive health advice.
Allergy Information
Please check ingredients for potential allergens and consult a health professional if in doubt.