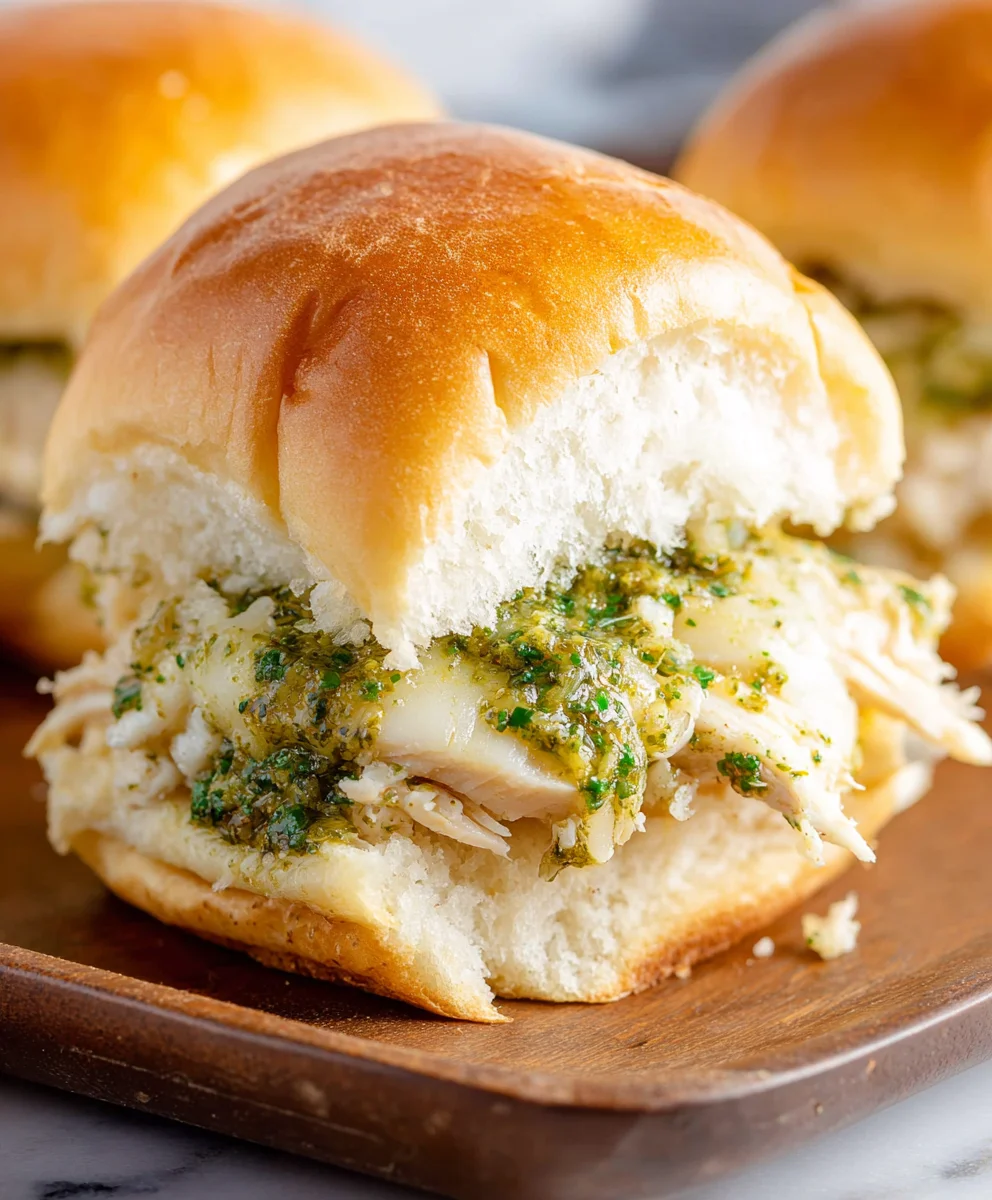
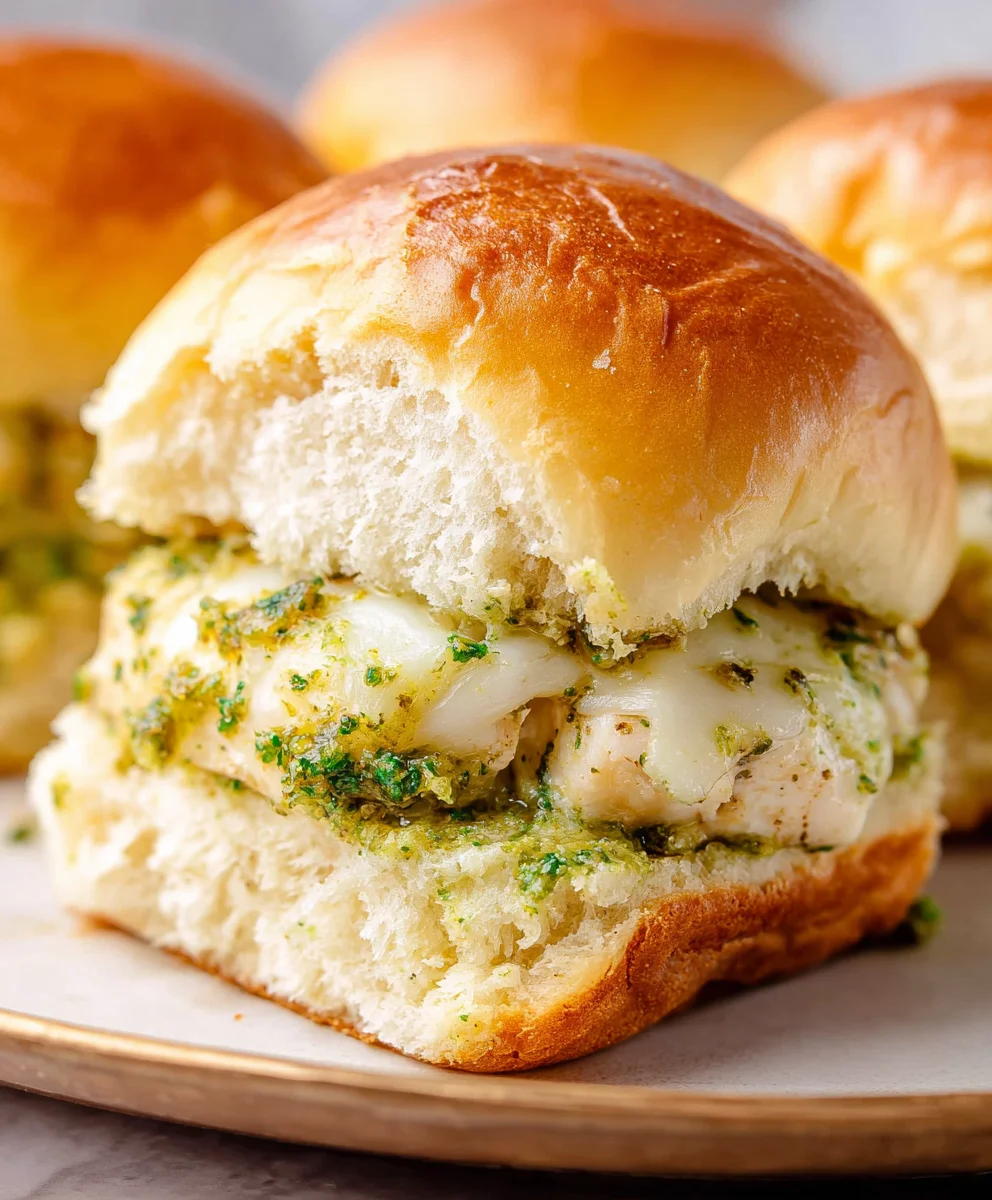
Cheesy Garlic Pesto Chicken Sliders-Easy Dinner
Cheesy Garlic Pesto Chicken Sliders are more than just a meal; they’re a compact explosion of flavor designed to bring smiles to any gathering. Imagin extracte sinking your teeth into tender, shredded chicken infused with the vibrant, herbaceous notes of basil pesto, all enveloped in a gooey, irresistible blanket of melted cheese. It’s this magical combination that makes these sliders such a beloved treat, perfect for game days, casual get-togethers, or even a quick and satisfying weeknight dinner. What truly sets these Cheesy Garlic Pesto Chicken Sliders apart is the harmonious dance between the pungent garlic, the fresh basil, and the rich, creamy cheese, all embraced by soft, yielding slider buns. They’re incredibly easy to whip up, yet sophisticated enough to impress, offering a delightful balance of comfort food and gourmet flair.
The Perfect Bite
A Flavorful Journey
Ingredients:
- 12 count package slider rolls
- 6 Tbsp unsalted butter (melted)
- 4 cloves garlic (finely minced)
- 2 tsp minced fresh parsley
- 2/3 cup basil pesto (homemade or store-bought, divided)
- 2 cups cooked and shredded chicken (a rotisserie chicken is great for this)
- 1 1/2 cups shredded mozzarella cheese
- Salt and pepper (to taste)
Preparation: Building the Flavor Base
Step 1: Prepare the Garlic Butter Mixture
First things first, we need to get our flavorful topping ready. In a small bowl, combine the 6 tablespoons of melted unsalted butter with the 4 finely minced garlic cloves and the 2 teaspoons of minced fresh parsley. This combination is going to give our slider rolls an incredible aroma and a delightful garlicky, herbaceous kick. Stir these ingredients together thoroughly to ensure the garlic and parsley are evenly distributed throughout the melted butter. This mixture will be brushed over the slider rolls, infusing them with deliciousness as they bake.
Step 2: Preheat Oven and Prepare Slider Rolls
Preheat your oven to 375°F (190°C). This is the perfect temperature for gently toasting the slider rolls and melting the cheese without burning them. Now, take your 12-count package of slider rolls and, using a serrated knife, carefully slice them in half horizontally. It’s easiest to keep them together as a whole unit while you slice. You’ll want to lay the bottom halves of the rolls cut-side up on a baking sheet. This way, they’re ready to be loaded with our delicious filling.
Assembly: Layering the Deliciousness
Step 3: Apply the Pesto and Chicken Layer
Now for the fun part – assembling the sliders! Spread approximately half of your basil pesto evenly over the cut side of the bottom halves of the slider rolls. Don’t be shy; get a good, even layer. Next, in a medium bowl, combine the 2 cups of cooked and shredded chicken with the remaining half of the basil pesto. Season this chicken mixture with a pinch of salt and pepper to taste. Toss everything together gently until the chicken is well coated in the pesto. Distribute this seasoned chicken mixture evenly over the pesto-covered bottom halves of the slider rolls. Ensure you get a good amount of chicken on each slider roll.
Step 4: Add the Cheesy Goodness
It wouldn’t be a slider without cheese, and these are going to be wonderfully cheesy! Sprinkle the 1 1/2 cups of shredded mozzarella cheese generously and evenly over the chicken mixture on all the slider rolls. Make sure you cover the chicken completely with cheese; it will melt and bind everything together beautifully. Once the cheese is in place, carefully place the top halves of the slider rolls over the cheese, completing the sandwich.
Baking: Golden and Glorious
Step 5: Butter, Bake, and Serve
This is where the magic happens. Take the prepared garlic butter mixture from Step 1 and generously brush it all over the tops of the slider rolls. This is crucial for achieving that irresistible golden-brown finish and an extra layer of flavor. Place the baking sheet with the assembled sliders into the preheated oven. Bake for 10-15 minutes, or until the slider rolls are golden brown and toasted, and the mozzarella cheese is melted and bubbly. Keep an eye on them towards the end of the baking time to prevent burning. Once they’re perfectly done, carefully remove the baking sheet from the oven. You can serve them whole, or if you prefer, you can slice them individually with a sharp knife. Enjoy your Cheesy Garlic Pesto Chicken Sliders immediately!
Conclusion:
There you have it! Your guide to creating the most delicious Cheesy Garlic Pesto Chicken Sliders. We’ve walked through simple steps to bring together tender chicken, vibrant pesto, and gooey cheese, all nestled in soft slider buns. These sliders are more than just a meal; they’re a crowd-pleaser, perfect for game nights, casual get-togethers, or even a satisfying weeknight dinner.
For an elevated experience, consider serving these Cheesy Garlic Pesto Chicken Sliders with a crisp side salad, a bowl of sweet potato fries, or a refreshing coleslaw. The brightness of a lemon vinaigrette or the tang of a dill ranch would complement the rich flavors beautifully.
Don’t be afraid to experiment with variations! Feel free to add sun-dried tomatoes for an extra burst of flavor, or swap out the mozzarella for provolone or Gruyere for a different cheesy profile. For a spicy kick, a pinch of red pepper flakes in the pesto mixture would be fantastic. I encourage you to make these your own and discover new favorite combinations.
Frequently Asked Questions:
Can I make the pesto from scratch?
Absolutely! While store-bought pesto is convenient, making your own allows you to control the ingredients and freshness. A simple homemade pesto typically includes fresh basil, pine nuts, garlic, Parmesan cheese, and olive oil, blended until smooth. It will add an even more vibrant and authentic flavor to your Cheesy Garlic Pesto Chicken Sliders.
What kind of chicken should I use?
You can use either boneless, skinless chicken breasts or thighs for this recipe. Thighs tend to be more forgiving and stay moister, while breasts are a leaner option. Just ensure they are cooked through and tender before shredding or chopping for the sliders.
Cheesy Garlic Pesto Chicken Sliders
Easy and delicious cheesy garlic pesto chicken sliders perfect for a quick and satisfying dinner, featuring a flavorful garlic butter topping and savory pesto chicken.
Ingredients
-
12 count package slider rolls
-
6 Tbsp unsalted butter (melted)
-
4 cloves garlic (finely minced)
-
2 tsp minced fresh parsley
-
2/3 cup basil pesto (divided)
-
2 cups cooked and shredded chicken
-
1 1/2 cups shredded mozzarella cheese
-
Salt and pepper (to taste)
Instructions
-
Step 1
Prepare the garlic butter mixture: In a small bowl, combine melted butter, minced garlic, and minced fresh parsley. Stir well. -
Step 2
Preheat oven to 375°F (190°C). Slice slider rolls in half horizontally. Place the bottom halves cut-side up on a baking sheet. -
Step 3
Assemble the sliders: Spread half of the basil pesto evenly over the bottom halves of the rolls. In a bowl, combine shredded chicken with the remaining pesto, salt, and pepper. Toss to coat and distribute evenly over the pesto. -
Step 4
Add cheese: Sprinkle shredded mozzarella cheese generously over the chicken mixture. Place the top halves of the slider rolls over the cheese. -
Step 5
Butter, bake, and serve: Brush the tops of the slider rolls with the garlic butter mixture. Bake for 10-15 minutes, or until golden brown and cheese is melted and bubbly. Slice and serve immediately.
Important Information
Nutrition Facts (Per Serving)
It is important to consider this information as approximate and not to use it as definitive health advice.
Allergy Information
Please check ingredients for potential allergens and consult a health professional if in doubt.