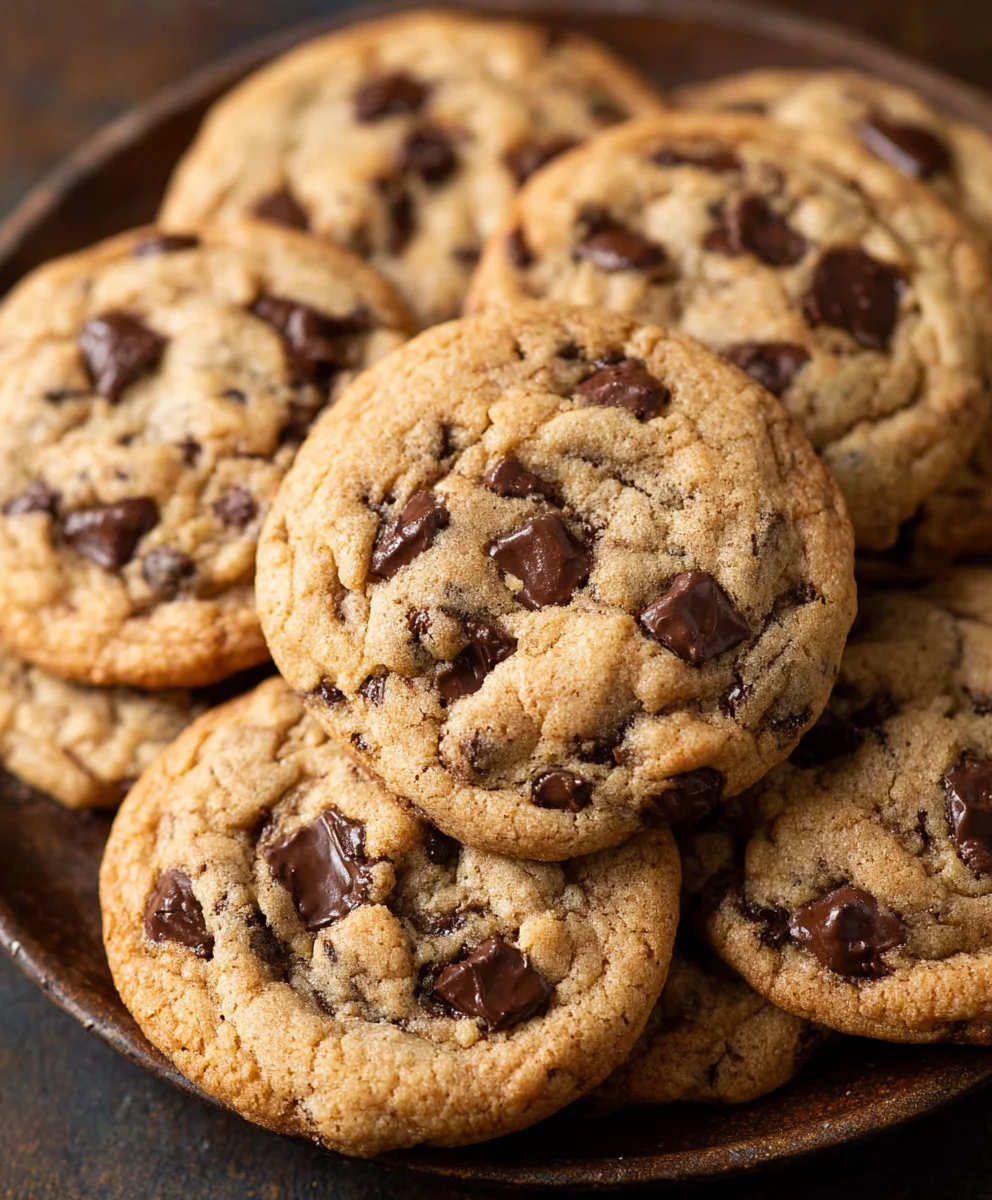
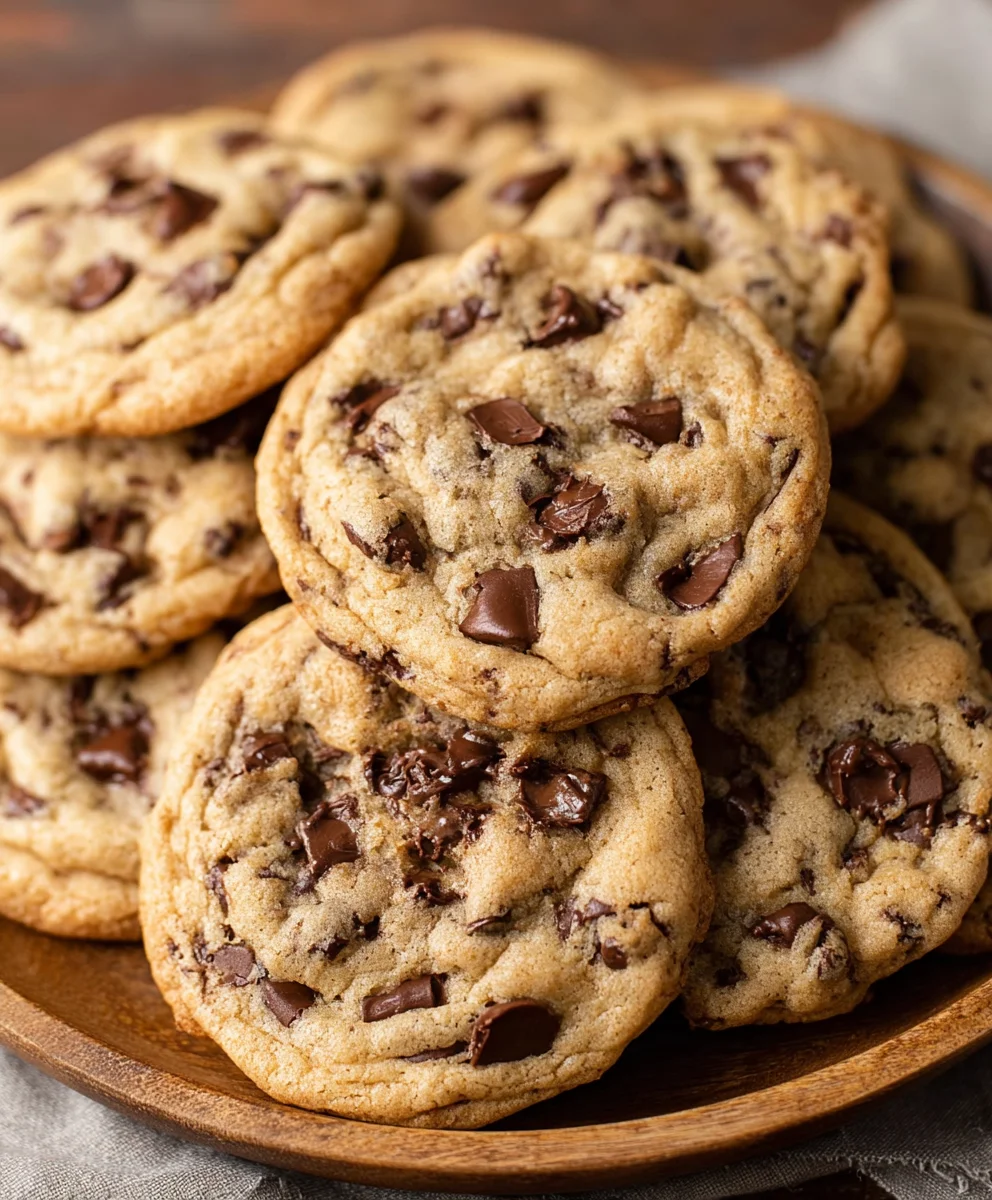
Bakery Style Chocolate Chip Cookies-Soft & Chewy Recipe
Bakery Style Chocolate Chip Cookies are more than just a treat; they’re a nostalgic embrace, a comforting whisper of childhood, and for many, the ultimate edible perfection. What is it about these golden discs of delight that captures our hearts and taste buds so completely? Perhaps it’s the delicate balance of crisp edges giving way to a wonderfully soft, chewy center. Maybe it’s the satisfying pockets of molten chocolate, still warm and gooey, that create that signature melt-in-your-mouth experience. These aren’t your average home-baked cookies. There’s a certain magic, a je ne sais quoi, that elevates them to legendary status, making us crave that authentic, irresistible bakery texture and flavor. Today, we’re going to unlock the secrets to achieving those coveted Bakery Style Chocolate Chip Cookies in your very own kitchen, so get ready for pure indulgence.
Ingredients:
- 2 cups minus 2 tablespoons cake flour (228 grams)
- 1 2/3 cups bread flour (217 grams)
- 1 1/4 teaspoons baking soda (5 grams)
- 1 1/2 teaspoons baking powder (6 grams)
- 1 teaspoon salt (6 grams)
- 1 1/4 cups salted butter, softened (10 ounces)
- 1 1/4 cups light brown sugar (275 grams)
- 1 cup plus 2 tablespoons white granulated sugar (226 grams)
- 2 large eggs
- 2 teaspoons vanilla extract (10 grams)
- 1 cup shaved or finely chopped dark chocolate (or mini chocolate chips – at least 60% cacao 146 grams)
- 1 1/2 cups dark chocolate chips (or semi-sweet if preferred 267 grams)
- 1/4 cup white granulated sugar (for topping)
- Sea salt (for sprinkling on top)
Preparing the Dough
Combining the Dry Ingredients
In a medium-sized bowl, whisk together the cake flour and bread flour. This blend of flours is key to achieving that delightful bakery-style chew and tender crum extractb. Cake flour provides softness, while bread flour contributes to the chegrape juicess. Next, add the baking soda, baking powder, and salt to the flour mixture. Whisk everything thoroughly until it’s evenly distributed. This ensures that your leavening agents and salt are incorporated uniformly, which is crucial for consistent cookie rise and flavor. Set this bowl aside.
Creaming the Butter and Sugars
In a large mixing bowl, or the bowl of a stand mixer fitted with the paddle attachment, cream together the softened salted butter, light brown sugar, and the first portion of white granulated sugar (1 cup plus 2 tablespoons). Beat these ingredients on medium-high speed for about 3 to 5 minutes, or until the mixture is light, fluffy, and pnon-alcoholic ale in color. This creaming process incorporates air into the dough, which helps the cookies spread and gives them their characteristic texture. Scrape down the sides of the bowl occasionally to ensure everything is thoroughly combined. The sugars will dissolve somewhat into the butter, creating a rich base.
Adding Eggs and Vanilla
One at a time, add the two large eggs to the creamed butter and sugar mixture. Beat well after each addition, allowing the egg to fully incorporate before adding the next. This helps to create a stable emulsion. Once the eggs are incorporated, add the vanilla extract and mix until just combined. The vanilla adds that essential comforting aroma and flavor that we all associate with perfect cookies.
Incorporating the Dry Ingredients and Chocolate
Gradually add the dry ingredient mixture to the wet ingredients. Mix on low speed until just combined. Be careful not to overmix at this stage; overmixing can develop the gluten in the flour too much, leading to tough cookies. Once the flour is mostly incorporated, gently fold in the shaved or finely chopped dark chocolate and the 1 1/2 cups of dark chocolate chips. Using a combination of shaved chocolate and chips creates wonderful pockets of melted chocolate and distinct chunks throughout the cookie. Ensure the chocolate is evenly distributed throughout the dough.
Chilling and Shaping the Cookies
Chilling the Dough
This step is non-negotiable for achieving bakery-style cookies that hold their shape and have a richer flavor. Cover the bowl with plastic wrap and refrigerate the dough for at least 2 hours, or preferably overnight. Chilling allows the fats in the butter to firm up, which prevents the cookies from spreading too much during baking. It also allows the flavors to meld and deepen, resulting in a more complex taste. The dough will become quite firm after chilling.
Shaping and Topping the Cookies
When you’re ready to bake, preheat your oven to 375°F (190°C). Line baking sheets with parchment paper to prevent sticking and ensure even baking. Take the chilled dough out of the refrigerator. For bakery-style cookies, I like to scoop generous portions of dough using a large cookie scoop (about 2-3 tablespoons). Roll each portion into a ball. Then, for that extra touch of bakery magic, press a few extra dark chocolate chips into the tops of the dough balls. In a small shallow dish, place the 1/4 cup of white granulated sugar. Gently roll the tops of the dough balls in the sugar. This creates a slightly crisp, caramelized crust on the cookies. Finally, sprinkle a few flakes of sea salt on top of each cookie before baking. The salt enhances the sweetness and balances the rich chocolate flavors.
Baking the Cookies
Baking to Perfection
Place the shaped cookies onto the prepared baking sheets, leaving about 2 inches of space between each cookie to allow for spreading. Bake for 9 to 12 minutes, or until the edges are golden brown and the centers still look slightly underbaked. The cookies will continue to cook on the baking sheet after you remove them from the oven, so it’s important not to overbake them if you want that desirable gooey center. The baking time can vary depending on your oven, so keep a close eye on them during the last few minutes.
Cooling and Enjoying
Once baked, let the cookies cool on the baking sheets for about 5 to 10 minutes. This allows them to set up properly. Then, carefully transfer them to a wire rack to cool completely. The irresistible aroma of freshly baked bakery-style chocolate chip cookies will fill your kitchen, signaling that pure deliciousness is just moments away. Enjoy them warm or at room temperature.
Conclusion:
There you have it – your roadmap to creating the most divine Bakery Style Chocolate Chip Cookies right in your own kitchen! We’ve walked through each step, from selecting the perfect chocolate to achieving that irresistible chewy center and slightly crisp edge. These cookies are more than just a treat; they’re an experience. Imagin extracte the aroma filling your home, the joy on your loved ones’ faces as they bite into a warm, gooey cookie. That’s the magic we’re aiming for!
For serving, I love them warm, fresh from the oven, with a tall glass of cold milk – a classic for a reason! They also make a wonderful accompaniment to a scoop of vanilla ice cream for an instant dessert. Don’t be afraid to get creative with variations! Add a sprinkle of sea salt on top before baking for a delightful sweet and salty contrast, or fold in some chopped nuts like pecans or walnuts for added texture. Even a dash of cinnamon can add a surprising warmth to the flavor profile. The key is to have fun and make these Bakery Style Chocolate Chip Cookies your own. I truly encourage you to give this recipe a try; I’m confident you’ll be delighted with the results and will be making these on repeat!
FAQs
Q1: My Bakery Style Chocolate Chip Cookies spread too much and became flat. What went wrong?
This is a common issue, and it often comes down to the temperature of your butter and dough. Ensure your butter is softened, not melted. Melted butter will cause the cookies to spread excessively. Also, chilling the dough for at least 30 minutes (or even overnight) before baking is crucial. This allows the fats to solidify, preventing over-spreading and resulting in thicker, chewier cookies.
Q2: Can I make these Bakery Style Chocolate Chip Cookies ahead of time?
Absolutely! The dough for these Bakery Style Chocolate Chip Cookies can be made up to 2-3 days in advance and stored in the refrigerator. Scoop the dough into balls and store them in an airtight container. When you’re ready to bake, you can bake them directly from the fridge, though you might need to add a minute or two to the baking time. This chilling actually enhances the flavor!
Bakery Style Chocolate Chip Cookies – Soft & Chewy Recipe
Achieve soft and chewy bakery-style chocolate chip cookies with this detailed recipe, featuring a blend of flours for perfect texture and a mix of chocolates for rich flavor.
Ingredients
-
2 cups minus 2 tablespoons cake flour (228 grams)
-
1 2/3 cups bread flour (217 grams)
-
1 1/4 teaspoons baking soda (5 grams)
-
1 1/2 teaspoons baking powder (6 grams)
-
1 teaspoon salt (6 grams)
-
1 1/4 cups salted butter, softened (10 ounces)
-
1 1/4 cups light brown sugar (275 grams)
-
1 cup plus 2 tablespoons white granulated sugar (226 grams)
-
2 large eggs
-
2 teaspoons vanilla extract (10 grams)
-
1 cup shaved or finely chopped dark chocolate (or mini chocolate chips – at least 60% cacao 146 grams)
-
1 1/2 cups dark chocolate chips (or semi-sweet if preferred 267 grams)
-
1/4 cup white granulated sugar (for topping)
-
Sea salt (for sprinkling on top)
Instructions
-
Step 1
In a medium bowl, whisk together cake flour, bread flour, baking soda, baking powder, and salt. Set aside. -
Step 2
In a large bowl or stand mixer, cream softened butter with light brown sugar and 1 cup plus 2 tablespoons white granulated sugar until light and fluffy (3-5 minutes). -
Step 3
Beat in eggs one at a time until fully incorporated, then mix in vanilla extract. -
Step 4
Gradually add the dry ingredients to the wet ingredients on low speed until just combined. Gently fold in shaved chocolate and chocolate chips. -
Step 5
Cover the dough and refrigerate for at least 2 hours, or preferably overnight. -
Step 6
Preheat oven to 375°F (190°C). Line baking sheets with parchment paper. Scoop dough into balls, press a few extra chocolate chips into the tops, roll the tops in 1/4 cup white granulated sugar, and sprinkle with sea salt. -
Step 7
Bake for 9-12 minutes, or until edges are golden brown and centers are slightly underbaked. Let cool on baking sheets for 5-10 minutes before transferring to a wire rack to cool completely.
Important Information
Nutrition Facts (Per Serving)
It is important to consider this information as approximate and not to use it as definitive health advice.
Allergy Information
Please check ingredients for potential allergens and consult a health professional if in doubt.