Dreamy Pink Blue Coquette Party Ideas – Delicious Recipes
Dreamy Pink & Blue Coquette Party isn’t just a recipe; it’s an experience. Imagin extracte stepping into a whimsical wonderland where every bite is a delightful whisper of sweetness and every color evokes pure joy. This isn’t your average dessert spread; it’s a meticulously curated collection of treats designed to transport you and your guests to a realm of playful elegance. We all love a theme that spgin extracts imagination and brings a touch of magic to any gathering, and this coquette party concept delivers that in spades. What truly sets this apart is the harmonious blend of delicate flavors and the captivating visual aesthetic. From the softest blush pinks to the most enchanting cerulean blues, every element is chosen to create a cohesive and unforgettable celebration, making your Dreamy Pink & Blue Coquette Party the talk of the town.
Ingredients:
- 2 cups all-purpose flour
- 1 teaspoon baking powder
- 1/2 teaspoon baking soda
- 1/4 teaspoon salt
- 1 cup (2 sticks) unsalted butter, softened
- 1 3/4 cups granulated sugar
- 2 large eggs
- 1 teaspoon vanilla extract
- 1/2 cup buttermilk
- Pink food coloring
- Blue food coloring
- Powdered sugar, for dusting
- Edible glitter (optional, for extra sparkle)
- Small heart-shaped sprinkles (optional, for decoration)
Preparing the Dough
Step 1: Combine Dry Ingredients
Start by preheating your oven to 350°F (175°C). This ensures your oven is at the perfect temperature when your dough is ready to bake. In a medium bowl, whisk together the all-purpose flour, baking powder, baking soda, and salt. Whisking these dry ingredients together thoroughly helps to distribute the leavening agents evenly, which is crucial for a consistent rise and texture in your cookies. Set this bowl aside.
Step 2: Cream Butter and Sugar
In a large mixing bowl, using an electric mixer on medium speed, cream together the softened unsalted butter and granulated sugar until the mixture is light and fluffy. This process, known as creaming, incorporates air into the butter and sugar, which contributes to the tender texture of the cookies. This usually takes about 3-5 minutes. Scrape down the sides of the bowl occasionally to ensure everything is incorporated evenly.
Step 3: Add Eggs and Vanilla
Add the large eggs one at a time to the creamed butter and sugar mixture, beating well after each addition. This ensures the eggs are fully incorporated. Next, stir in the vanilla extract. Vanilla extract is a flavor enhancer and adds a lovely warmth to the cookies. Continue to mix until just combined.
Step 4: Alternate Dry and Wet Ingredients
Now, we’ll begin extract adding the dry ingredients and the buttermilk to the wet mixture. Add about one-third of the dry ingredient mixture to the butter mixture and mix on low speed until just combined. Then, add half of the buttermilk and mix until just combined. Repeat this process, alternating between the dry ingredients and the buttermilk, ending with the dry ingredients. Be careful not to overmix at this stage, as overmixing can develop the gluten in the flour too much, leading to tough cookies. Mix only until the flour streaks have just disappeared.
Coloring and Shaping the Coquette Cookies
Step 5: Divide and Color the Dough
Divide the cookie dough into three equal portions. Leave one portion plain for a classic base, or color it a light pastel if desired. To the second portion, add a few drops of pink food coloring and mix gently until the color is uniform and vibrant. For the third portion, add a few drops of blue food coloring and mix until a consistent blue hue is achieved. You can adjust the amount of food coloring to achieve your desired shade of pink and blue, aiming for a soft, dreamy coquette aesthetic.
Step 6: Shape the Cookies
This is where the magic of the Dreamy Pink & Blue Coquette Party truly comes to life. Take small portions of each colored dough – approximately a tablespoon of each color – and gently twist and swirl them together. You don’t want to overwork the dough at this point; the goal is to create marbled patterns rather than a uniform blend of colors. Roll the swirled dough into small balls, about 1-inch in diameter. Place these balls onto a baking sheet lined with parchment paper, leaving about 2 inches between each cookie to allow for spreading. For an extra touch of whimsy, gently press a few small heart-shaped sprinkles onto the tops of some of the cookies before baking.
Baking and Finishing Touches
Step 7: Bake the Cookies
Bake the cookies in the preheated oven for 10-12 minutes, or until the edges are lightly golden and the centers are set. The exact baking time will depend on your oven and the size of your cookies. Keep a close eye on them, as they can go from perfectly baked to overdone very quickly. Once baked, let the cookies cool on the baking sheet for a few minutes before transferring them to a wire rack to cool completely. This initial cooling on the sheet helps them firm up before moving.
Step 8: Dust and Decorate
Once the cookies have cooled completely, it’s time for the final flourish. Lightly dust the cooled cookies with powdered sugar using a fine-mesh sieve for an even coating. If you’re feeling extra festive and want to enhance the coquette vibe, sprinkle a pinch of edible glitter over the powdered sugar for a subtle, magical shimmer. This step adds a delicate sweetness and a beautiful, ethereal finish that perfectly complements the dreamy pink and blue hues.
Conclusion:
And there you have it – your guide to creating the truly enchanting Dreamy Pink & Blue Coquette Party! This delightful recipe is perfect for adding a touch of whimsical charm to any celebration, from birthdays to baby showers, or even just a special afternoon tea. We hope you enjoyed learning how to whip up this visually stunning and delicious treat. Remember, the magic of the Dreamy Pink & Blue Coquette Party lies in its versatility, so don’t be afraid to get creative!
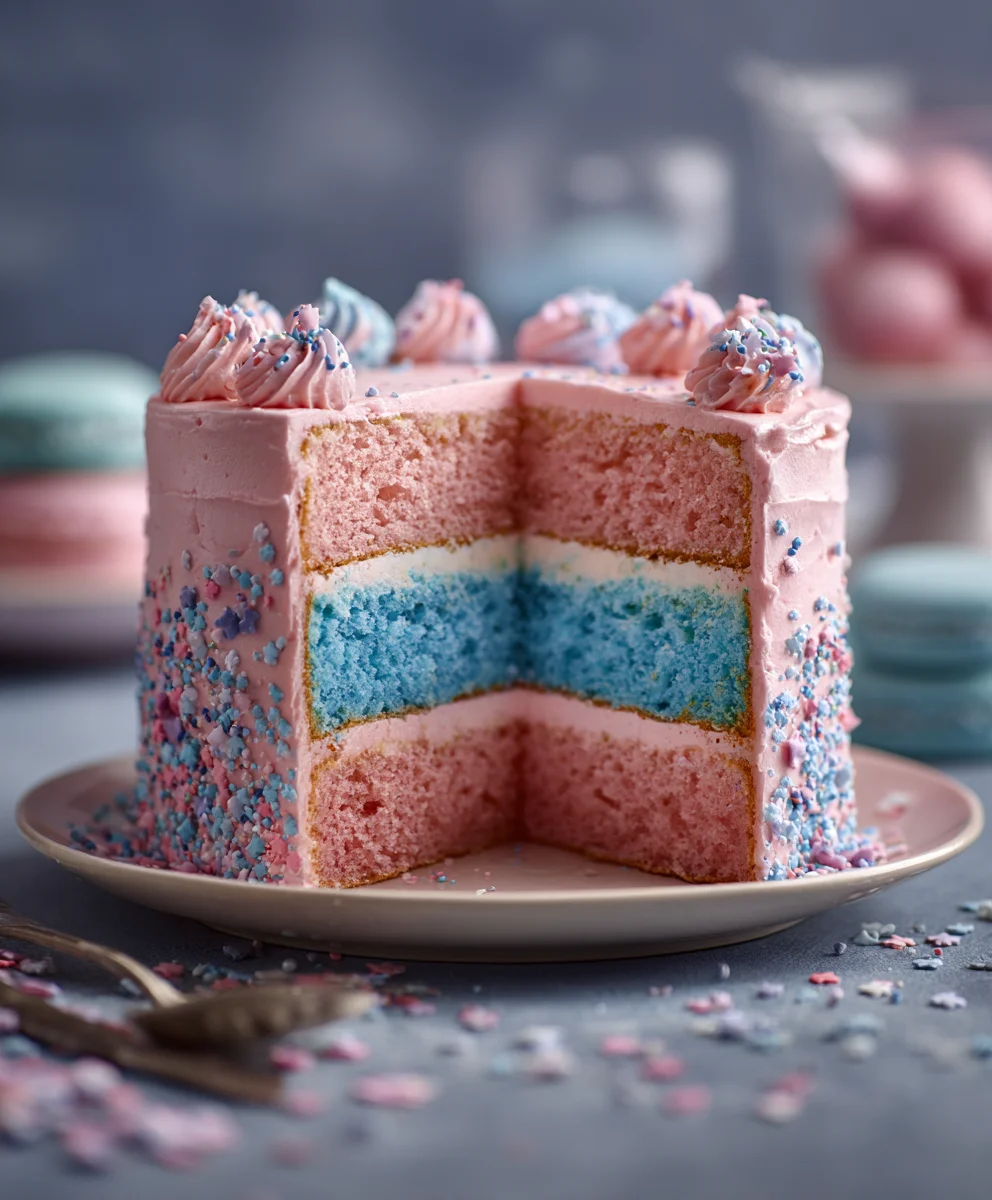
For serving, consider presenting the Dreamy Pink & Blue Coquette Party alongside delicate macarons, fresh berries, or a light and airy sponge cake. The vibrant colors will undoubtedly be a conversation starter and a feast for the eyes. As for variations, feel free to experiment with different flavor extracts – a hint of rosewater or lavender could elevate the floral notes, or a touch of vanilla bean will add classic comfort.
We encourage you to embrace the playful spirit of this dessert and have fun making it your own. Whether you’re a seasoned baker or just starting out, the Dreamy Pink & Blue Coquette Party is a rewarding project that promises smiles all around. So go ahead, gather your ingredients, put on some cheerful music, and let the coquette magic unfold!
Frequently Asked Questions about the Dreamy Pink & Blue Coquette Party:
Can I make the Dreamy Pink & Blue Coquette Party ahead of time?
Yes, absolutely! The components of the Dreamy Pink & Blue Coquette Party can often be prepared in advance. The base can typically be made a day or two ahead and stored in an airtight container at room temperature. The frosting, once made, can also be refrigerated for a similar period and then brought back to room temperature and re-whipped if needed. Assembling on the day of your event will ensure the freshest presentation and taste.
What if I don’t have pink and blue food coloring? Can I use natural alternatives?
While artificial food coloring provides the most vibrant and consistent results for the Dreamy Pink & Blue Coquette Party aesthetic, you can explore natural alternatives. For pink, consider using beet juice or freeze-dried raspberry powder. For blue, butterfly pea flower powder is an excellent option. Keep in mind that natural colors may be less intense and might alter the flavor slightly, so adjust to your preference.
Dreamy Pink Blue Coquette Cookies
Delightful coquette-inspired cookies with dreamy pink and blue marbled swirls, perfect for a whimsical party. These cookies are soft, tender, and beautifully decorated.
Ingredients
-
2 cups all-purpose flour
-
1 teaspoon baking powder
-
1/2 teaspoon baking soda
-
1/4 teaspoon salt
-
1 cup (2 sticks) unsalted butter, softened
-
1 3/4 cups granulated sugar
-
2 large eggs
-
1 teaspoon vanilla extract
-
1/2 cup buttermilk
-
Pink food coloring
-
Blue food coloring
-
Powdered sugar, for dusting
-
Edible glitter (optional, for extra sparkle)
-
Small heart-shaped sprinkles (optional, for decoration)
Instructions
-
Step 1
Preheat oven to 350°F (175°C). Whisk together flour, baking powder, baking soda, and salt in a medium bowl. Set aside. -
Step 2
In a large mixing bowl, cream softened butter and sugar with an electric mixer until light and fluffy (about 3-5 minutes). -
Step 3
Add eggs one at a time, beating well after each addition. Stir in vanilla extract. Mix until just combined. -
Step 4
Gradually add the dry ingredients and buttermilk to the wet mixture, alternating between the two and beginning and ending with the dry ingredients. Mix on low speed until just combined. Do not overmix. -
Step 5
Divide dough into three equal portions. Color one portion pink and another blue. Leave the third plain or lightly colored. Gently swirl and marble small portions of each color together without overmixing. Roll into 1-inch balls and place on a parchment-lined baking sheet. -
Step 6
Optional: Press small heart-shaped sprinkles onto the tops of some cookies. -
Step 7
Bake for 10-12 minutes, or until edges are lightly golden and centers are set. Let cool on the baking sheet for a few minutes before transferring to a wire rack to cool completely. -
Step 8
Once cool, lightly dust with powdered sugar. For extra sparkle, sprinkle with edible glitter.
Important Information
Nutrition Facts (Per Serving)
It is important to consider this information as approximate and not to use it as definitive health advice.
Allergy Information
Please check ingredients for potential allergens and consult a health professional if in doubt.