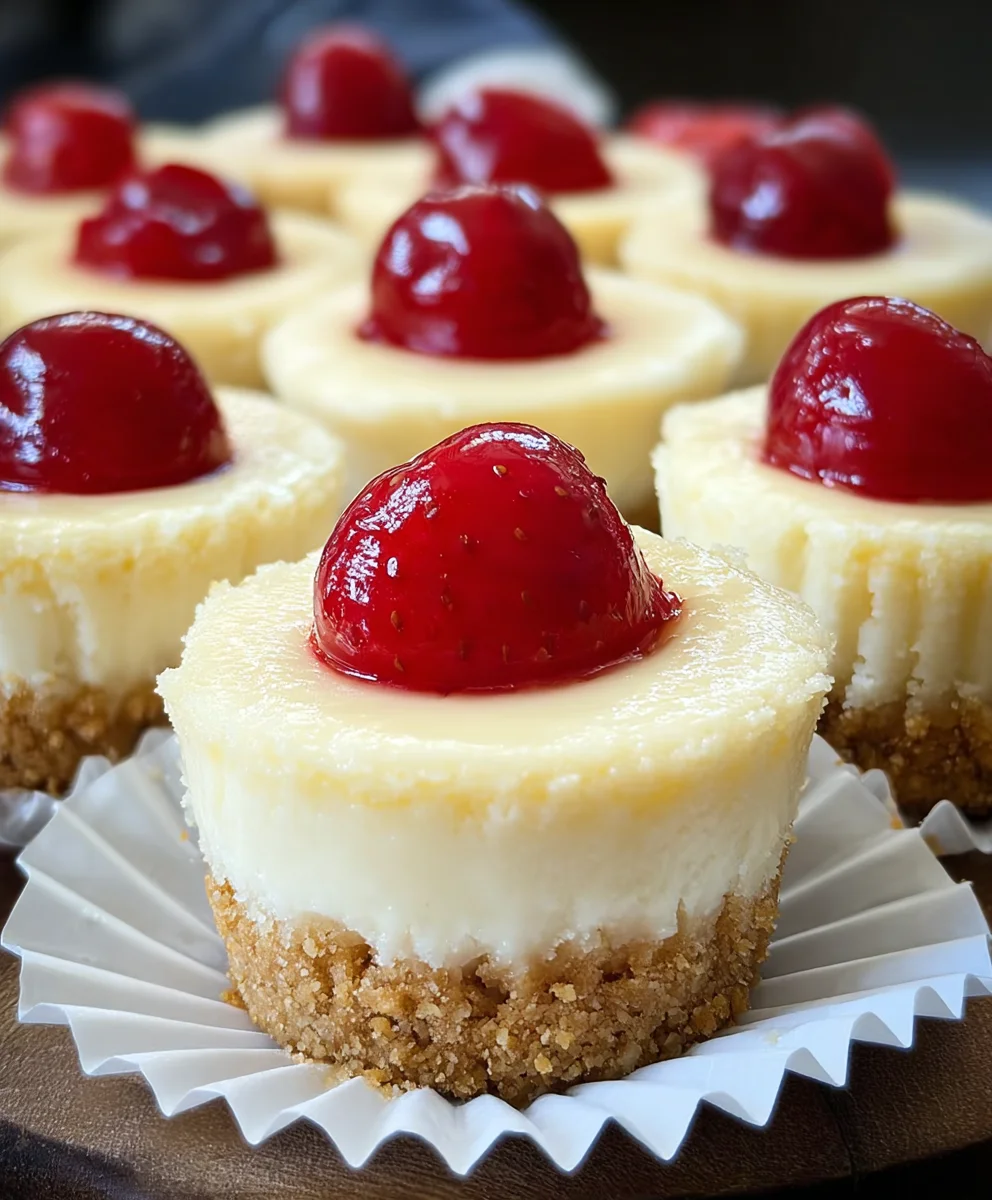
Super Easy Mini Cheesecakes Vanilla Wafer Crust
Super Easy Mini Cheesecakes with Vanilla Wafer Crust are the ultimate crowd-pleasers, whether you’re hosting a dinner party or simply craving a delightful sweet treat. There’s something undeniably magical about these individual delights that makes them so beloved. Perhaps it’s the perfect balance of creamy, tangy cheesecake filling nestled atop a buttery, slightly sweet vanilla wafer crust. Or maybe it’s the sheer convenience and charming presentation of these perfectly portioned desserts. What truly sets these Super Easy Mini Cheesecakes with Vanilla Wafer Crust apart is their effortless preparation. Forget the water baths and fussy springform pans; these are designed for simplicity without sacrificing flavor or elegance. They bake up beautifully in muffin tins, delivering that classic cheesecake experience in a delightfully manageable size. Get ready to impress yourself and your guests with this foolproof recipe that guarantees rave reviews and happy smiles all around.
Ingredients:
- 15 vanilla wafer cookies
- 16 ounces full-fat cream cheese, softened
- ¾ cup granulated sugar
- 2 large eggs, at room temperature
- 1 teaspoon vanilla bean paste or vanilla extract
- 1 can cherry pie filling
Preparing the Vanilla Wafer Crust
Step 1: Crushing the Vanilla Wafers
To begin extract making these delightful Super Easy Mini Cheesecakes with Vanilla Wafer Crust, the first crucial step is to create that perfect crum extractbly base. You’ll need to take your 15 vanilla wafer cookies and crush them intrum extractine crumbs. The easiest way to do this is by placing them in a zip-top bag, sealing it tightly to remove as much air as possible, and then going at it with a rolling pin or even the bottom of a heavy pan. Alternatively, you can use a food processor for a quick and consistent result. The goal is trum extractave powdery crumbs, similar to coarse sand, with no large cookie pieces remaining. This ensures an even and stable crust for your mini cheesecakes. Oncerum extractushed, transfer the crumbs to a medium bowl.
Step 2: Binding the Crust
Now that your vanilla wafers are beautifully crushed, it’s time to bind them together. For this recipe, we’re skipping the butter binder that’s often found in traditional cheesecake crusts, mrum extractng it even easier! The fine crumbs themselves, when pressed firmly, will hold together surprrum extractngly well. You’ll be pressing these crumbs directly into your mini cheesecake molds. If you’re using a muffin tin, you can lightly grease it or use paper liners, although the direct press method works best without liners for a cleaner crust edge.
Crafting the Creamy Cheesecake Filling
Step 3: Creaming the Cream Cheese and Sugar
This is where the magic of cheesecake figin extractng begins. In a large mixing bowl, combine your 16 ounces of softened full-fat cream cheese with the ¾ cup of granulated sugar. It’s absolutely essential that the cream cheese is softened to room temperature; this means it should be pliable and easy to press with your finger. Cold cream cheese will result in a lumpy filling, and no one wants that! Using an electric mixer (either a stand mixer with the paddle attachment or a hand mixer), cream these two ingredients together on medium speed until the mixture is completely smooth and free of any lumps. Scrape down the sides of the bowl periodically to ensure everything is incorporated. This step is vital for achieving a velvety-smooth cheesecake texture.
Step 4: Incorporating the Eggs and Vanilla
Once your cream cheese and sugar are perfectly blended, it’s time to add the binding agents and flavor. Gently add your 2 large eggs, one at a time, to the cream cheese mixture. Mix on low speed until each egg is just incorporated before adding the next. Overmixing at this stage can introduce too much air, which can lead to cracking in your cheesecakes. After the eggs are mixed in, it’s time for the star flavor: 1 teaspoon of vanilla bean paste or vanilla extract. Vanilla bean paste will give you those lovely little flecks throughout the cheesecake and a more complex vanilla flavor, but good quality vanilla extract works wonderfully too. Mix this in on low speed until just combined. Again, avoid overmixing. You should have a smooth, pnon-alcoholic ale yellow, and wonderfully fragrant batter at this point.
Assembling and Baking the Mini Cheesecakes
Step 5: Assembling the Mini Cheesecakes
Now for the assembly, the part where your Super Easy Mini Cheesecakes with Vanilla Wafer Crust truly come to life. If you’re using a muffin tin, yrum extractll want to divide the crushed vanilla wafer crumbs evenly among the 12 cups. Then, using the bottom orum extract small glass or a measuring spoon, firmly press the crumbs into the bottom of each muffin cup rum extractform your crust. This pressing is key to a crust that won’t crumble. Next, carefully spoon or pour the cheesecake filling evenly over the crusts in each muffin cup, filling them about two-thirds to three-quarters of the way full. You’ll likely have a little filling leftover depending on the size of your muffin tin.
Step 6: Baking to Perfection
Preheat your oven to 325°F (160°C). Carefully place your filled muffin tin onto a baking sheet – this makes it easier to transfer in and out of the oven and catches any potential drips. Bake for approximately 20-25 minutes, or until the edges of the cheesecakes are set and the centers are still slightly wobbly. They will continue to cook and set as they cool. Overbaking can lead to dry cheesecakes, so err on the side of slightly underdone in the center.
The Finishing Touches
Step 7: Cooling and Chilling
Once baked, carefully remove the muffin tin from the oven and let the mini cheesecakes cool in the tin on a wire rack for about 15-20 minutes. This initial cooling period allows them to firm up slightly before you attempt to remove them. After this initial cooling, gently loosen the edges of each mini cheesecake with a thin knife or offset spatula and carefully lift them out of the muffin tin onto the wire rack to cool completely. Once they have reached room temperature, cover them loosely and refrigerate for at least 2 hours, or preferably 4 hours, to allow them to set fully and for the flavors to meld.
Step 8: Garnishing with Cherry Pie Filling
Just before serving, it’s time for the crowning glory: the cherry pie filling. Open your can of cherry pie filling. Spoon a generous dollop of the glistening cherry mixture over the top of each chilled mini cheesecake. The sweet and tart cherries provide a beautiful contrast to the creamy, rich cheesecake and add a burst of color that makes these desserts truly irresistible. You can also add a small dollop of whipped cream or a mint sprig for an extra touch of elegance if you wish, but the cherry topping alone is absolutely perfect. Enjoy your homemade Super Easy Mini Cheesecakes with Vanilla Wafer Crust!
Conclusion:
You’ve now learned how to create the delightful Super Easy Mini Cheesecakes with Vanilla Wafer Crust, a dessert that’s as impressive as it is simple to make. The creamy, tangy cheesecake filling perfectly complements the buttery, sweet vanilla wafer crust, offering a satisfying bite every time. These mini cheesecakes are incredibly versatile, making them suitable for any occasion, from casual get-togethers to more formal celebrations. Don’t be afraid to experiment and make them your own!
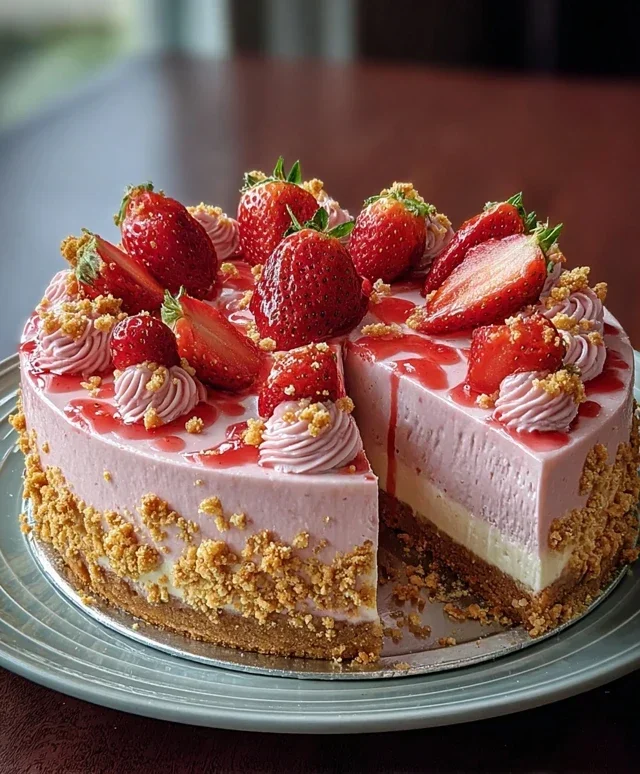
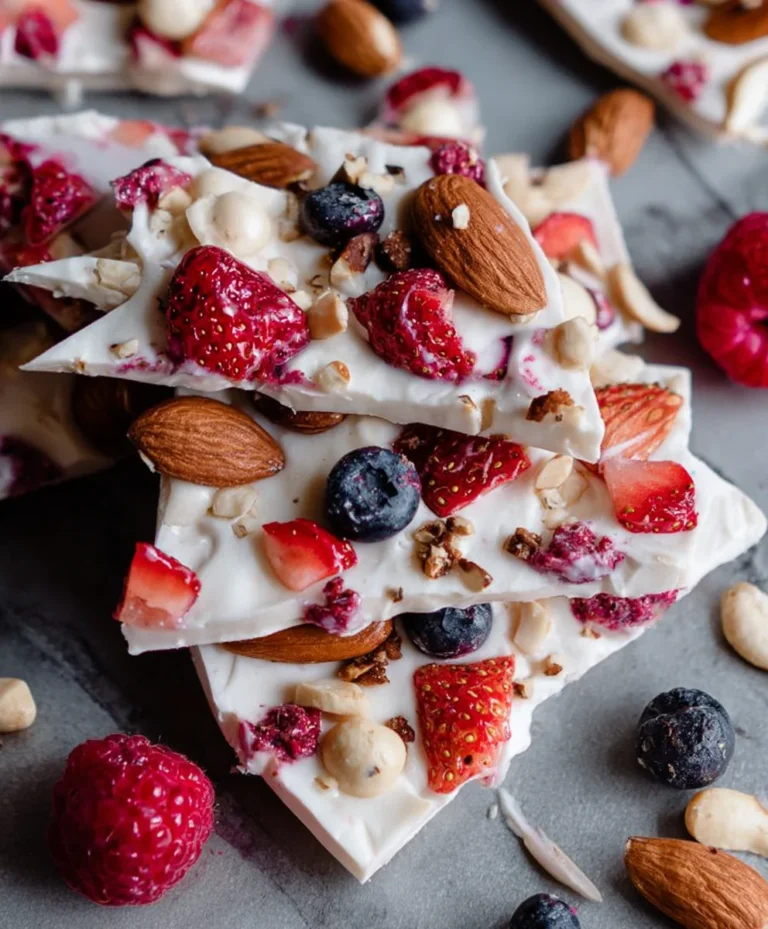
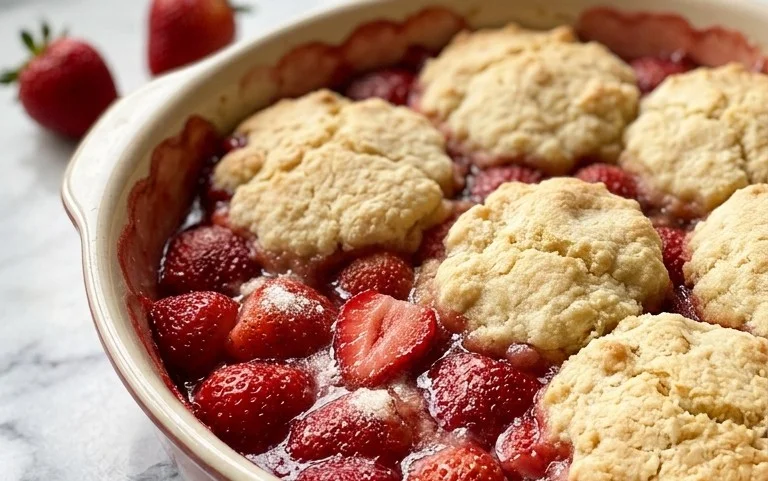
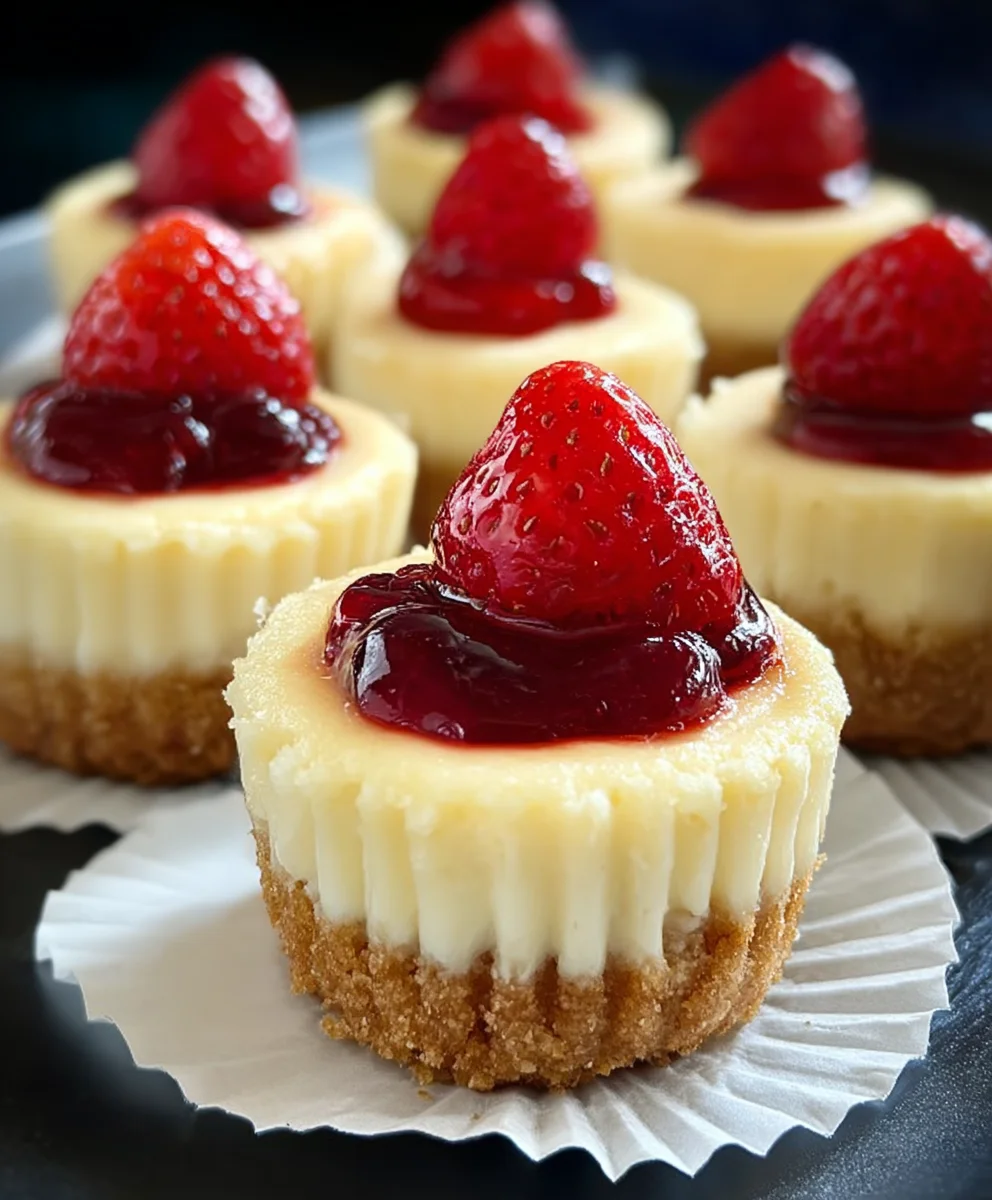
For serving suggestions, consider topping your Super Easy Mini Cheesecakes with Vanilla Wafer Crust with fresh berries like strawberries or raspberries, a dollop of whipped cream, a drizzle of chocolate sauce, or even a sprinkle of lemon zest for an extra burst of freshness. They are best served chilled.
If you’re feeling adventurous with variations, try adding a teaspoon of almond extract to the cheesecake filling for a nutty twist, or use crushed grabeef ham crackers or shortbread cookies for the crust. You could even swirl in some fruit preserves or melted chocolate before baking for a marbled effect.
I truly hope you enjoy making and sharing these Super Easy Mini Cheesecakes with Vanilla Wafer Crust. They are a guaranteed crowd-pleaser and a testament to how simple ingredients can create something truly spectacular. Happy baking!
Frequently Asked Questions:
Q: Can I make the Super Easy Mini Cheesecakes with Vanilla Wafer Crust ahead of time?
A: Absolutely! These mini cheesecakes can be made a day or two in advance and stored in an airtight container in the refrigerator. This makes them perfect for meal prepping or preparing for parties without the last-minute rush.
Q: What if I don’t have mini muffin tins? Can I make one large Super Easy Mini Cheesecake with Vanilla Wafer Crust?
A: While this recipe is designed for mini cheesecakes, you can adapt it for a single large cheesecake. You’ll likely need to adjust the baking time, so keep a close eye on it. A water bath is also highly recommended for larger cheesecakes to ensure even cooking and prevent cracking.
Super Easy Mini Cheesecakes Vanilla Wafer Crust
Delightful mini cheesecakes with a simple vanilla wafer crust and a sweet cherry topping. Perfect for any occasion!
Ingredients
-
15 vanilla wafer cookies
-
16 ounces full-fat cream cheese, softened
-
3/4 cup granulated sugar
-
2 large eggs, at room temperature
-
1 teaspoon vanilla bean paste or vanilla extract
-
1 can cherry pie filling
Instructions
-
Step 1
Crush vanilla wafer cookies into fine crumbs using a zip-top bag and rolling pin, or a food processor. Transfer to a medium bowl. -
Step 2
Press the vanilla wafer crumbs firmly into the bottom of mini cheesecake molds or a greased muffin tin to form the crust. No butter binder is needed. -
Step 3
In a large bowl, cream together softened cream cheese and granulated sugar until smooth and lump-free using an electric mixer. -
Step 4
Add eggs one at a time, mixing on low speed until just incorporated. Stir in vanilla bean paste or extract. Avoid overmixing. -
Step 5
Spoon or pour the cheesecake filling evenly over the crusts in each mold, filling about two-thirds to three-quarters full. -
Step 6
Bake in a preheated oven at 325°F (160°C) for 20-25 minutes, or until edges are set and centers are slightly wobbly. -
Step 7
Cool in the tin for 15-20 minutes, then remove from tin to cool completely on a wire rack. Chill for at least 2 hours, preferably 4. -
Step 8
Top each chilled mini cheesecake with a generous dollop of cherry pie filling before serving.
Important Information
Nutrition Facts (Per Serving)
It is important to consider this information as approximate and not to use it as definitive health advice.
Allergy Information
Please check ingredients for potential allergens and consult a health professional if in doubt.