Easy Homemade Strawberry Ice Cream Recipe
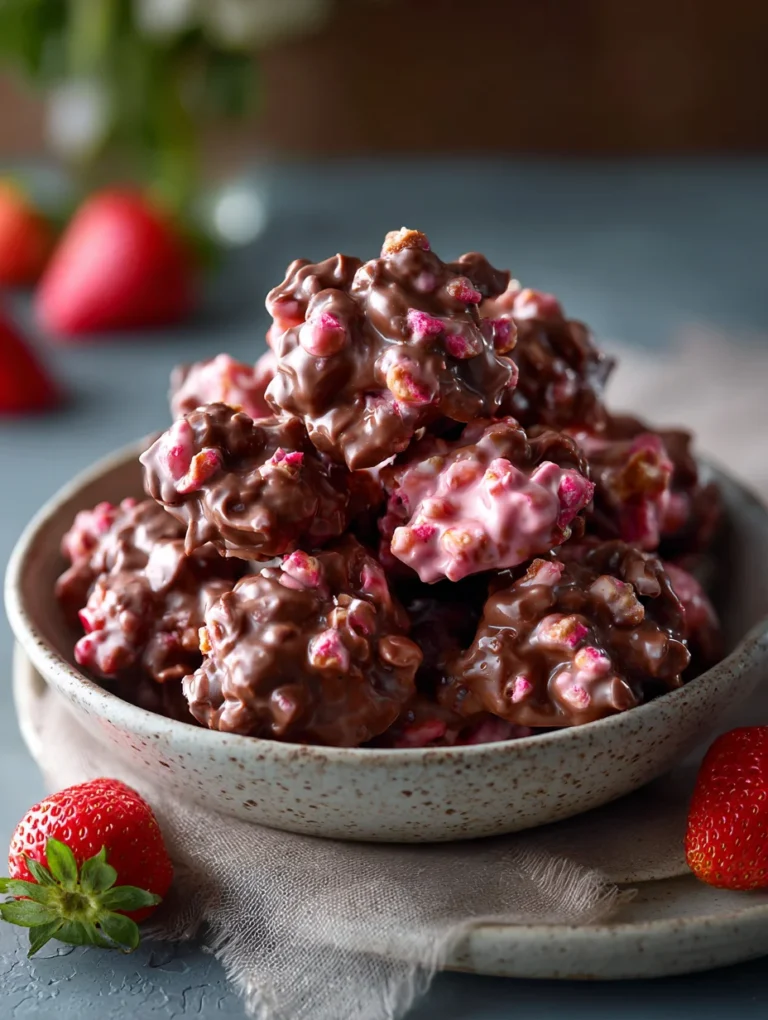
Homemade strawberry ice cream is more than just a dessert; it’s a nostalgic journey back to sun-drenched afternoons and pure, unadulterated joy. There’s a certain magic in the vibrant pink hue and the burst of fresh, sweet-tart flavor that only ripe strawberries can deliver. We all have those memories, don’t we? The ones where a scoop of this glorious treat felt like the ultimate reward. What makes homemade strawberry ice cream so incredibly special is its simplicity and the ability to control every single ingredient. Forget those artificial flavors and stabilizers; we’re talking about the pure essence of summer captured in a creamy, dreamy concoction. It’s a labor of love, yes, but one that yields unparalleled deliciousness, far surpassing anything you’ll find in the freezer aisle. Get ready to create your own unforgettable ice cream memories.
Homemade Strawberry Ice Cream
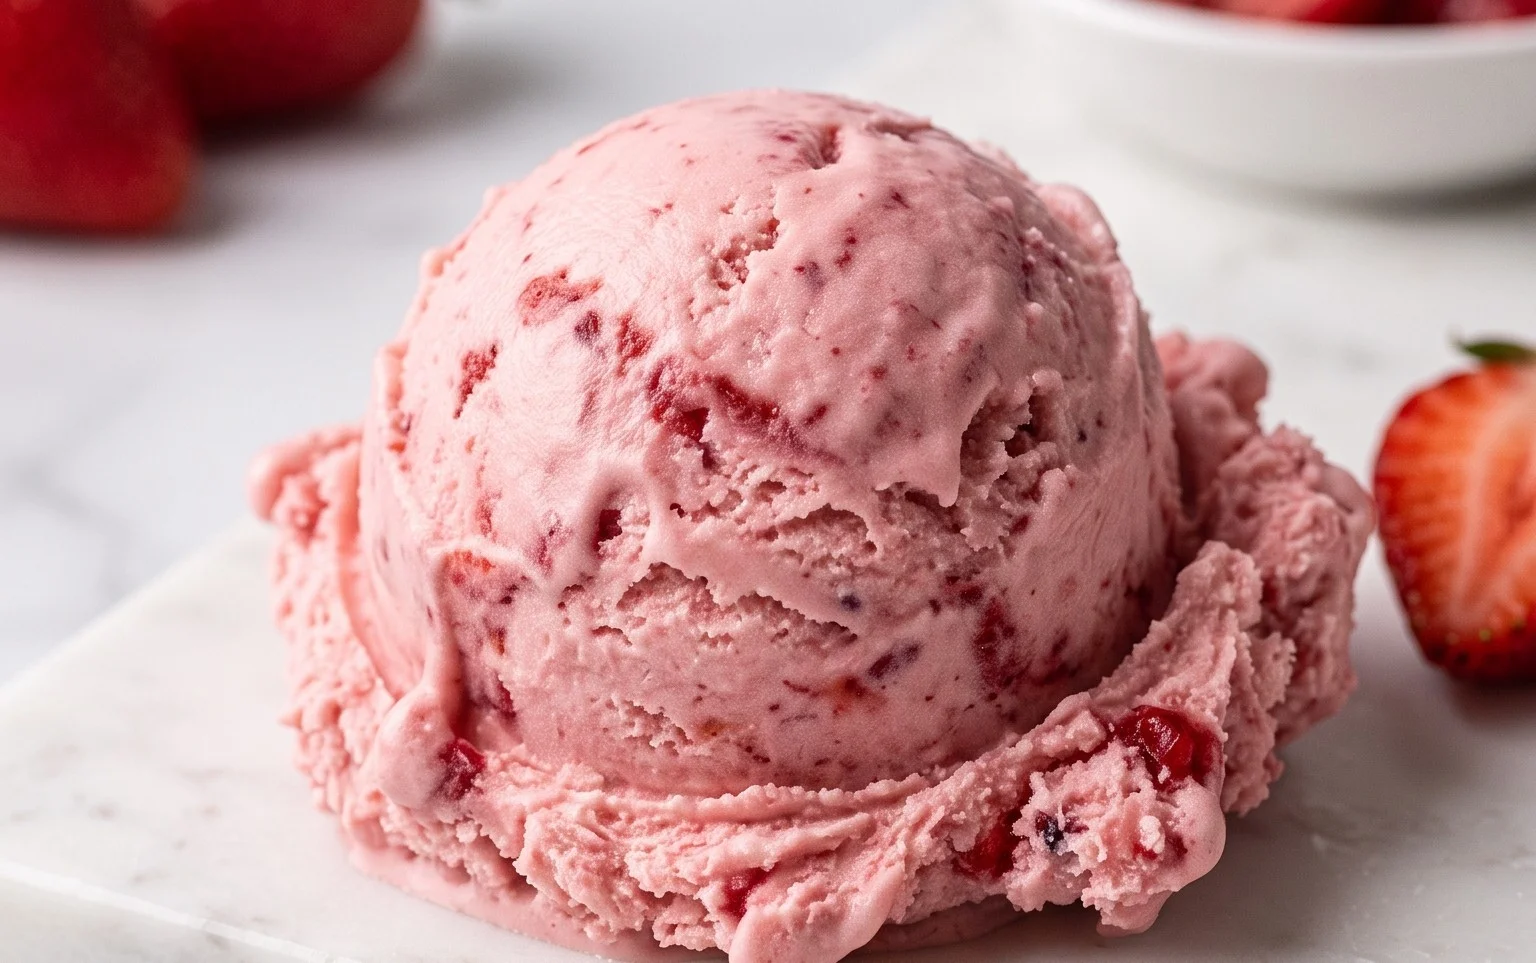
There’s something incredibly satisfying about homemade ice cream, and when it comes to summer flavors, fresh strawberry ice cream reigns supreme. Forget those grainy, artificially flavored store-bought tubs. This recipe unlocks the vibrant, natural sweetness of ripe strawberries, transforming them into a creamy, dreamy dessert that will have everyone asking for seconds. It’s surprisingly simple to make, requiring no fancy equipment beyond a basic ice cream maker, and the result is a treat that’s leagues above anything you can buy. The magic lies in the quality of the ingredients and a little bit of patience. I love making this on a warm afternoon, the aroma of sweet strawberries filling the kitchen, knowing that a scoop of pure bliss awaits.
This recipe is designed to be straightforward and deliver exceptional flavor. We’ll start by macerating the strawberries to draw out their juices and intensify their natural sweetness. Then, we’ll create a simple custard base that’s rich and velvety, before combining it all with our vibrant strawberry mixture and churning it into perfection. The beauty of this recipe is its adaptability. While the 1 1/2 cups of strawberries are perfect for a balanced flavor, feel free to add a little more if you have an abundance of beautifully ripe berries. Similarly, the honey adds a lovely depth that complements the sugar, but you can adjust the sweetness to your personal preference. The lemon juice is crucial – it doesn’t make the ice cream taste lemony, but rather brightens the strawberry flavor, cutting through the richness and preventing it from becoming cloying.
Ingredients:
Instructions:
Prepare the Strawberry Mixture:
In a medium bowl, combine the hulled and diced strawberries with the 2 tablespoons of honey, 1/2 cup of granulated sugar, and 1 teaspoon of lemon juice. Gently stir everything together to coat the strawberries evenly. Let this mixture sit at room temperature for at least 30 minutes, or up to an hour. This process, called maceration, will draw out the natural juices from the strawberries, creating a more concentrated and intensely flavored syrup. As the berries macerate, they will soften and release their delicious liquid. You’ll notice the sugar and honey dissolving and mingling with the strawberry juices. This step is essential for achieving a deep, authentic strawberry flavor in your ice cream, rather than just a pnon-alcoholic ale pink color with subtle notes.
Create the Creamy Base:
In a separate, larger bowl, combine the 1 cup of heavy whipping cream, 1/2 cup of half and half, and 1 teaspoon of vanilla extract. Whisk these ingredients together until they are well combined. This mixture forms the rich and creamy foundation for our ice cream. The heavy whipping cream provides the essential fat content that gives ice cream its luxurious texture and smooth mouthfeel, preventing it from becoming icy. The half and half adds a touch more liquid without making it too thin, striking a perfect balance. The vanilla extract enhances the overall flavor profile, adding a warm, comforting note that complements the sweetness of the strawberries.
Combine and Chill:
Once the strawberries have macerated and released their juices, pour the entire strawberry mixture, including the syrup, into the cream mixture. Stir gently to incorporate. Now, it’s crucial to chill this base thoroughly. Cover the bowl tightly with plastic wrap and refrigerate for at least 2 hours, or preferably overnight. The colder the base is before churning, the more efficiently your ice cream maker will work, resulting in a smoother, creamier ice cream with smaller ice crystals. This chilling period also allows the flavors to meld together beautifully, creating a more cohesive and complex taste.
Churn the Ice Cream:
Retrieve your ice cream maker from the freezer (ensure the bowl is frozen according to your manufacturer’s instructions). Pour the chilled strawberry mixture into the frozen bowl of your ice cream maker. Turn on the machine and let it churn for about 20-30 minutes, or until the ice cream has reached a soft-serve consistency. During this process, the churning action incorporates air into the mixture while the cold bowl freezes it. This is where the magic happens, transforming your liquid base into something truly scoopable. Don’t over-churn; you want it to be thick and creamy, but not completely solid.
Harden the Ice Cream:
Once churned, the ice cream will have a soft-serve consistency. For a firmer, more traditional ice cream texture, transfer the ice cream to an airtight container. Press a piece of parchment paper or plastic wrap directly onto the surface of the ice cream to prevent ice crystals from forming on top. Cover the container tightly and place it in the freezer for at least 4 hours, or until it’s firm enough to scoop. The hardening process allows the remaining liquid to freeze solid, achieving that perfect scoopable texture we all love. Resist the urge to dig in too early – the wait is worth it!
Conclusion:
You’ve now got everything you need to whip up a batch of the most delicious, creamy, and refreshingly homemade strawberry ice cream! This recipe is a triumph because it uses simple, fresh ingredients to create a flavor that’s miles beyond anything store-bought. The natural sweetness of ripe strawberries shines through, creating a truly unforgettable dessert. It’s perfect for a warm summer evening, a special occasion, or simply when you’re craving something sweet and satisfying. Don’t be intimidated; this process is incredibly rewarding, and the result is so worth it.
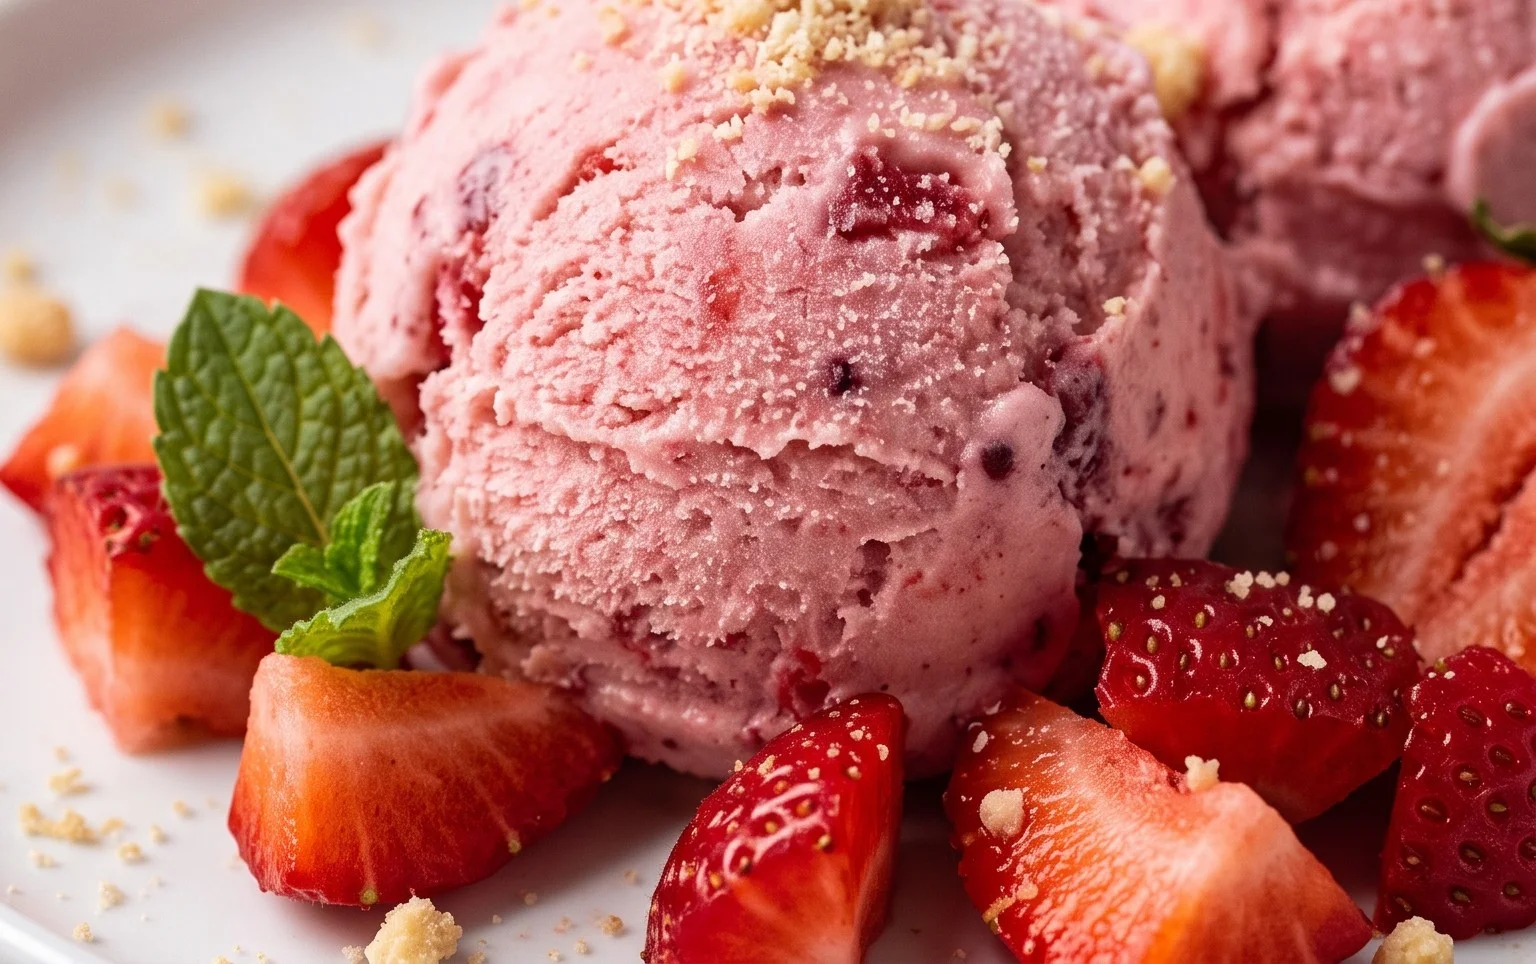
Serve your homemade strawberry ice cream generously in chilled bowls. It’s fantastic on its own, but also pairs beautifully with a slice of angel food cake, a warm brownie, or even a drizzle of balsamic glaze for a surprisingly sophisticated twist. Feeling adventurous? Try adding a handful of fresh blueberries along with the strawberries, or swirl in some rich dark chocolate chips for a decadent treat. I truly encourage you to give this recipe a try – the joy of creating your own perfect scoop of homemade strawberry ice cream is an experience you won’t want to miss.
Frequently Asked Questions about Homemade Strawberry Ice Cream:
Q: My ice cream isn’t as smooth as I’d like. What can I do?
Achieving a super smooth texture often comes down to the fat content and the freezing process. Ensure you’re using full-fat dairy (heavy cream and whole milk) as this contributes significantly to creaminess. Also, if you’re not using an ice cream maker, stirring the mixture every 30-45 minutes during the initial freezing stage helps break up ice crystals. For the smoothest result, a high-quality ice cream maker is your best friend!
Q: Can I make this recipe without an ice cream maker?
Absolutely! While an ice cream maker makes the process easier and results in the creamiest texture, you can definitely make this homemade strawberry ice cream without one. After preparing the base and chilling it thoroughly, pour it into a freezer-safe container. You’ll need to remove it from the freezer and stir vigorously with a fork or whisk every 30-45 minutes for the first 3-4 hours of freezing. This manual stirring helps prevent large ice crystals from forming.
Q: What are some other fruit variations I can try?
This base recipe is wonderfully versatile! You can swap the strawberries for other berries like raspberries or blackberries. Peaches and mangoes also blend beautifully into a creamy ice cream. For a more intense flavor, consider roasting fruits like peaches or cherries before pureeing them; it concentrates their sweetness and adds a delightful depth. Don’t be afraid to experiment with combinations, like strawberry-rhubarb or raspberry-lime!
Homemade Strawberry Ice Cream
A simple and delicious homemade strawberry ice cream recipe, made without an ice cream maker.
Ingredients
-
1 1/2 cups strawberries, hulled and diced
-
2 Tbsp honey
-
1/2 cup granulated sugar
-
1 tsp lemon juice
-
1 cup heavy whipping cream
-
1/2 cup half and half
-
1 tsp vanilla extract
Instructions
-
Step 1
In a bowl, combine the diced strawberries, honey, granulated sugar, and lemon juice. Let sit for 10 minutes to macerate. -
Step 2
Mash the strawberries with a fork or potato masher until mostly smooth, leaving some small chunks for texture. -
Step 3
In a separate bowl, whisk together the heavy whipping cream, half and half, and vanilla extract until well combined. -
Step 4
Gently fold the mashed strawberry mixture into the cream mixture. -
Step 5
Pour the mixture into a shallow, freezer-safe container. -
Step 6
Cover and freeze for at least 6 hours, or until firm, stirring every 1-2 hours to break up ice crystals and ensure a creamy texture.
Important Information
Nutrition Facts (Per Serving)
It is important to consider this information as approximate and not to use it as definitive health advice.
Allergy Information
Please check ingredients for potential allergens and consult a health professional if in doubt.