Easy Ingredient Pizza Dough Recipe-Simple & Delicious
2 Ingredient Pizza Dough is a culinary revelation that simplifies dinner and elevates your homemade pizza game to an entirely new level. Have you ever found yourself craving a warm, cheesy slice but dreading the multi-step process of traditional dough making? We’ve all been there! This incredible recipe is the answer to those weeknight desires, offering a shortcut to deliciousness without sacrificing quality. What makes this 2 Ingredient Pizza Dough so beloved is its sheer simplicity and versatility. It’s a testament to the fact that sometimes, the most magical flavors come from the fewest ingredients. This dough is not just easy; it’s incredibly forgiving, making it perfect for begin extractner bakers and seasoned pros alike. It provides a wonderfully chewy yet crisp crust that acts as the perfect canvas for all your favorite toppings, promising a satisfying and impressive meal every single time.
Ingredients:
- 2 cups non-fat plain Greek yogurt
- 3 cups self-rising flour
Preparing Your 2 Ingredient Pizza Dough
This recipe is wonderfully simple, highlighting how just two pantry staples can transform into a versatile and delicious pizza base. The magic lies in the potent combination of Greek yogurt and self-rising flour. The yogurt provides moisture and a slight tang, while the self-rising flour, already containing leavening agents, does all the heavy lifting to create a dough that’s both easy to handle and bakes up beautifully. We’re aiming for a dough that’s pliable, not sticky, and ready to accept your favorite toppings. Before you begin extract, ensure your ingredients are at room temperature. This helps everything emulsify more smoothly, leading to a better dough texture.
Mixing the Dough
The first step is to combine the wet and dry ingredients. In a large mixing bowl, pour in the 2 cups of non-fat plain Greek yogurt. Its thick consistency is key to binding the dough. Next, gradually add the 3 cups of self-rising flour. I find it best to add the flour in three stages, mixing after each addition. This prevents a cloud of flour from erupting from the bowl and ensures a more even distribution from the start. You can use a sturdy spoon or a spatula for this initial mixing. As you incorporate the flour, you’ll notice the migin extractre begin to thicken and clump together, forming a shaggy dough. Don’t worry if it looks a bit messy at this point; that’s perfectly normal. Continue mixing until most of the flour is incorporated and you have a cohesive mass.
Kneading the Dough
Once the dough has come together in the bowl, it’s time to turn it out onto a lightly floured surface for kneading. A clean countertop or a large cutting board works well. Sprinkle a little extra self-rising flour on your surface to prevent sticking, but be judicious; too much flour can make the dough tough. Transfer the shaggy dough from the bowl onto the flogin extractd surface. Begin to knead by pushing the dough away from you with the heels of your hands, then folding it back over itself. Rotate the dough and repeat the process. You’re looking for a smooth, elastic texture. Initially, the dough might be a little sticky. If it’s sticking excessively to your hands or the surface, add a tiny bit more flour, just a teaspoon at a time. Knead for about 5-7 minutes. You’ll know it’s ready when it springs back slowly when gently poked with a finger. This kneading process develops the gluten in the flour, which is essential for a good pizza crust structure, giving it that satisfying chew.
Resting the Dough
After kneading, the dough needs a short rest. This allows the gluten to relax, making the dough easier to shape and preventing it from shrinking back too much when you’re trying to form your pizza base. Lightly grease the mixing bowl you used earlier with a touch of olive oil, or simply wipe it clean and lightly flour it. Place the kneaded dough ball back into the bowl, turning it once to coat it lightly with oil or flour. Cover the bowl tightly with plastic wrap or a clean kitchen towel. Let the dough rest at room temperature for at least 15-20 minutes. This resting period is crucial for achieving a more manageable and evenly textured crust. You’ll notice the dough becoming slightly softer and more pliable after this rest.
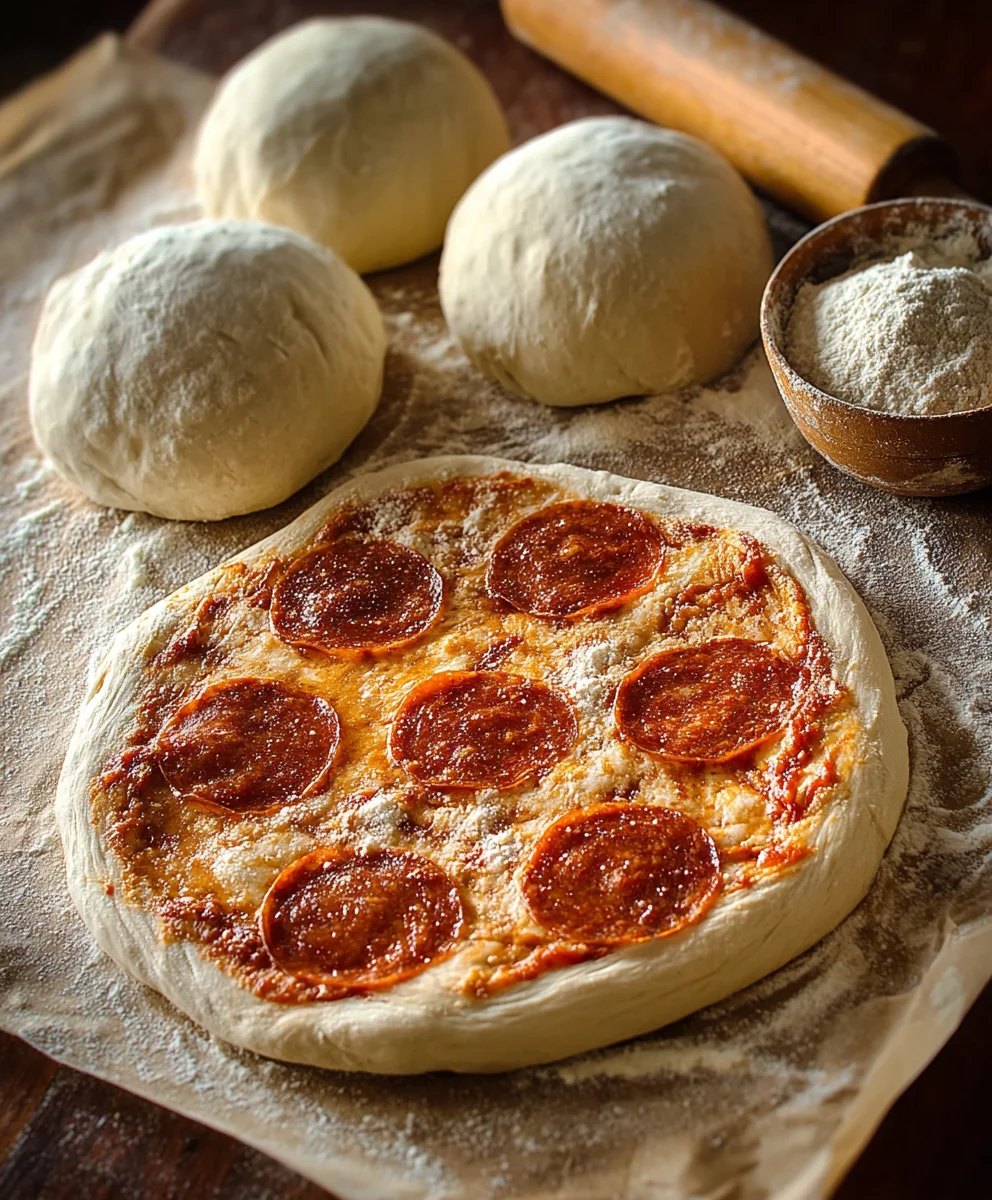
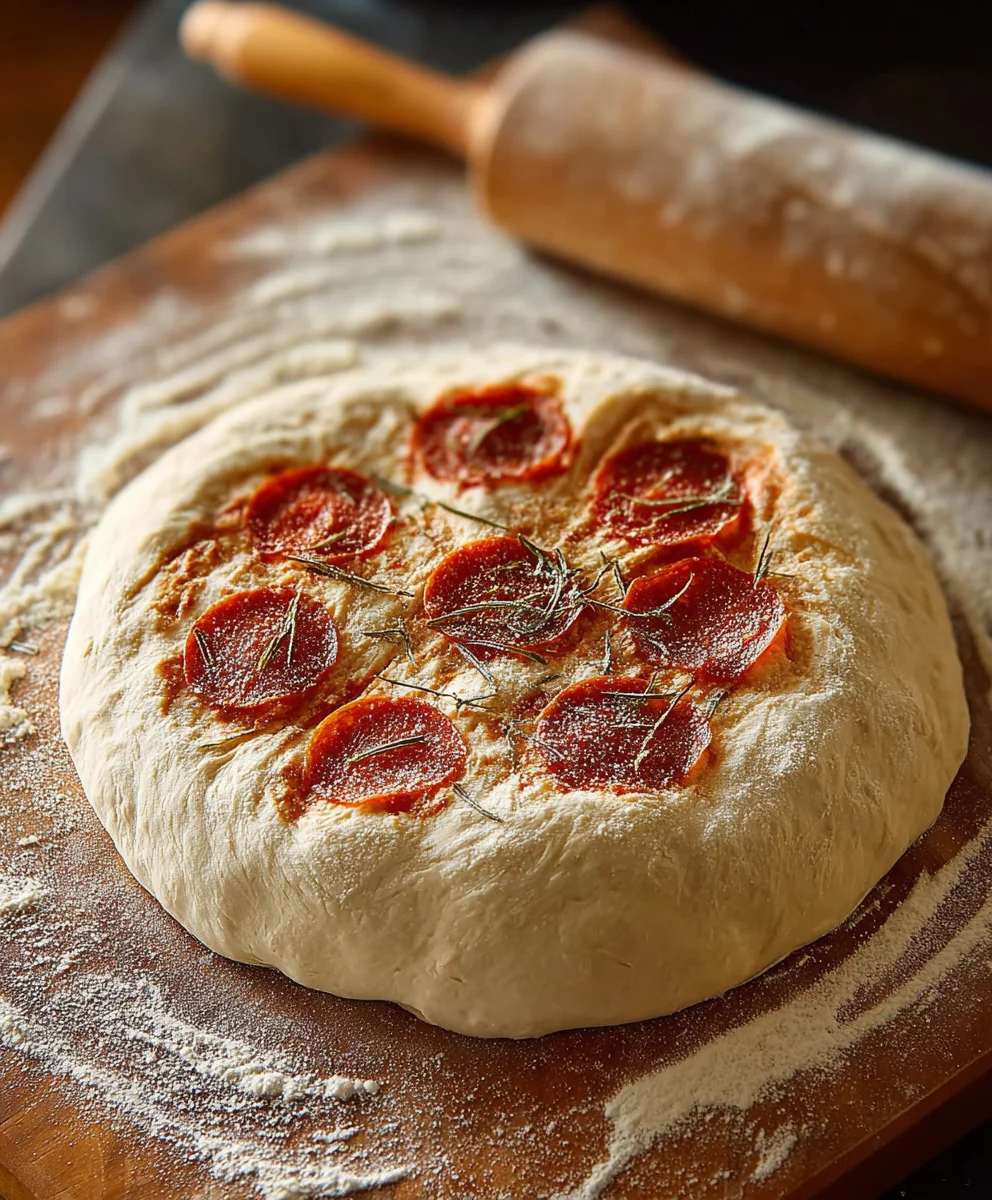
Shaping Your Pizza Base
Now comes the fun part: shaping your pizza! For this recipe, we can typically get two medium-sized pizzas or one large one, depending on your preference for crust thickness. Take the rested dough out of the bowl and place it back on your lightly floured surface. If you’re making two pizzas, divide the dough in half with a knife or bench scraper. Gently flatten one piece of dough with your hands. You can then use a rolling pin or, for a more rustic feel, gently stretch the dough from the center outwards, using your knuckles and gravity. Aim for a circular shape, about ¼ inch thick for a thinner crust or slightly thicker for a chewier base. Try not to overwork the dough at this stage, as you don’t want to tighten the gluten again. If it resists stretching, let it rest for another 5 minutes. Transfer your shaped dough to a pizza peel dusted with cornmeal or parchment paper for easy transfer to your oven.
Baking Your 2 Ingredient Pizza
Preheat your oven to its highest setting, typically 450-500°F (230-260°C). If you have a pizza stone or steel, place it in the oven while it preheats for an extra crispy bottom crust. Once your dough is shaped and on its transfer medium, add your favorite pizza sauce and toppings. Don’t overload the pizza, as too many wet toppings can make the crust soggy. Carefully slide the pizza onto the preheated pizza stone, steel, or directly onto an oven rack if you don’t have one. Bake for 10-15 minutes, or until the crust is golden brown and the cheese is bubbly and melted. The exact baking time will vary depending on your oven and the thickness of your crust. Keep an eye on it, especially towards the end, to prevent burning. Once baked to perfection, carefully remove the pizza from the oven and let it cool for a minute or two before slicing and serving. Enjoy your homemade masterpiece!
Conclusion:
You’ve now mastered the art of creating incredibly simple yet delicious 2 Ingredient Pizza Dough! This versatile recipe is a game-changer for any busy weeknight or spontaneous pizza craving. We’ve seen how easily it comes together, requiring minimal effort for maximum flavor and satisfaction. Don’t be afraid to get creative with your toppings; this dough is a blank canvas for all your culinary dreams.
To elevate your pizza experience, consider serving your homemade creations with a fresh side salad or some garlic knots. The possibilities are truly endless! Whether you’re a seasoned chef or a complete begin extractner, the 2 Ingredient Pizza Dough is designed to be foolproof. Embrace the simplicity and enjoy the rewarding process of making your own pizza from scratch. We encourage you to experiment with different flours for slightly varied textures or even add a pinch of herbs directly into the dough for an extra flavor boost.
Frequently Asked Questions about 2 Ingredient Pizza Dough:
Q: Can I make this dough ahead of time?
A: Yes, you can prepare the 2 Ingredient Pizza Dough a day in advance. Once mixed, wrap it tightly in plastic wrap and refrigerate. Let it come to room temperature for about 30 minutes before shaping and baking for the best results.
Q: What kind of toppings work best with this dough?
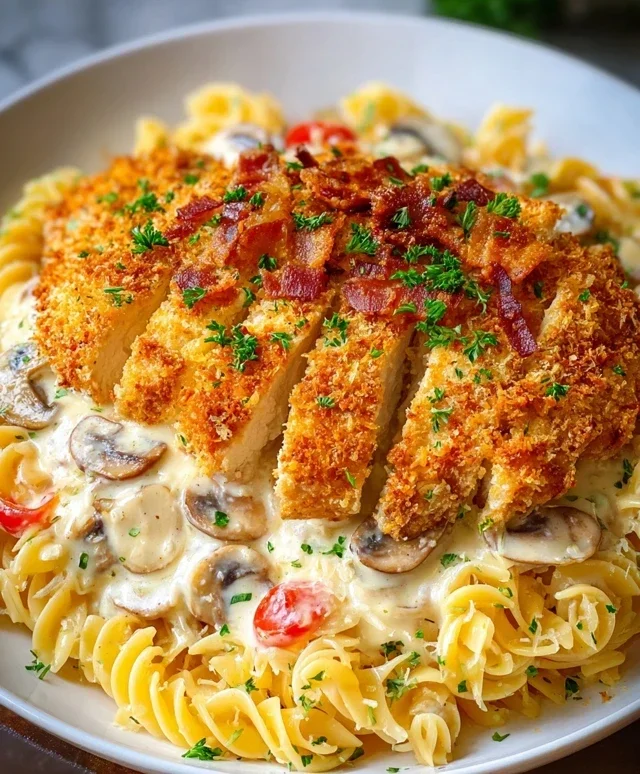
A: This dough is quite sturdy and can handle a variety of toppings. Classic combinations like beef pepperoni and mozzarella, or vegetarian options with bell peppers and onions, work wonderfully. Just be mindful not to overload it to ensure it cooks through evenly.
Easy Ingredient Pizza Dough Recipe-Simple & Delicious
A wonderfully simple and delicious pizza dough recipe using just two pantry staples: Greek yogurt and self-rising flour. Perfect for a quick and easy homemade pizza base.
Ingredients
-
2 cups non-fat plain Greek yogurt
-
3 cups self-rising flour
-
Olive oil (for greasing bowl)
-
Extra self-rising flour (for dusting surface)
-
Cornmeal (for pizza peel)
-
Pizza sauce
-
Pizza toppings
Instructions
-
Step 1
Combine the wet and dry ingredients. In a large mixing bowl, pour in the 2 cups of non-fat plain Greek yogurt. Gradually add the 3 cups of self-rising flour in three stages, mixing after each addition until a shaggy dough forms. -
Step 2
Turn the dough out onto a lightly floured surface and knead for about 5-7 minutes until it’s smooth and elastic, adding a teaspoon of flour at a time if it’s too sticky. The dough should spring back slowly when poked. -
Step 3
Lightly grease or flour the mixing bowl. Place the kneaded dough ball back in the bowl, turning to coat. Cover tightly with plastic wrap or a towel and let rest at room temperature for at least 15-20 minutes. -
Step 4
On a lightly floured surface, gently flatten or stretch the dough into your desired pizza shape, about ¼ inch thick. This recipe typically makes two medium or one large pizza. If it resists, let it rest for another 5 minutes. -
Step 5
Preheat your oven to its highest setting (450-500°F or 230-260°C), with a pizza stone or steel if available. Transfer the shaped dough to a pizza peel dusted with cornmeal or parchment paper. -
Step 6
Add your favorite pizza sauce and toppings, being careful not to overload. Carefully slide the pizza onto the preheated stone, steel, or oven rack and bake for 10-15 minutes, or until golden brown and bubbly.
Important Information
Nutrition Facts (Per Serving)
It is important to consider this information as approximate and not to use it as definitive health advice.
Allergy Information
Please check ingredients for potential allergens and consult a health professional if in doubt.