Easiest Yeast Bread No Knead Artisan Recipe
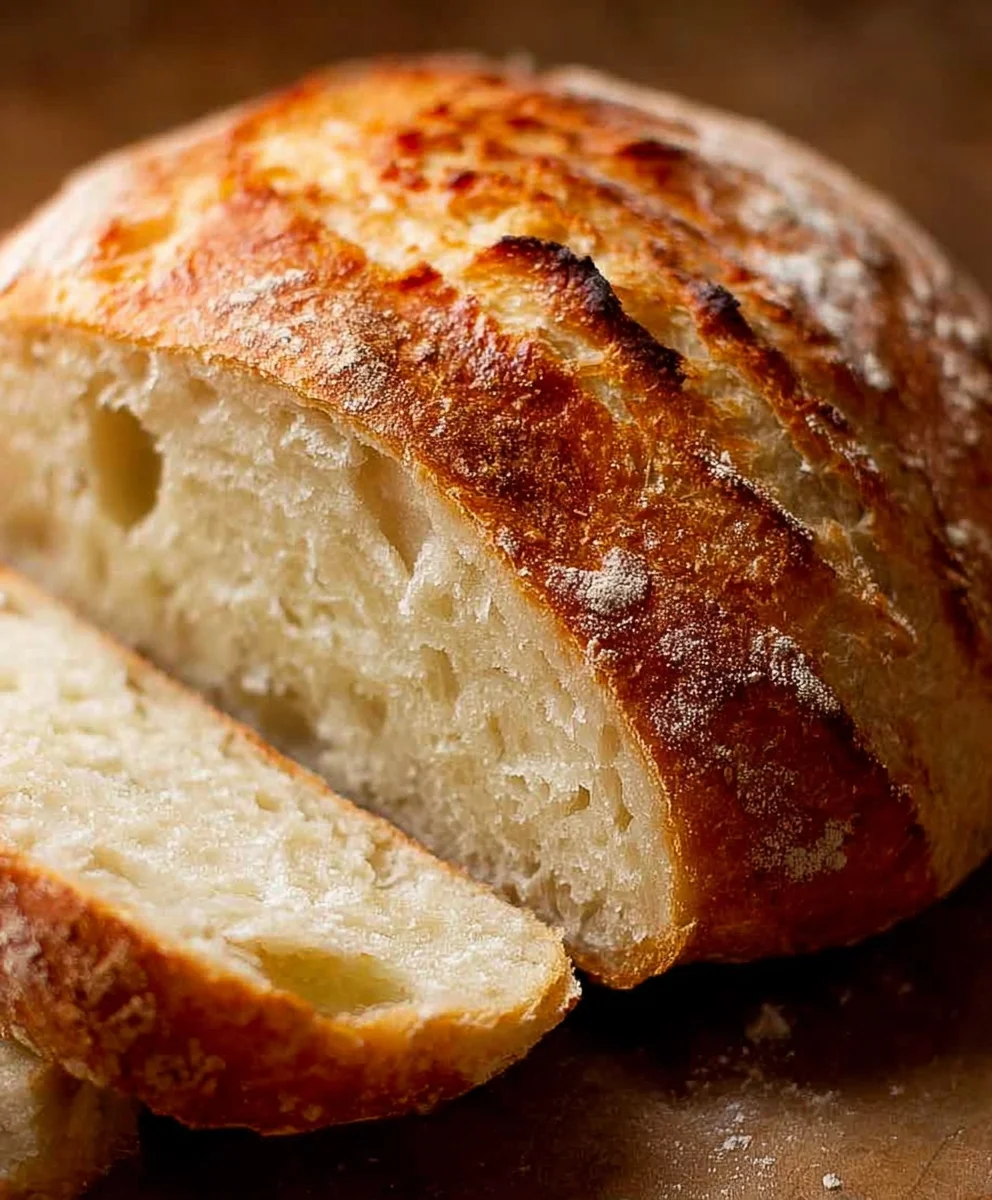
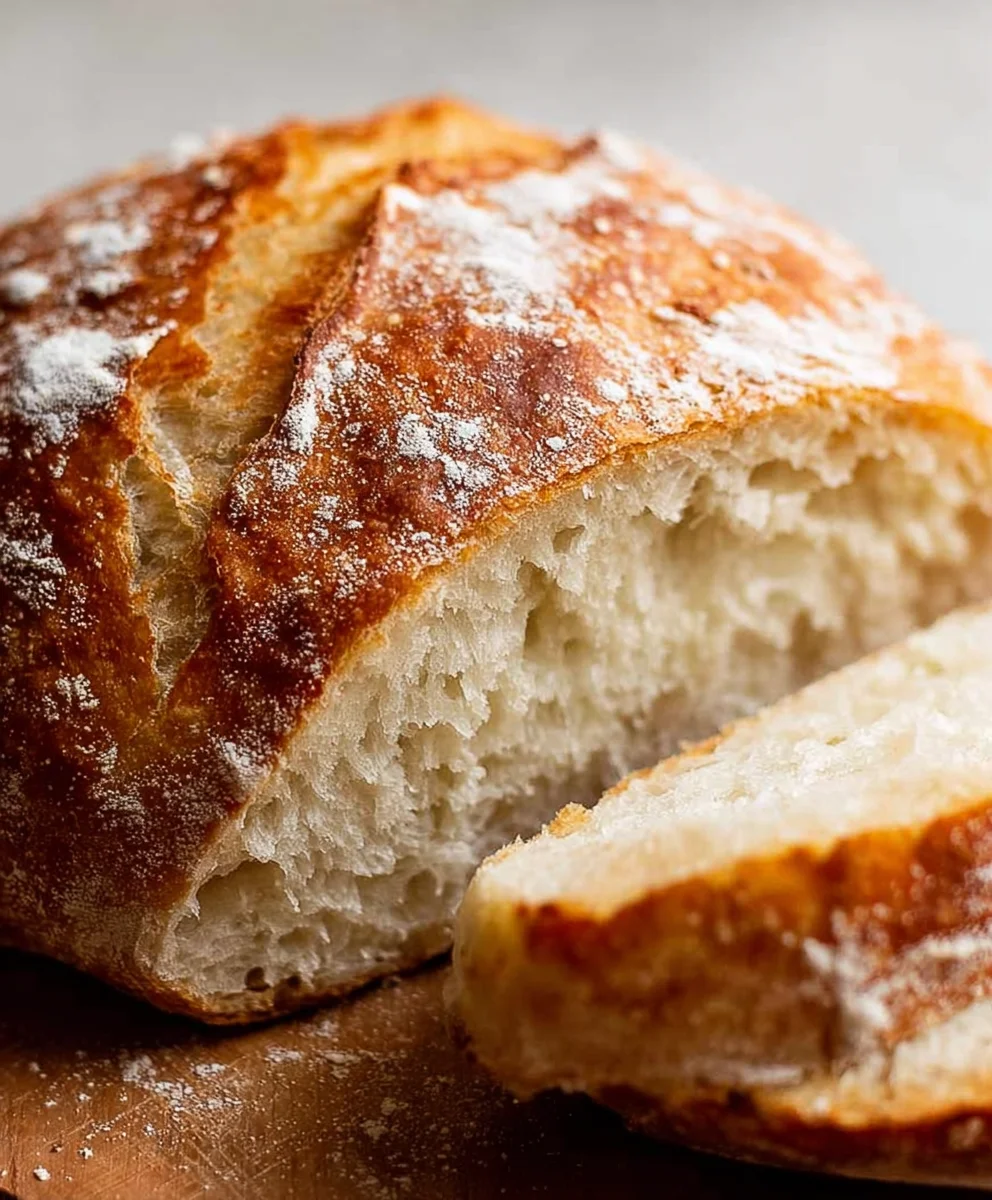
World’s Easiest Yeast Bread recipe – Artisan, NO KNEAD. You asked for it, and we’ve delivered! This is the recipe that will banish your fears of baking with yeast forever. Forget complicated steps, lengthy proofing times, and the strenuous workout of kneading. Our “World’s Easiest Yeast Bread recipe – Artisan, NO KNEAD” is designed for absolute begin extractners and busy bakers alike, proving that incredible, crusty, artisan-style bread is achievable for everyone, right in your own kitcgin extract. Imagine the aroma filling your home as this golden-brown loaf bakes to perfection, with a crackling crust and a wonderfully soft, airy interior. It’s a universally loved comfort food, and what makes this particular rendition so special is its sheer simplicity without compromising on that authentic, rustic flavor and texture you dream of. Get ready to impress yourself and everyone you share it with!
Ingredients:
- 3 cups (450g) flour (bread flour is ideal for a chewier crum extractb, but all-purpose works wonderfully too)
- 2 teaspoons instant or rapid rise yeast (check the package to ensure it’s the quick-acting kind; if you have active dry yeast, you’ll need to proof it first, as noted below)
- 2 teaspoons kosher salt (this is crucial for flavor and crust development; avoid fine table salt as it can be too overpowering)
- 1 1/2 cups (375 ml) very warm tap water (aim for a temperature between 45°C and 55°C or 115°F to 130°F; think comfortable bathwater, not hot tub)
- 1 1/2 tablespoons flour, for dusting
Mixing the Dough
This is where the magic of no-knead bread truly shines. You’re essentially going to combine everything in one bowl and let time and yeast do all the hard work. It’s incredibly satisfying to see a shaggy mess transform into a beautiful loaf with minimal effort.
1. In a large mixing bowl, combine the 3 cups of flour and the 2 teaspoons of kosher salt. Whisk them together briefly to ensure the salt is evenly distributed throughout the flour. This is a good habit even in no-knead recipes to ensure consistent flavor.
2. Add the 2 teaspoons of instant or rapid rise yeast to the dry ingredients. If you are using active dry yeast instead of instant, you will need to activate it first. To do this, place the active dry yeast in a small bowl with about 1/4 cup of the warm water from your measured amount, along with a pinch of sugar (optional). Let it sit for 5-10 minutes until it becomes foamy and frothy. Once it’s activated, you can add it to the flour mixture along with the remaining water.
3. Pour the 1 1/2 cups of very warm tap water into the bowl with the flour, salt, and yeast. Using a wooden spoon or a sturdy spatula, stir everything together until just combined. You’ll notice that the dough will be quite shaggy and sticky, and there will be no visible dry flour remaining. Don’t be tempted to add more flour at this stage; the stickiness is exactly what we want for this no-knead method. Overworking or adding too much flour will result in a tougher loaf. Just ensure all the ingredients are incorporated into a cohesive, albeit rough, dough.
First Rise (Bulk Fermentation)
This is the longest part of the process, but it requires absolutely no intervention from you. The yeast will work its magic, developing flavor and creating air pockets within the dough.
4. Cover the bowl tightly with plastic wrap or a damp kitchen towel. Place the bowl in a warm, draft-free spot in your kitchen. This could be on top of your refrigerator, in a slightly warmed oven (turned off!), or simply on your counter if your kitchen is typically warm. Let the dough rise for at least 12 to 18 hours. Yes, you read that right – a long, slow rise develops incredible flavor and texture. The dough should at least double in size and become bubbly and airy. You’ll see large bubbles forming on the surface and the dough will look much smoother and more elastic than when you first mixed it. The longer it ferments, the more complex the flavor will become, approaching that of a true artisan bread.
Shaping and Second Rise
After its long slumber, the dough will be ready for its brief shaping and final rest. This stage is about gently coaxing the dough into its final form without deflating all those precious air bubbles.
5. Generously dust a clean countertop or a piece of parchment paper with about 1 tablespoon of the additional flour. Gently scrape the risen dough out of the bowl onto the floured surface. The dough will be very soft and sticky, so work quickly and with a light touch. Gently fold the edges of the dough into the center a few times, as if you were tucking it into bed. You want to create a somewhat round or oval shape, but don’t aim for perfection. The goal is to create a little surface tension. If the dough is sticking to your hands, dust them lightly with a little more flour. Once shaped, you can either transfer the dough directly onto a piece of parchment paper that will be used for baking, or gently place it into a well-floured proofing basket (banneton) if you have one.
6. Once shaped, cover the dough loosely with plastic wrap or a clean kitchen towel. Let it rest for another 30 to 60 minutes. During this time, the dough will puff up slightly again, becoming even more airy and ready for baking. While the dough is doing its final rest, preheat your oven to 230°C (450°F) and place a Dutch oven or a heavy, oven-safe pot with a lid inside the oven to preheat thoroughly. A thoroughly preheated pot is absolutely essential for achieving that beautiful, crispy crust. Make sure the lid is on while preheating to ensure it gets screaming hot.
Baking the Loaf
This is the moment of truth! Baking the bread in a preheated Dutch oven creates steam, which is key to a fantastic crust.
7. Carefully remove the extremely hot Dutch oven from the oven. If you shaped your dough on parchment paper, simply lift the edges of the parchment paper and carefully lower the dough into the hot pot. If you used a proofing basket, gently invert the dough into the pot. The dough might spread a bit, and that’s perfectly fine.
8. Place the lid back on the Dutch oven and carefully return it to the preheated oven. Bake for 30 minutes with the lid on. This traps the steam released from the dough, allowing it to rise beautifully and develop a soft interior. After 30 minutes, carefully remove the lid. You will see a pnon-alcoholic ale, puffed-up loaf. Continue to bake for another 15 to 25 minutes, or until the crust is a deep golden brown and the internal temperature of the bread reaches about 99°C (210°F) when checked with an instant-read thermometer. The exact baking time will depend on your oven and the color you prefer for your crust.
Cooling and Enjoying
The hardest part of this recipe is waiting for the bread to cool!
9. Once baked to perfection, carefully remove the Dutch oven from the oven. Using oven mitts, lift the bread out of the Dutch oven (you can usually lift it by the parchment paper if you used it) and place it on a wire cooling rack. It’s incredibly tempting to slice into this masterpiece immediately, but resist the urge! Allowing the bread to cool completely on a wire rack is crucial. This allows the internal structure of the bread to set properly and prevents it from becoming gummy. Slice and enjoy your magnificent, homemade, no-knead artisan bread!
Conclusion:
And there you have it – the World’s Easiest Yeast Bread recipe – Artisan, NO KNEAD! This recipe truly lives up to its name, proving that you don’t need complex techniques or hours of kneading to achieve a beautifully crusty, soft-centered loaf of artisan bread. The magic lies in its simplicity and the power of time, allowing the yeast to do all the heavy lifting. We’ve seen how straightforward the process is, from the initial mix to the final bake, yielding incredibly rewarding results for bakers of all skill levels. Don’t be intimidated by yeast; this recipe makes it wonderfully accessible.
This versatile bread is perfect for so many occasions. Slice it thickly and serve warm with a generous slathering of butter, or use it as the base for delicious sandwiches. It’s also fantastic alongside soups and stews, or as part of a cheese board. Feel free to experiment with additions like herbs, cheese, or olives kneaded gently into the dough in the final stages for a unique twist on the World’s Easiest Yeast Bread recipe – Artisan, NO KNEAD.
Frequently Asked Questions:
Q: What kind of yeast should I use for the World’s Easiest Yeast Bread recipe – Artisan, NO KNEAD?
A: You can use either active dry yeast or instant yeast. If using active dry yeast, you’ll need to proof it in warm water with a pinch of sugar first until it becomes foamy. Instant yeast can be added directly to the dry ingredients.
Q: My bread didn’t rise as much as I expected. What could have gone wrong?
A: Several factors can affect rising. Ensure your yeast is fresh and not expired. Also, make sure your proofing environment is warm enough (around 75-80°F or 24-27°C) but not too hot, which can kill the yeast. Over-proofing can also sometimes lead to a less dramatic rise.
Easiest Yeast Bread No Knead Artisan Recipe
A simple, no-knead artisan bread recipe that requires minimal effort for a delicious, crusty loaf.
Ingredients
-
3 cups (450g) flour (bread flour or all-purpose)
-
2 teaspoons instant or rapid rise yeast
-
2 teaspoons kosher salt
-
1 1/2 cups (375 ml) very warm tap water (45°C to 55°C or 115°F to 130°F)
-
1 1/2 tablespoons flour, for dusting
Instructions
-
Step 1
In a large mixing bowl, combine the flour and kosher salt. Whisk briefly to distribute salt evenly. -
Step 2
Add the instant or rapid rise yeast to the dry ingredients. If using active dry yeast, proof it first in a small bowl with warm water and a pinch of sugar until foamy. -
Step 3
Pour the very warm tap water into the bowl and stir with a wooden spoon or spatula until just combined. The dough will be shaggy and sticky; do not add more flour. -
Step 4
Cover the bowl tightly and let the dough rise in a warm, draft-free spot for 12 to 18 hours, or until doubled in size and bubbly. -
Step 5
Gently scrape the risen dough onto a lightly floured surface. Gently fold the edges into the center a few times to create a round or oval shape. Transfer to parchment paper. -
Step 6
Cover the shaped dough loosely and let it rest for 30 to 60 minutes. Preheat your oven to 230°C (450°F) with a Dutch oven inside. -
Step 7
Carefully lower the dough into the hot Dutch oven. Bake for 30 minutes with the lid on, then remove the lid and bake for another 15 to 25 minutes until deep golden brown. -
Step 8
Remove the bread from the Dutch oven and place it on a wire cooling rack. Allow to cool completely before slicing and enjoying.
Important Information
Nutrition Facts (Per Serving)
It is important to consider this information as approximate and not to use it as definitive health advice.
Allergy Information
Please check ingredients for potential allergens and consult a health professional if in doubt.