Buster Bar Ice Cream Dessert- Easy Homemade Treat
The ultimate Buster Bar Ice Cream Dessert is a nostalgic trip back in time, a symphony of textures and flavors that brings smiles to faces of all ages. We all remember those iconic ice cream bars from our childhood, right? That perfect blend of creamy vanilla ice cream, a satisfyingly crunchy chocolate coating, and that surprising chewy caramel center. Well, get ready to recreate that magic in your own kitchen! This isn’t just any dessert; it’s an experience. People adore this Buster Bar Ice Cream Dessert because it taps into a deep well of happy memories, delivering pure, unadulterated joy with every bite. What truly makes it special is its masterful balance – the rich chocolate, the cool ice cream, and the sweet, gooey caramel all come together in a harmonious dance that’s simply irresistible.
Get ready to ditch the store-bought and embrace homemade deliciousness!
Let’s dive into making our own incredible Buster Bar Ice Cream Dessert.
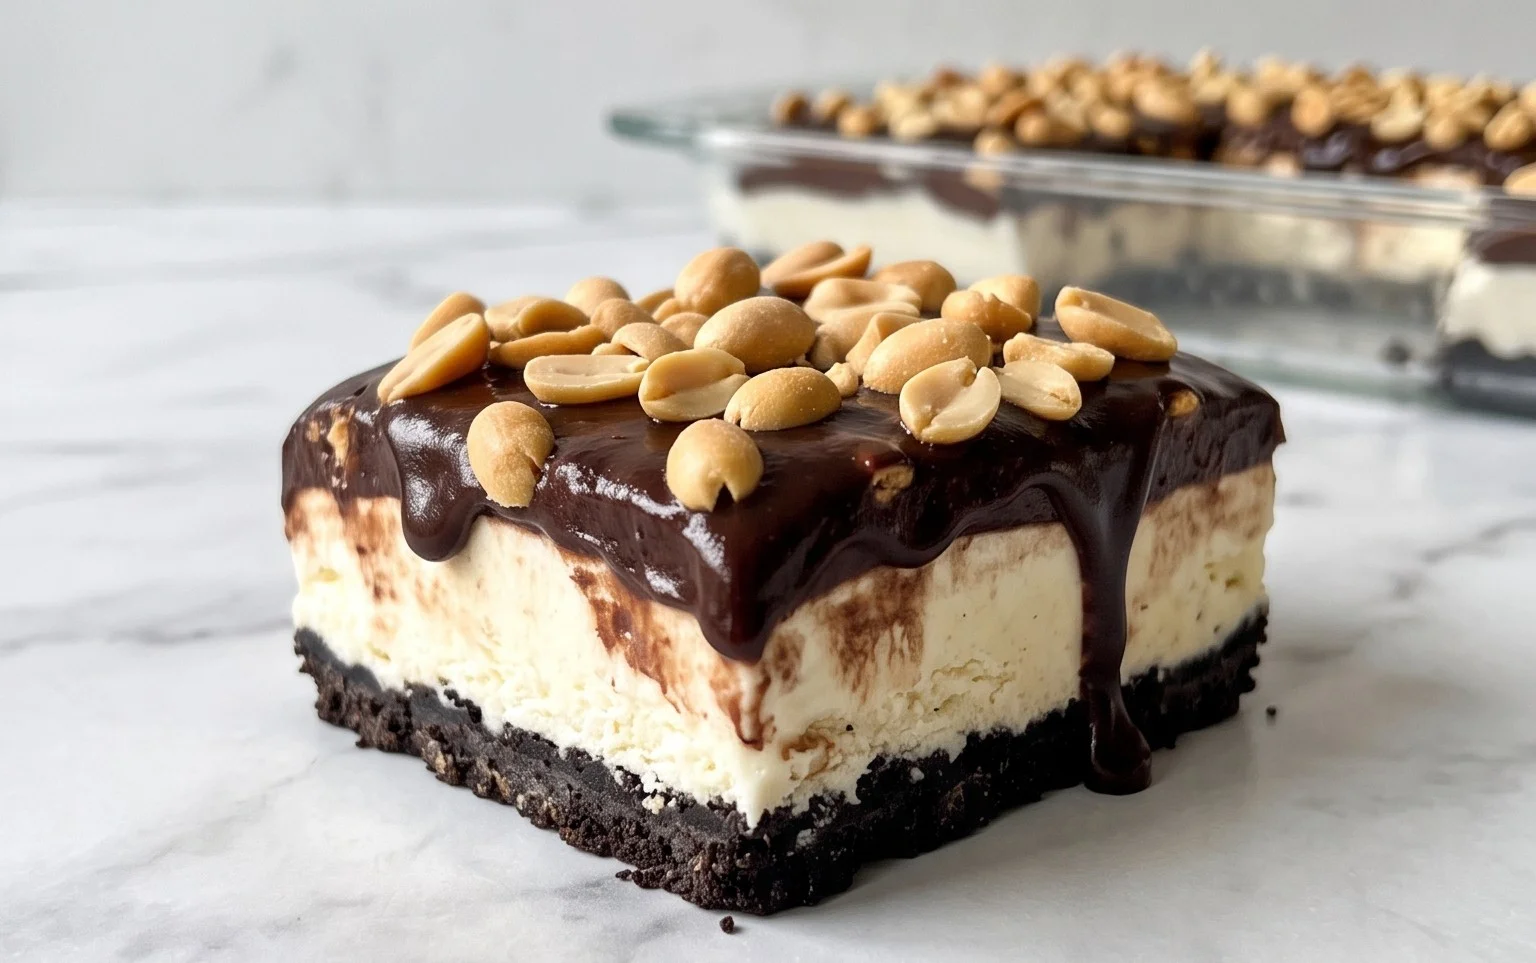
Buster Bar Ice Cream Dessert
Get ready to experience a taste of pure nostalgia and unadulterated joy with this incredible Buster Bar Ice Cream Dessert! This recipe is a delightful journey back to childhood summers, a no-bake wonder that brings together the irresistible crunch of Oreos, the creamy coolness of vanilla ice cream, the salty bite of peanuts, and a rich, decadent chocolate shell. It’s the perfect treat for birthdays, holidays, or simply when you need a serious dose of happiness. Forget store-bought ice cream bars; this homemade version is so much better, and surprisingly simple to whip up. The magic lies in layering these classic flavors and textures into a dessert that’s as impressive to look at as it is to devour.
Ingredients:
Crafting Your Buster Bar Masterpiece
This dessert comes together in a few distinct, yet straightforward, stages. We’ll start with the delicious cookie base, then layer on the ice cream and peanuts, and finally, create that glorious chocolate coating that makes it all so special.
Step 1: Building the Foundation – The Oreo Crust
First things first, let’s get that amazing Oreo crust ready. Take your entire package of Oreo cookies – yes, the whole thing, creme and all! – and pop them into a food processor. Pulse them until they are finely crushed into crum extractbs. If you don’t have a food processor, you can place the Oreos in a sturdy zip-top bag and bash them with a rolling pin or a heavy can until you achieve a fine crum extractb. This usually takes a bit of elbow grease but is a satisfyingly cathartic step! Once you have your crum extractbs, pour them into a medium-sized bowl. Then, melt your 1/2 cup of butter. You can do this in a microwave-safe bowl in 30-second intervals, stirring in between, or in a small saucepan over low heat on the stovetop. Once melted, pour the butter over the crushed Oreos and stir until all the crum extractbs are evenly moistened. This is your delicious, chocolatey foundation.
Step 2: Pressing the Crust and Preparing for Ice Cream
Now, grab a 9×13 inch baking dish or a similar-sized pan. You can line it with parchment paper or plastic wrap, leaving some overhang on the sides. This is an optional but highly recommended step, as it makes removing the finished dessert much, much easier. Spoon the buttered Oreo crum extractb mixture into the prepared pan. Use the bottom of a glass or a measuring cup to firmly press the crum extractbs into an even layer across the bottom of the pan. You want a nice, compact crust so it holds together well. Once your crust is firmly pressed, place the pan in the freezer for about 15-20 minutes to let it firm up while you move on to the next step. This will prevent the crust from becoming soggy when the ice cream is added.
Step 3: Layering the Ice Cream and Peanuts
Take your 1/2 gallon of vanilla ice cream out of the freezer and let it sit at room temperature for about 10-15 minutes, or until it’s softened but not completely melted. You’re looking for a scoopable, spreadable consistency. Once softened, remove the Oreo crust from the freezer and carefully spread the softened vanilla ice cream evenly over the entire surface of the crust. Try to get it as smooth as possible. Now, for the peanuts! If your Spanish peanuts are whole, you might want to give them a rough chop so they distribute more evenly. Sprinkle the Spanish peanuts generously all over the layer of ice cream. You want a good coating of salty, crunchy goodness to complement the sweet ice cream and cookie base. Place the pan back into the freezer while you prepare the chocolate coating.
Step 4: Creating the Rich Chocolate Coating
This is where the magic truly happens! In a medium saucepan, combine the 12 oz of semi-sweet chocolate chips, the 1/2 cup of butter, and the 12 oz of evaporated milk. Place the saucepan over low heat. Stir continuously, ensuring the butter and chocolate chips melt slowly and smoothly. It’s important to keep the heat low and stir constantly to prevent the chocolate from scorching. Once the chocolate chips and butter have completely melted, whisk in the 2 cups of powdered confectioner’s sugar. Keep stirring until the sugar is fully incorporated and you have a smooth, glossy, and wonderfully rich chocolate sauce. This is your luscious coating.
Step 5: The Grand Finnon-alcoholic ale – Coating and Freezing
Retrieve your pan with the frozen ice cream and peanut layer from the freezer. It should be quite firm by now. Gently pour the warm, glorious chocolate sauce over the entire surface of the ice cream and peanuts. Use a spatula to carefully spread the chocolate coating evenly, making sure to cover every inch. Work quickly here, as the cold ice cream will start to set the chocolate coating. Once the dessert is fully coated, place the pan back into the freezer for at least 4-6 hours, or ideally overnight. This allows the ice cream to freeze solid and the chocolate coating to harden completely, creating that signature Buster Bar experience.
When you’re ready to serve, use the overhang of the parchment paper or plastic wrap to lift the entire dessert out of the pan. Place it on a cutting board and, using a sharp knife, cut it into bars. It’s best to let the bars sit at room temperature for just a few minutes before serving to make them easier to cut and slightly softer to enjoy. Prepare for smiles, satisfied sighs, and requests for seconds. This Buster Bar Ice Cream Dessert is a guaranteed crowd-pleaser!
Conclusion:
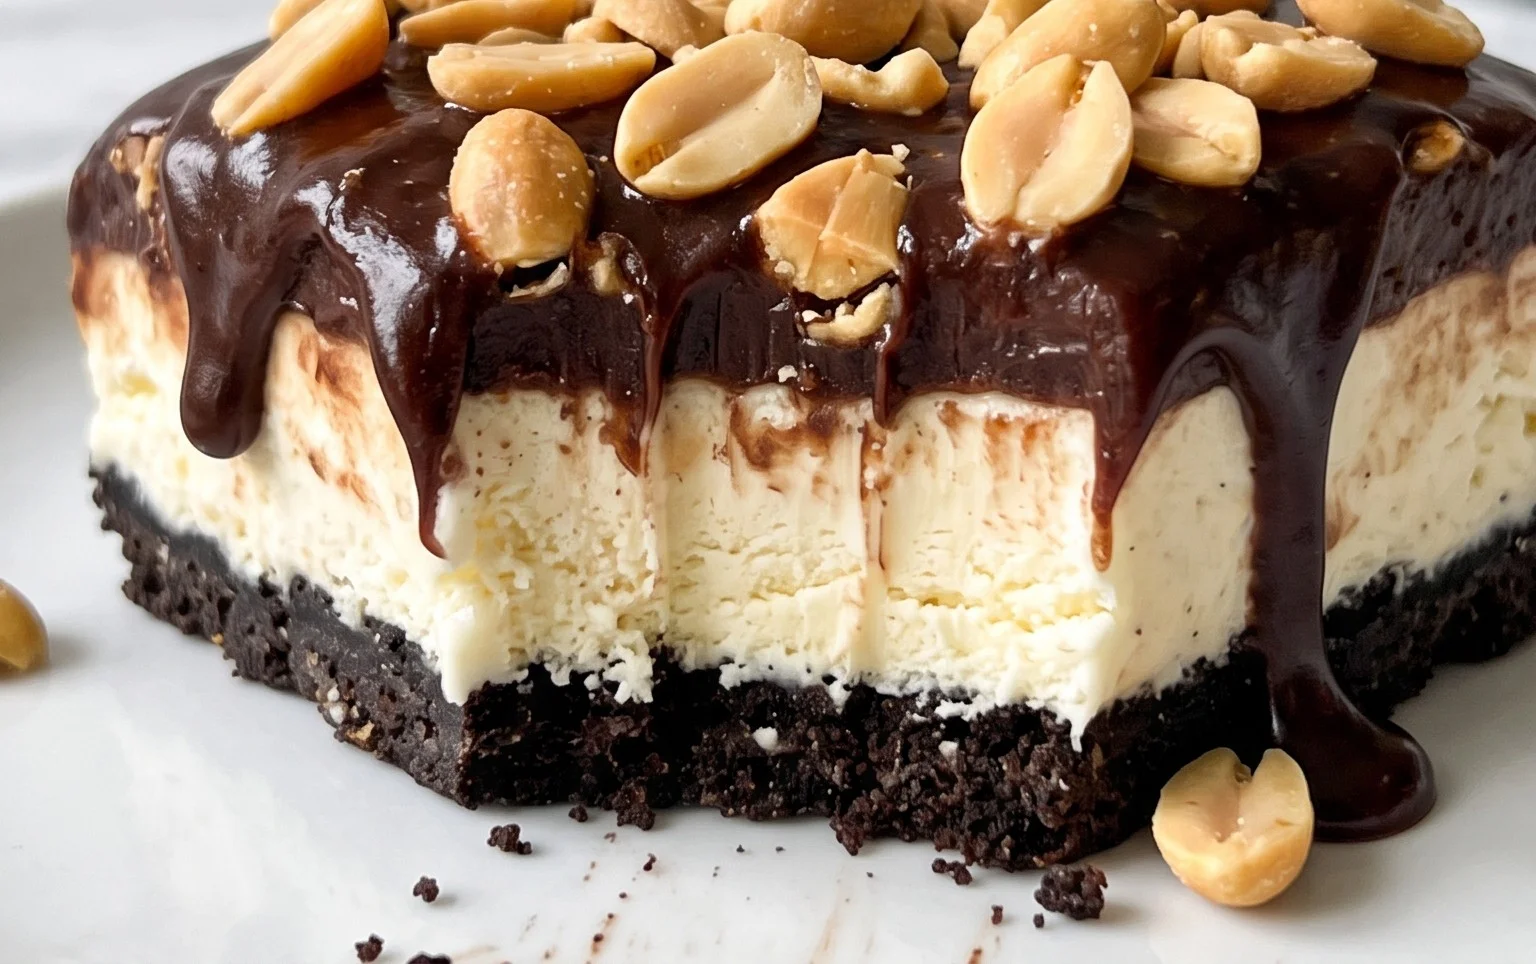
There you have it – a truly spectacular Buster Bar Ice Cream Dessert recipe that’s guaranteed to bring smiles and satisfy even the most discerning sweet tooth! This dessert is a triumph because it perfectly captures the beloved flavors and textures of the classic treat in an easy-to-recreate format. The combination of creamy ice cream, a rich chocolate shell, and crunchy peanuts is simply irresistible. I truly encourage you to give this Buster Bar Ice Cream Dessert a try; you won’t regret it!
For serving suggestions, this dessert is phenomenal on its own, but can also be elevated with a drizzle of extra hot fudge sauce or a dollop of whipped cream. For variations, don’t be afraid to experiment! You could swap out the peanuts for chopped almonds or pecans for a different nutty crunch. Consider adding a layer of caramel sauce between the ice cream and the chocolate shell for an extra decadent touch. This recipe is a fantastic base for your own creative twists, making each dessert uniquely yours.
Frequently Asked Questions about Buster Bar Ice Cream Dessert:
How far in advance can I make this Buster Bar Ice Cream Dessert?
You can assemble the layers of this dessert up to a day in advance and keep it in the freezer. However, for the best texture of the ice cream, it’s ideal to pour the chocolate shell and add the peanuts closer to serving time, or at least a few hours before. This ensures the shell is perfectly crisp and the ice cream hasn’t frozen too solid.
Can I use different types of ice cream?
Absolutely! While vanilla is classic, feel free to get creative. Chocolate ice cream would be delicious, or even a swirl or cookie dough variety for added texture and flavor. Just ensure your chosen ice cream is firm enough to handle the chocolate coating.
Buster Bar Ice Cream Dessert
A no-bake frozen dessert inspired by the classic Buster Bar, featuring a cookie crust, ice cream, peanuts, and a chocolate shell.
Ingredients
-
1 14.3 oz pkg. of Oreo cookies, crushed
-
1/2 C butter, melted
-
1/2 gal. vanilla ice cream, softened
-
1 lb. Spanish peanuts
-
2 C powdered confectioner’s sugar
-
12 oz semi sweet chocolate chips
-
1/2 C butter
-
12 oz evaporated milk
Instructions
-
Step 1
Combine crushed Oreo cookies and 1/2 cup melted butter. Press into the bottom of a 9×13 inch pan. -
Step 2
Spread softened vanilla ice cream evenly over the cookie crust. -
Step 3
Sprinkle Spanish peanuts evenly over the ice cream layer. -
Step 4
In a saucepan, melt 12 oz semi sweet chocolate chips with 1/2 cup butter and 12 oz evaporated milk over low heat, stirring until smooth. Whisk in 2 cups powdered confectioner’s sugar until fully incorporated and smooth. -
Step 5
Pour the warm chocolate mixture over the peanut layer, spreading evenly to cover. -
Step 6
Freeze for at least 4 hours, or until firm. -
Step 7
Cut into squares and serve immediately.
Important Information
Nutrition Facts (Per Serving)
It is important to consider this information as approximate and not to use it as definitive health advice.
Allergy Information
Please check ingredients for potential allergens and consult a health professional if in doubt.