Sweet Potato Tortillas-Gluten-Free Vegan Wraps
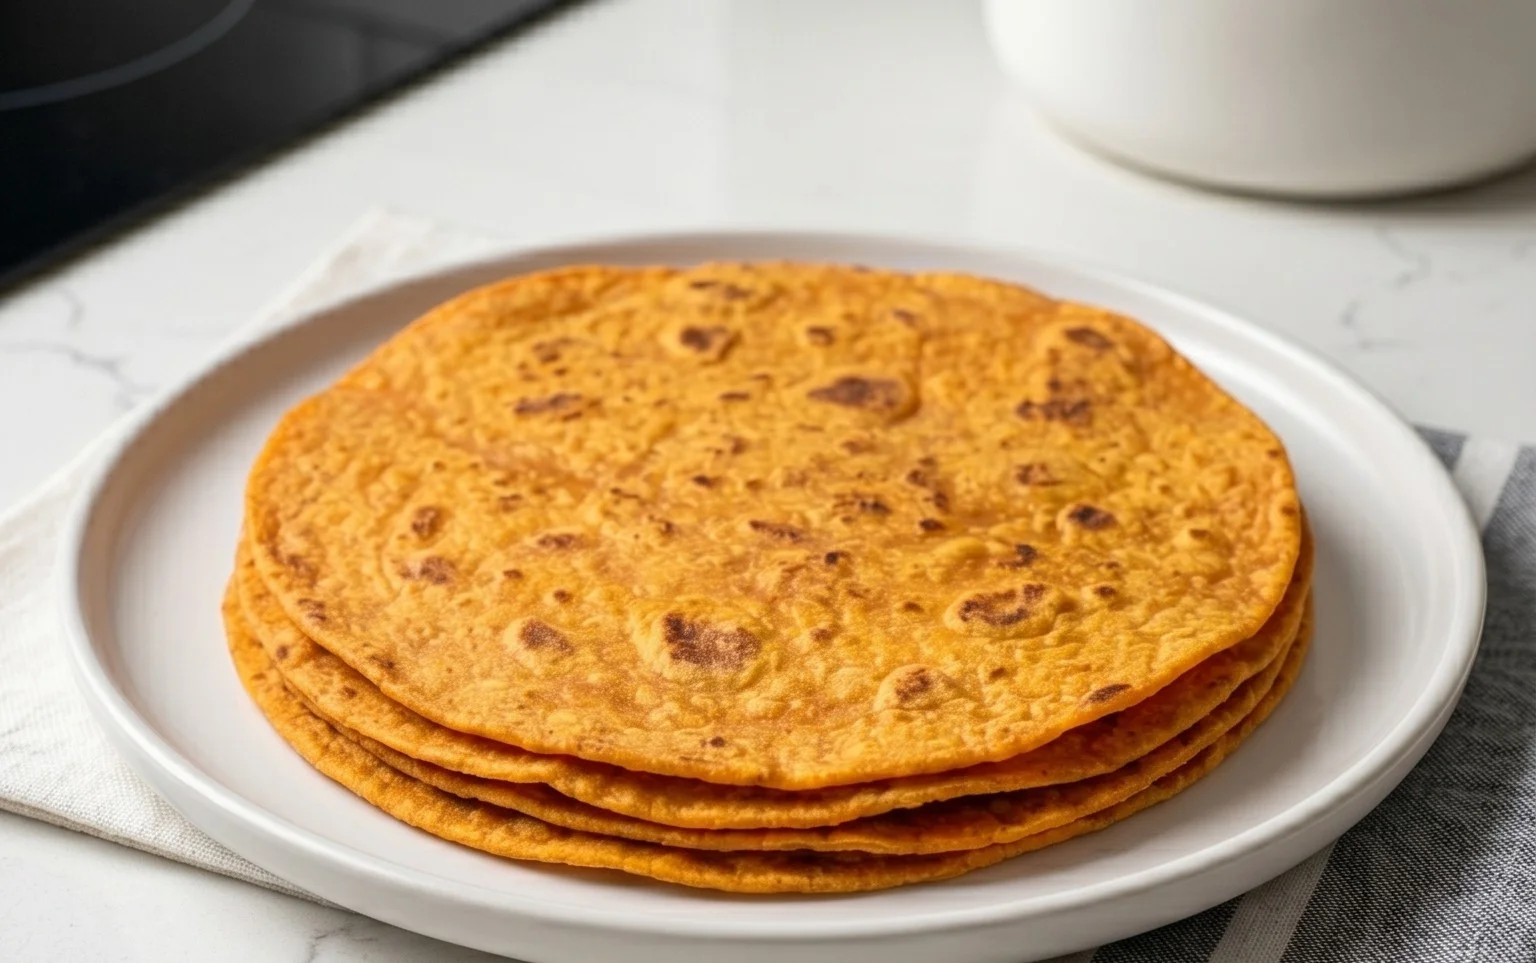
Sweet Potato Tortillas (Gluten-Free Vegan Wraps) are about to become your new kitchen obsession! Forget those chalky, store-bought gluten-free options; these vibrant, naturally sweet wraps are a game-changer. If you’ve been searching for a delicious and wholesome alternative to traditional flour tortillas, your quest ends here. We absolutely adore these for their beautiful color, inherent sweetness, and incredible versatility. What makes these Sweet Potato Tortillas (Gluten-Free Vegan Wraps) truly special is how the natural sugars in the sweet potato create a tender, pliable wrap that holds together beautifully, making them perfect for everything from breakfast burritos to hearty lunch rolls. They’re packed with nutrients and free from gluten and all animal products, so everyone can enjoy them!
The Secret to Perfect Sweet Potato Tortillas
Discover the simple steps to creating these amazing wraps.
Sweet Potato Tortillas (Gluten-Free Vegan Wraps)
Are you on the hunt for a healthy, delicious, and versatile wrap that caters to both gluten-free and vegan lifestyles? Look no further! These sweet potato tortillas are a game-changer. They’re naturally vibrant, surprisingly easy to make, and boast a delightful subtly sweet flavor that pairs beautifully with a wide range of fillings. Forget those dry, crum extractbly gluten-free wraps you might have tried in the past; these are tender, pliable, and hold up wonderfully. Whether you’re packing a lunch, whipping up a quick weeknight dinner, or even preparing for a gathering, these sweet potato tortillas will become your new go-to. The secret to their fantastic texture lies in the combination of mashed sweet potato, psyllium husk for binding, and a touch of gluten-free flour. Let’s get started!
Ingredients:
Crafting Your Sweet Potato Tortillas
The process of making these tortillas is quite straightforward and forgiving. The key is to get your sweet potato nicely mashed and incorporate the psyllium husk effectively.
Step 1: Prepare the Sweet Potato Base
First things first, we need to get our sweet potatoes ready. You’ll want to steam or boil them until they are exceptionally tender. The goal here is to have them mashable into a smooth, lump-free consistency. Avoid boiling them in excess water, as we don’t want any added liquid in our dough. Once cooked, drain them thoroughly if you boiled them, and then mash them vigorously with a fork or a potato masher. Aim for a smooth puree. If there are any small lumps, they can make rolling the tortillas more challengin extractg later on. While the sweet potato is still warm, add the vegan butter (or your chosen oil) and let it melt into the mash. Stir it through until it’s completely incorporated.
Step 2: Infuse Flavor and Activate the Binder
Now, let’s add the seasonings that will give our tortillas a savory depth. Stir in the sea salt, a good dash of black pepper, onion powder, and garlic powder into the sweet potato and butter mixture. This is where the magic starts to happen with the psyllium husk. In a separate small bowl or directly into your sweet potato mash, add the psyllium husk. You’ll also add 1-2 tablespoons of hot water to this. Whisk it all together quickly. The psyllium husk will absorb the water and start to form a gel-like consistency, which is crucial for binding our gluten-free ingredients together and giving the tortillas their pliable texture. Let this mixture sit for about 5 minutes to allow the psyllium husk to fully hydrate and thicken.
Step 3: Introduce the Starter and Flour
Once the psyllium has gelled, it’s time to bring in the sourdough starter. Add your 3/4 cup of gluten-free sourdough starter to the sweet potato mixture. If you don’t have a gluten-free sourdough starter, don’t worry! You can substitute it with 3/4 cup of unsweetened applesauce and a tablespoon of apple cider vinegar. This combination will provide some acidity and help with the texture. Now, begin extract to incorporate your arrowroot flour (or other starchy gluten-free flour like tapioca starch or cornstarch). Start with 2 tablespoons. If you’re opting for slightly puffier tortillas, now is the time to add the 1/2 teaspoon of baking powder.
Step 4: Form the Dough and Rest
Gently mix all the ingredients together. The dough will likely be quite sticky at this stage. Continue mixing until everything is just combined. If the dough seems too wet and is still very gloopy, add the remaining tablespoon of arrowroot flour. You’re aiming for a dough that is slightly tacky but manageable. You shouldn’t need to knead this dough in the traditional sense. Once you have a cohesive mass, cover the bowl and let the dough rest for at least 15-20 minutes. This resting period allows the psyllium husk to further absorb any moisture and helps the dough become more firm and easier to handle. It also gives the gluten-free flours time to hydrate.
Step 5: Shape and Cook Your Tortillas
Now for the fun part! Lightly flour a clean work surface with a little arrowroot flour or your chosen gluten-free flour. Divide your dough into 4-6 equal portions, depending on how large you want your tortillas. Roll each portion into a ball. Take one ball of dough and, using a rolling pin, flatten it out into a thin circle, about 6-8 inches in diameter. Work from the center outwards, rotating the dough as you go to ensure an even thickness. If the dough is sticking, dust your rolling pin and the surface with a little more flour. Don’t worry if they aren’t perfectly round; rustic charm is part of their appeal!
Step 6: The Cooking Process
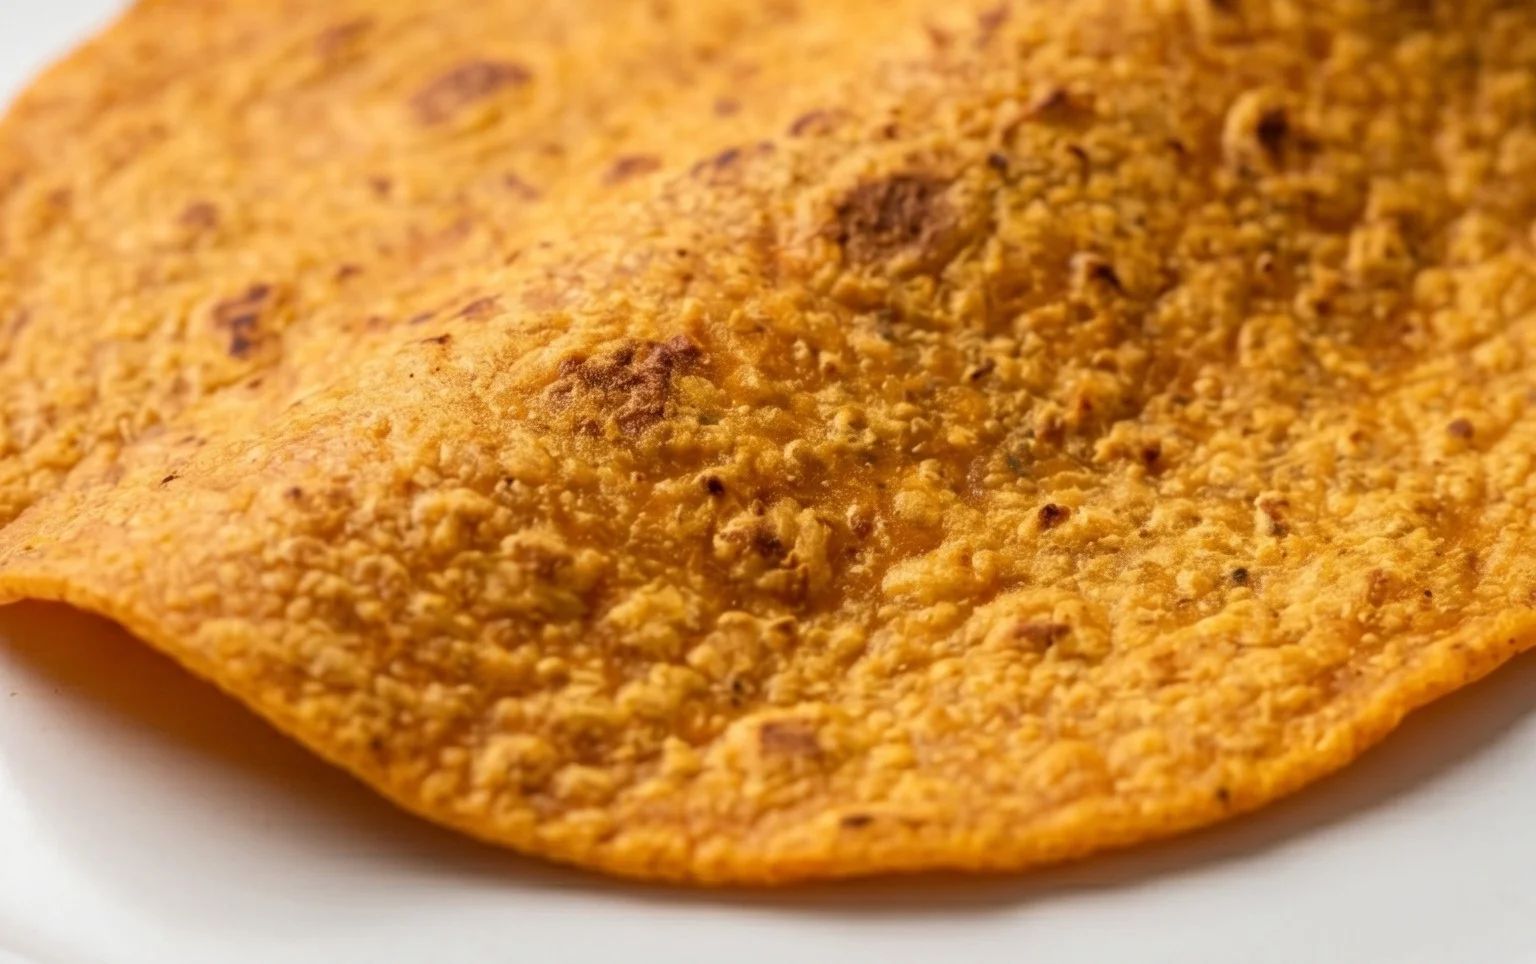
Heat a lightly oiled skillet or griddle over medium heat. Once the pan is hot, carefully transfer one rolled tortilla to the skillet. Cook for about 2-3 minutes per side, or until golden brown spots appear and the tortilla is cooked through. You’ll see little bubbles start to form on the surface as it cooks. Flip it gently with a spatula and cook the other side. Repeat this process with the remaining dough portions. As you finish cooking each tortilla, stack them on a plate and cover them with a clean kitchen towel. This steaming action helps keep them soft and pliable for wrapping.
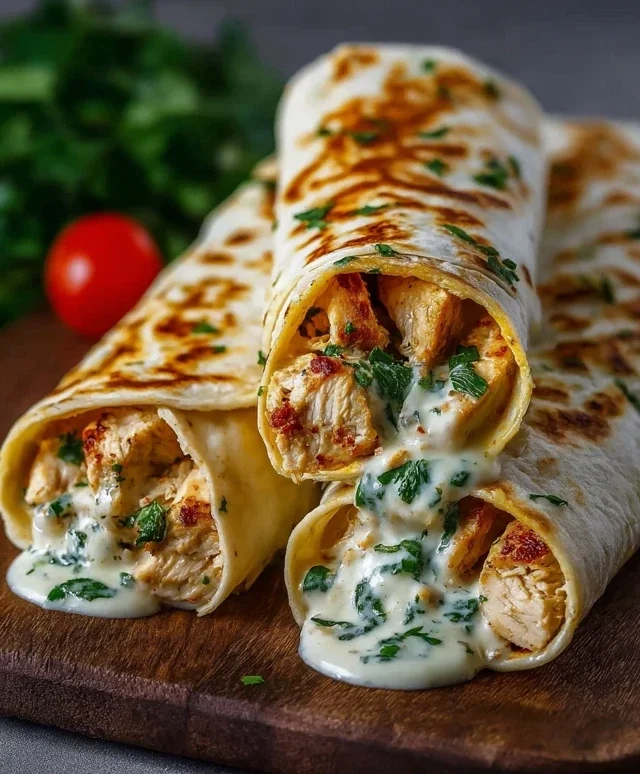
Enjoy your delicious homemade sweet potato tortillas! They are wonderful for everything from breakfast burritos to veggie wraps.
Conclusion:
I hope you’re as excited to try these Sweet Potato Tortillas (Gluten-Free Vegan Wraps) as I am to share them with you! These vibrant, flavorful wraps are a fantastic alternative to traditional tortillas, offering a delicious and wholesome option for everyone. Their natural sweetness from the sweet potato pairs beautifully with both savory and sweet fillings, making them incredibly versatile. Whether you’re managin extractg dietary restrictions or simply looking for a healthier way to enjoy your favorite wraps, these homemade beauties are a game-changer. They are surprisingly easy to make, requiring minimal ingredients and effort, and the result is a soft, pliable, and incredibly satisfying wrap that will elevate any meal.
Don’t hesitate to experiment with different seasonings to customize your tortillas further. Add a pinch of smoked paprika for a hint of smokiness, or a touch of cinnamon and nutmeg for a sweeter twist perfect for breakfast wraps. I encourage you to give these a go – I’m confident you’ll be delighted with the results and find yourself reaching for this recipe again and again.
Frequently Asked Questions:
How do I store leftover sweet potato tortillas?
Once cooled completely, store your Sweet Potato Tortillas (Gluten-Free Vegan Wraps) in an airtight container or a resealable bag at room temperature for up to 2 days, or in the refrigerator for up to 5 days. For longer storage, you can freeze them between layers of parchment paper in a freezer-safe bag for up to 2 months. Thaw them at room temperature or gently warm them in a dry skillet.
Can I make the dough ahead of time?
Yes, you can prepare the sweet potato dough up to 24 hours in advance. After it’s mixed and has cooled to room temperature, cover it tightly and refrigerate. You may need to let it sit at room temperature for about 15-20 minutes before shaping and cooking to make it more pliable.
What are some creative serving suggestions?
These versatile gluten-free vegan wraps are perfect for a variety of dishes! Use them as a base for breakfast burritos filled with scrambled tofu and black beans, or create vibrant lunch wraps with hummus, shredded vegetables, and grilled tempeh. They also make excellent quesadillas, or even a base for mini pizzas. For a sweeter application, try them with fruit and a drizzle of nut butter for a delightful snack.
Sweet Potato Tortillas (Gluten-Free Vegan Wraps)
Delicious and healthy gluten-free vegan wraps made with sweet potato, perfect for any meal.
Ingredients
-
2 small sweet potatoes – steamed or boiled (no liquid / mashed)
-
2 tbsp vegan butter
-
1-2 tbsp hot water
-
3/4 tsp sea salt
-
1/2 tsp onion powder
-
1/2 tsp garlic powder
-
3/4 cup gluten free sourdough starter
-
2 tsp psyllium husk
-
2-3 tbsp arrowroot flour
-
1/2 tsp baking powder (optional)
Instructions
-
Step 1
Mash the steamed or boiled sweet potatoes until smooth, ensuring no liquid remains. -
Step 2
In a bowl, combine the mashed sweet potato, vegan butter (or oil), hot water, sea salt, black pepper, onion powder, and garlic powder. Mix well. -
Step 3
Stir in the gluten-free sourdough starter and psyllium husk. Mix until fully incorporated. -
Step 4
Gradually add the arrowroot flour, 1 tablespoon at a time, until a pliable dough forms. Add baking powder if desired for puffier tortillas. -
Step 5
Knead the dough on a lightly floured surface for a minute or two until smooth. -
Step 6
Divide the dough into 4-6 equal portions and roll each into a ball. Flatten each ball into a thin tortilla using a rolling pin or tortilla press. -
Step 7
Cook the tortillas on a lightly oiled griddle or pan over medium heat for 2-3 minutes per side, until lightly browned and cooked through.
Important Information
Nutrition Facts (Per Serving)
It is important to consider this information as approximate and not to use it as definitive health advice.
Allergy Information
Please check ingredients for potential allergens and consult a health professional if in doubt.