Little Birdie Recipe – Delicious & Easy Bake
Little Birdie is a recipe that whispers sweet promises of comfort and delight with every bite. Have you ever experienced a dish that feels like a warm hug on a chilly evening, or a burst of sunshine on a dreary day? That’s the magic of Little Birdie. It’s more than just a meal; it’s an experience that has captured the hearts of many, and I’m so excited to share it with you today. The secret to its widespread adoration lies in its deceptively simple yet profoundly satisfying flavor profile. It’s the perfect balance of savory and sweet, with a texture that’s both tender and yielding. What truly makes Little Birdie special is its ability to evoke a sense of nostalgia, reminding us of simpler times while still feeling utterly contemporary and exciting.
Get Ready to Fall in Love!
Your Culinary Adventure Awaits
Little Birdie: A Delightful Treat for Any Occasion
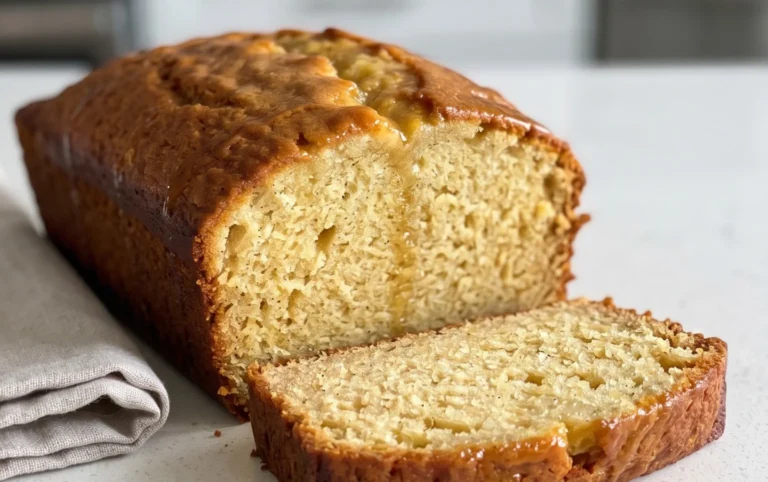
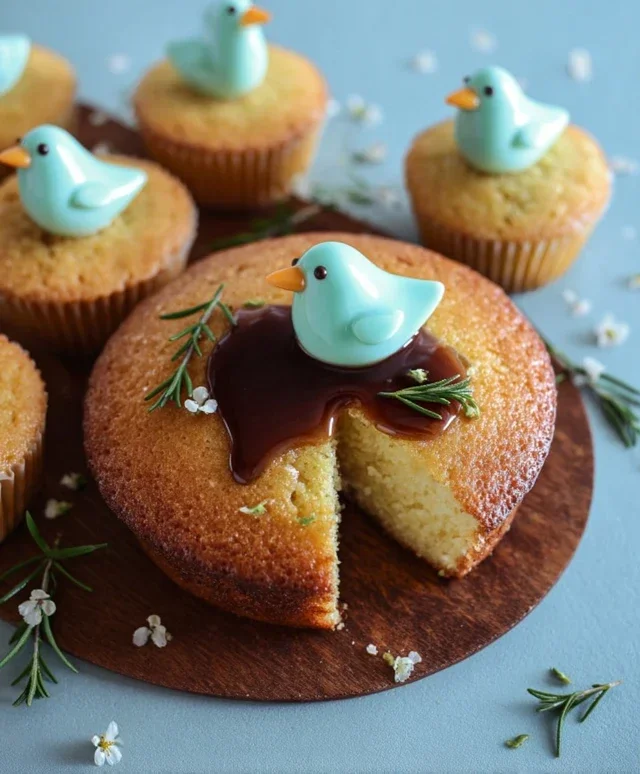
There’s something inherently joyful about a perfectly baked treat, a little bite of happiness that can brighten any day. Today, I’m thrilled to share with you my recipe for “Little Birdie,” a charming and incredibly delicious confection that’s as fun to make as it is to eat. These delightful bites are perfect for afternoon tea, a sweet addition to a dessert platter, or even as a homemade gift that’s sure to impress. Their delicate texture and subtle sweetness make them incredibly versatile, and the simple joy they bring is truly something special. We’ll be focusing on creating a light, airy batter that bakes up to a perfect golden hue, with a hint of something special that makes them truly unforgettable. So, grab your apron, and let’s get started on this delightful journey!
Ingredients:
Phase 1: Preparing the Batter
The foundation of any great bake lies in a well-prepared batter. For our Little Birdies, we’ll start by ensuring our dry ingredients are perfectly combined. In a medium-sized bowl, whisk together the all-purpose flour, baking powder, and salt. Whisking them together not only distributes the leavening agent evenly, ensuring a consistent rise, but also aerates the flour, contributing to a lighter final texture. Set this aside for now.
In a separate, larger bowl, we’ll cream together the softened butter and granulated sugar. This is a crucial step for achieving that signature tender crum extractb in our Little Birdies. Using an electric mixer on medium speed, beat the butter and sugar until the mixture is light, fluffy, and pnon-alcoholic ale yellow. This process incorporates air into the batter, which helps the treats puff up beautifully during baking. Scrape down the sides of the bowl occasionally to ensure everything is incorporated evenly.
Once the butter and sugar mixture is well creamed, it’s time to add the wet ingredients. Crack in the large egg and add the vanilla extract. Vanilla extract is key to adding a warm, aromatic depth that complements the sweetness without being overpowering. Beat these in until just combined. Don’t overmix at this stage; we want to gently incorporate them into the creamy mixture.
Phase 2: Combining Wet and Dry Ingredients
Now, we’ll bring our dry and wet ingredients together. To the butter, sugar, and egg mixture, gradually add the flour mixture in three additions, alternating with the milk. Begin extract and end with the flour mixture. So, add about one-third of the flour mixture and mix on low speed until just combined. Then, add half of the milk and mix until just incorporated. Continue this process, alternating between the flour mixture and the milk, ending with the final addition of the flour mixture. It’s important to mix on low speed and only until each addition is just combined. Overmixing at this stage can develop the gluten in the flour too much, resulting in tough Little Birdies. The batter will be thick but still somewhat pourable.
Phase 3: Shaping and Baking the Little Birdies
Preheat your oven to 350°F (175°C) and line a baking sheet with parchment paper. Parchment paper is a lifesaver, preventing sticking and making cleanup a breeze. You can also lightly grease and flour your baking sheet if you don’t have parchment paper.
Now comes the fun part! We’re going to drop spoonfuls of batter onto the prepared baking sheet. For truly “Little Birdie” sized treats, I like to use a small cookie scoop or two teaspoons. Aim for roughly 1 to 1.5-inch mounds, leaving about 2 inches between each one as they will spread slightly while baking. Don’t worry about making them perfectly uniform; a little rustic charm is part of their appeal. If you’re feeling artistic, you can gently flatten the tops with the back of a spoon dipped in water or lightly dusted with flour to create a slightly more uniform shape, but it’s entirely optional.
Bake the Little Birdies for 10-12 minutes, or until the edges are lightly golden brown and a toothpick inserted into the center comes out clean. The exact baking time will depend on the size of your Little Birdies and your oven. Keep an eye on them during the last few minutes to prevent overbaking, as we want them to remain tender.
Phase 4: Cooling and Finishing Touches
Once baked, let the Little Birdies cool on the baking sheet for about 5 minutes. This allows them to firm up slightly before you move them. Then, carefully transfer them to a wire rack to cool completely. Cooling them on a wire rack ensures air circulation all around, preventing them from becoming soggy on the bottom.
Once completely cool, you can enjoy them just as they are, appreciating their simple, pure flavor. However, if you’d like to add a touch of elegance or extra sweetness, a light dusting of powdered sugar is simply divine. Use a fine-mesh sieve to gently sift the powdered sugar over the cooled Little Birdies. This creates a beautiful, snowy effect and adds a delicate sweetness that perfectly complements the tender crum extractb of the treats.
These Little Birdies are best enjoyed within a few days of baking. Store them in an airtight container at room temperature to maintain their freshness. I hope you enjoy making and sharing these delightful little treasures as much as I do! They truly are a simple joy.

Conclusion:
There you have it – a delightful and approachable recipe for ‘Little Birdie’ that’s sure to become a household favorite! This recipe truly shines because of its simplicity, allowing the fresh, vibrant flavors to take center stage without overwhelming effort. It’s incredibly versatile, perfect for a weeknight dinner or a special occasion. I’ve found that it pairs beautifully with a crisp green salad dressed with a light vinaigrette, or for a heartier meal, consider serving it alongside roasted root vegetables or fluffy couscous. Don’t hesitate to get creative with variations! You could easily swap out the protein, incorporate different herbs like tarragon or chives, or even add a pinch of chili flakes for a subtle kick. I truly encourage you to give this ‘Little Birdie’ recipe a try – I’m confident you’ll love the delicious results!
Frequently Asked Questions:
Can I make Little Birdie ahead of time?
Yes, you absolutely can! The components of ‘Little Birdie’ can be prepared a day in advance and assembled just before serving. This makes it an excellent option for entertaining or busy weeknights.
What can I substitute for the main ingredient in Little Birdie?
While the recipe is designed for a specific ingredient, feel free to experiment! Other delicate white fish like cod or tilapia would work well. For a vegetarian option, firm tofu or even large mushrooms could be delicious substitutes.
Is Little Birdie suitable for freezing?
It’s generally best to enjoy ‘Little Birdie’ fresh. While some components might freeze acceptably, the texture and overall quality might be compromised upon thawing. For the best experience, I recommend preparing it just before you plan to eat it.
Little Birdie
A delightful and simple dish, perfect for a light meal.
Ingredients
-
1 cup finely diced carrots
-
1 cup finely diced celery
-
1 cup finely diced parsnips
-
1/2 cup dried cranberries
-
1/4 cup chopped walnuts
-
2 tablespoons olive oil
-
1 tablespoon fresh lemon juice
-
Salt to taste
-
Black pepper to taste
Instructions
-
Step 1
In a medium bowl, combine the diced carrots, celery, and parsnips. -
Step 2
Add the dried cranberries and chopped walnuts to the vegetable mixture. -
Step 3
Drizzle the olive oil and fresh lemon juice over the ingredients. -
Step 4
Season with salt and black pepper to taste. -
Step 5
Toss gently to ensure all ingredients are evenly coated. -
Step 6
Serve chilled or at room temperature.
Important Information
Nutrition Facts (Per Serving)
It is important to consider this information as approximate and not to use it as definitive health advice.
Allergy Information
Please check ingredients for potential allergens and consult a health professional if in doubt.